Are you looking for a contractor?
Submit our quick form and get quotes now!
Table of Contents
7 min read
How to Restore an Old Balcony
7 min read
How to Restore an Old Balcony
Exterior renovationsHow to Restore an Old Balcony
A balcony is a beautiful addition to any home, a portal to the outside world at the touch of your fingertips, and a way to get some fresh air without leaving the house. However, since balconies are stuck outside day and night, they face deterioration and damage caused by various natural elements.
Most problems associated with wood, stone and concrete balconies are related to water damage. Therefore, frequent balcony repairs are necessary to restore the structural integrity of the surfaces and/or railings.
With this in mind, it is important to determine whether your balcony needs to be restored, or whether the project is purely based on aesthetic reasons. If you have structural problems with your balcony surface or railings, it would be worth consulting and hiring a professional. However, if the repairs are aesthetic, all it takes is some cautiously administered TLC and the right tools to whip that balcony back into shape for summer.
Steps to Restore a Wood, Stone, or Cement Balcony
How to Restore a Wooden Balcony
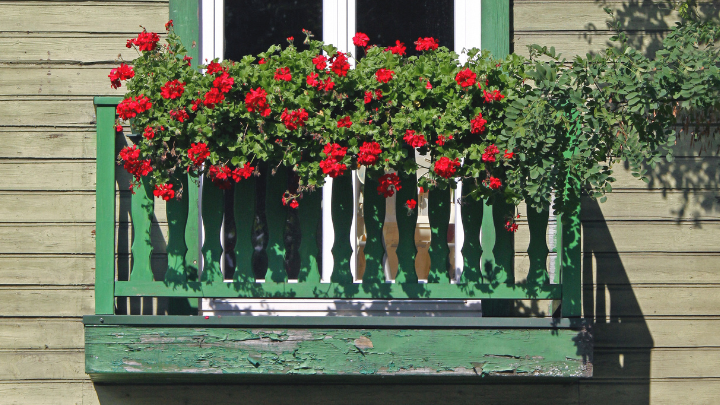
Source: Canva
If your balcony is made of wood, you may notice splintered or faded boards. Worse, the boards may have twisted out of place or you may find nail heads popping up even after constantly being hammered down.
These deteriorations are caused by moisture. When wood is exposed to water or stored in damp areas, it expands and, as it dries, contracts. This process causes boards to warp and move out of place. This means that the wood needs a good seal every year or two.
First Steps First
Since we've determined that we do indeed have a problem, let's start repairing! Start by fixing twisted planks. First, remove old nails. This can be done by driving prongs of a nail puller between heads and then by prying out the dead nails with the opposite end.
Straighten out the board by cutting a notch in a 2” x 4”, and slip the plank into the end of the twisted 2” X 4”. Twist your homemade contraption and the board should move back into place. Reattach the problematic plank with screws rather than nails, as they are stronger.
Should you save the boards or use substitutes?
If in terrible condition, the entire board can be replaced. If the board is in good enough condition, reuse it, as a strip of new lumber may not match with the rest of the surface.
With the twisted board straightened out, turn your attention to any nails sticking out of the balcony surface, if any. Ones that can be gripped with a nail puller should be removed and replaced with nails that are slightly thicker and slightly longer for a better hold. As for nail heads level with the surface, use a drift punch to countersink them slightly.
Wooden Surface and Sealants
To revamp the balcony's colour and surface further, clean it with a wood washer and brightener, lightly scrubbing to loosen the accumulated dirt and remove any stains or discolorations.
Wait 15 minutes and rinse off the cleaning solution with a pressure washer. The high-pressure washer rinses off chemicals, leaving the wood clean, bright and ready for a sealant.
A wood sealant will help restore colour and protect it from weather damage, as the sealant's main purpose is to slow down the rate at which the wood absorbs water and maintains longevity. This step is an absolute must.
Pour the sealant into a sprayer, and keep the head approximately one foot away from the balcony's surface. Make sure to spray a uniform coat of sealant. Allow it to dry overnight before letting anyone step out onto its surface.
How to Restore a Concrete or Stone Balcony
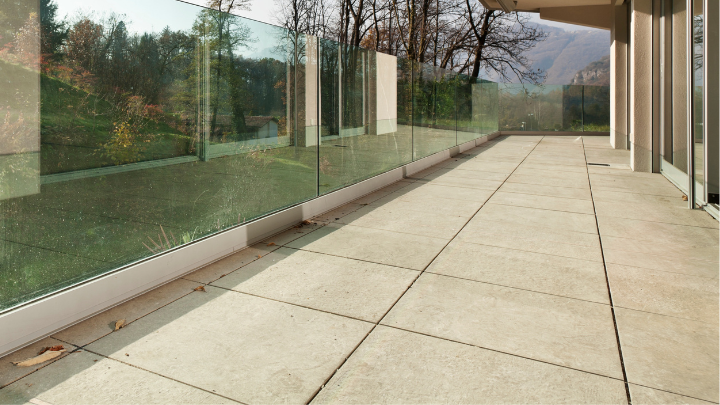
Source: Canva
Inspection
If you are finding that your concrete balcony is crumbling, cracking or honeycombing, you must remove concrete fragments and trim the edges of the slab. Check to see if there is exposed steel or if your railings, handrails or railing posts are corroding the panels.
Furthermore, make sure that the railings present meet current provincial standards as your balcony should be up to code in both your city and province.
Fixing an Aesthetic Issue
If you've determined that the problems with your balcony are aesthetic, start by first removing all deteriorated concrete and refilling the empty cracks, crevices and holes. This should be done with cement concrete for through-slab repairs, and polymer-modified concrete for patching repairs.
For hairline cracks up to 1/8 inch wide, use concrete dressing and force the thick paste into the open cracks with a putty knife. For cracks that are larger than 1 inch wide, use concrete-repair caulk. Fill the cracks in by squeezing the caulk into place, and smoothing it out with a putty knife.
Expansion Joints
Most large concrete slabs are divided into sections by expansion joints. These are in place to help control cracking and honeycombing, and the filling of these joints can vary between wood, plastic or asphalt-saturated felt. Do not cover these joints, as they must remain exposed to ensure the slab expands and contracts as needed. Make sure to mark each expansion joint with duct tape before moving forward with the next step.
Prepare Concrete and Apply to the Surface
Next, it's time to mix your concrete. This should be done using a heavy-duty mixing paddle as well as a 5-gallon bucket to hold the right amount of water and concrete powder. To mix the concrete into a smooth consistency, stir water and concrete as per the instructions of the brand you’ve chosen. Make sure to place the mixing paddle into clear water once the concrete has formed the desired, smooth consistency.
Repairs must be carried out using the correct repair mortars and waterproofing system. Polymer-based cement resurfaces are formulated to transform cracked, spalled, and weatherworn concrete to like-new condition.
Pour the concrete dressing onto the slab and immediately spread it around. This can be done with a flat steel trowel, pressing down hard to force the dressing into the crevices. If you're wanting a textured, slip-resistant surface, run a broom over the wet concrete, allowing it to dry.
Finishing
To finish the job, pull duct tape from expansion joints immediately after sweeping. Wait 24 hours and then apply a clear, waterborne masonry sealant to keep water from leaking in, improving longevity and helping your balcony to stand the test of time and years of weather damage!
How to Repair a Fibreglass Balcony
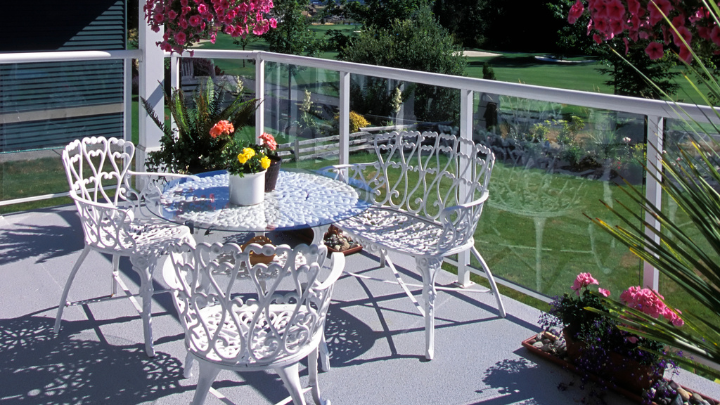
Source: Canva
More and more, real estate developers prefer putting in fibreglass balconies when building condo structures, especially since several units are built at the same time, on account of the material’s long-lasting and cost-effective characteristics.
Should you spot a crack in your balcony, regardless of how it occurred, make sure to fill in the resulting cavity to prevent water leaks that may potentially result in more fissures or the collapse of the balcony.
Repairing a fibreglass balcony requires one to pay close attention to several components to ensure the durability and safety of the structure. Here are a few elements to consider.
In-Depth Inspection
Prior to carrying out any repairs, proceed by assessing the balcony in close detail to spot any damages or weaknesses, as well as hidden cracks, material layers coming apart, or any other signs pointing to rotting material.
Surface Prep
Thoroughly clean with soap and water the zone that will be repaired to remove any dirt, debris, and time-worn coatings. This can also mean sanding the surface to ensure the repair materials used adhere to the surface properly.
Repair Materials
Use materials that are suited to fibreglass, such as epoxy or polyester resins, to fill in the cracks or rebuild damaged areas. Choosing the right materials depends on the extent of the damage and the balcony’s specificities.
In some cases, it may be necessary to add layers of fibreglass to reinforce the structure, especially if key areas have weakened over time. This means applying a fibreglass mat or resin-soaked fibreglass cloth.
Waterproofing
After having completed the necessary repairs, apply a waterproofing coat to protect the balcony to prevent any water leaks down the line. This may include paints or specially designed fibreglass coatings.
For complex or extensive repairs, it’s best to consult a fibreglass structure repairman to ensure the work is carried out safely and accordingly.
Are you looking for tips on how to restore a wrought iron balcony? Check out our article How to Fix Your Wrought Iron Staircase, which contains information that may be useful for this type of project.
Get 3 renovation quotes for your balcony restoration project
RenoQuotes.com can help you get quotes for your balcony renovation project. If you submit your project, we’ll put you in contact with 3 qualified professionals. Fill in the form on our homepage (it only takes a few minutes), and you will receive quotes from trusted professionals.
Dial 1-844 828-1588 to speak with one of our customer service representatives.
Last modified 2024-02-12
Looking for something else?
Related articles
The latest industry news, interviews, technologies, and resources.
RenoQuotes.com • 07 Nov 2023
The clay composition of brick is what gives it its characteristic earthy colour while also delivering enormous strength and durability. While brick does outlast other materials such as wood, over time a brick wall’s worst enemies are moisture and extreme temperature changes. These two natural elements that every Canadian must deal with annually can really compromise the mortar over time, leaving cracks and stains.
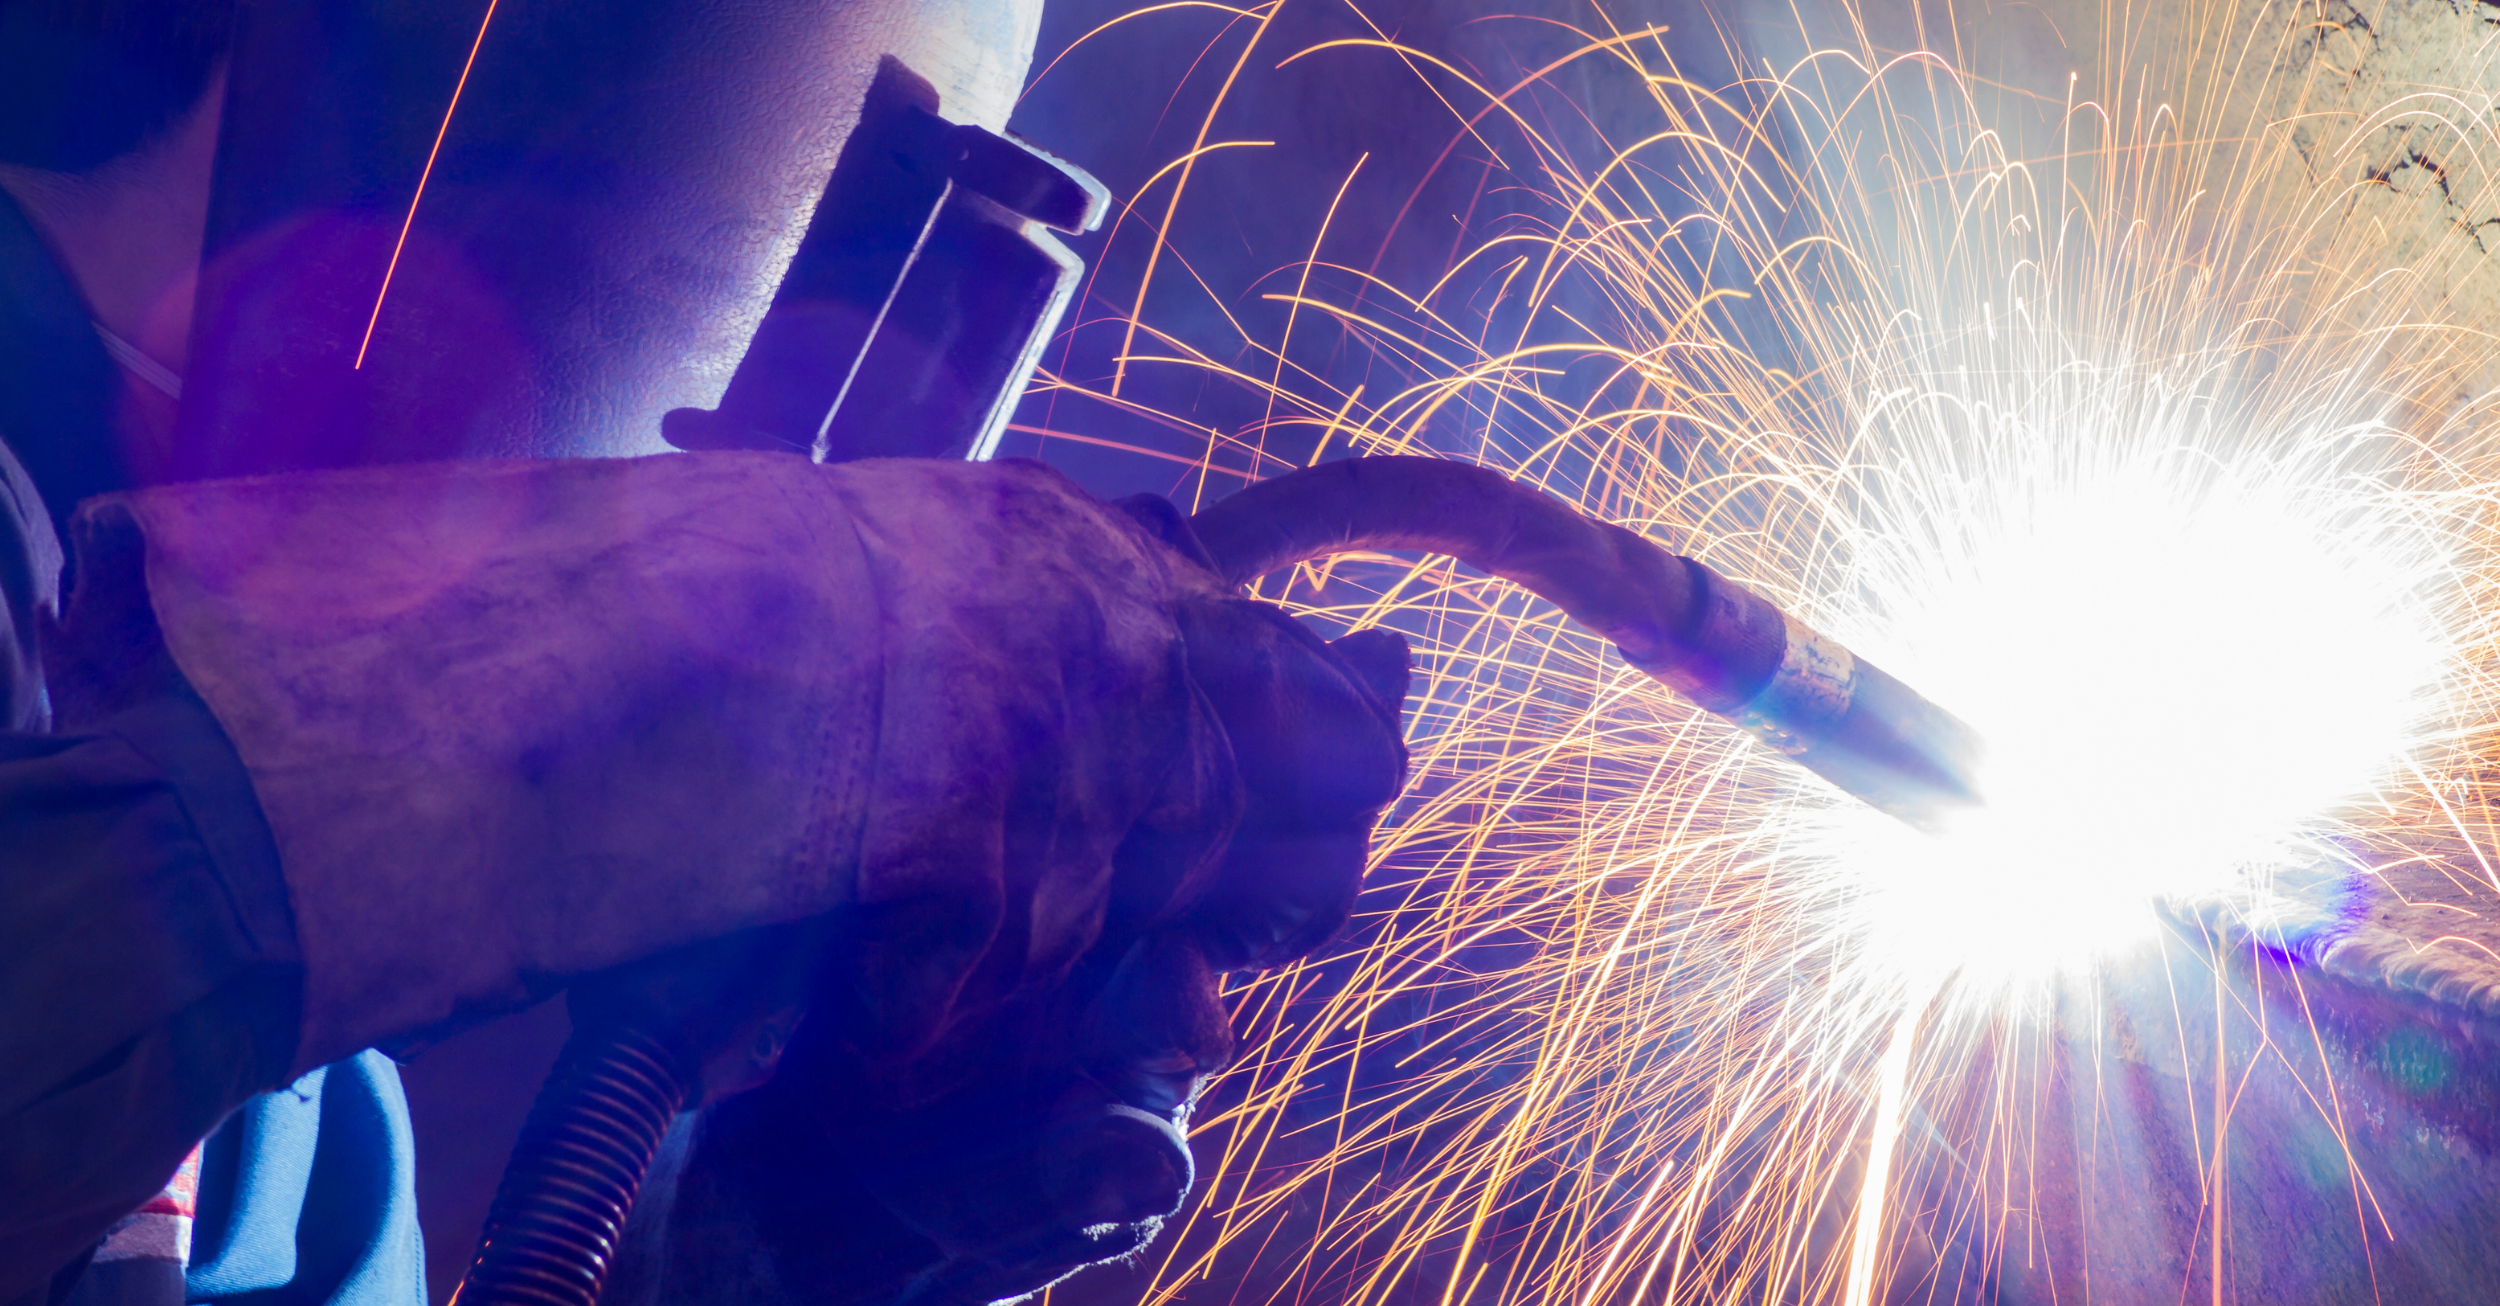
RenoQuotes.com • 07 Nov 2023
MIG/MAG welding, also known as gas-shielded arc metal welding, is a widely used welding technique in various industries. In this article, we will delve into the details of this welding process and explore why MIG/MAG welding is such a popular method.

RenoQuotes.com • 07 Dec 2023
True to its name, stamped concrete combines two things: concrete and stamps. While this definition paints a rather clear picture of what this building material actually is, it’s still important to delve into its other defining factors, thereby taking a closer look at other types of concrete.
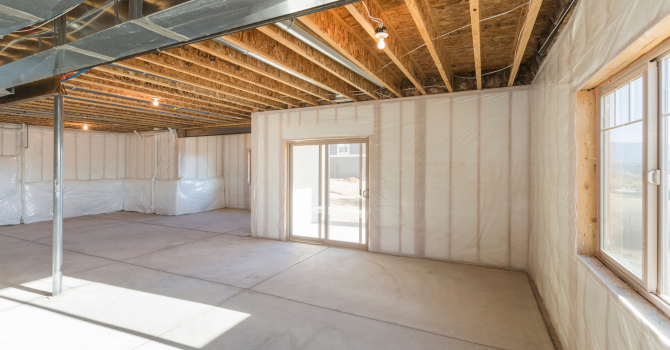
N/A • 07 Nov 2023
We have been building habitats below the earth for thousands of years. From caverns to catacombs and mysterious passageways, subterranean living areas are a special area of the home, with a building process that presents interesting challenges.
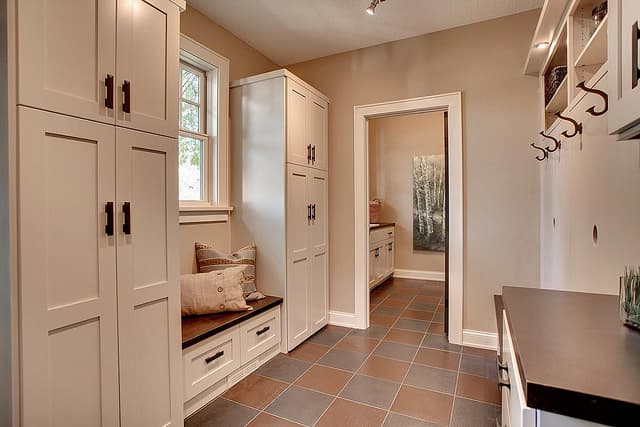
RenoQuotes.com • 07 Nov 2023
Is there anything worse than a cold floor beneath your feet as soon as you take off your shoes? The feeling that sends shivers right up your spine may have you wishing your home’s entrance had heated floors! Don’t fret because it’s a very reasonable option to consider for your entrance and RenoQuotes.com is here to share a guide on how to go about installing heated floors in your foyer.