Are you looking for a contractor?
Submit our quick form and get quotes now!
Table of Contents
5 min read
How to Patch Drywall

5 min read
How to Patch Drywall
Interior renovationsHow to Patch Drywall
Regardless of the reason behind the emergence of a hole, damaged drywall never looks good, period. And, since it's not aesthetically pleasing, it's important to properly fix it.
However, knowing what tools, materials, and techniques to use before carrying out this task is a must.
Patching Up Drywall
Necessary tools and materials
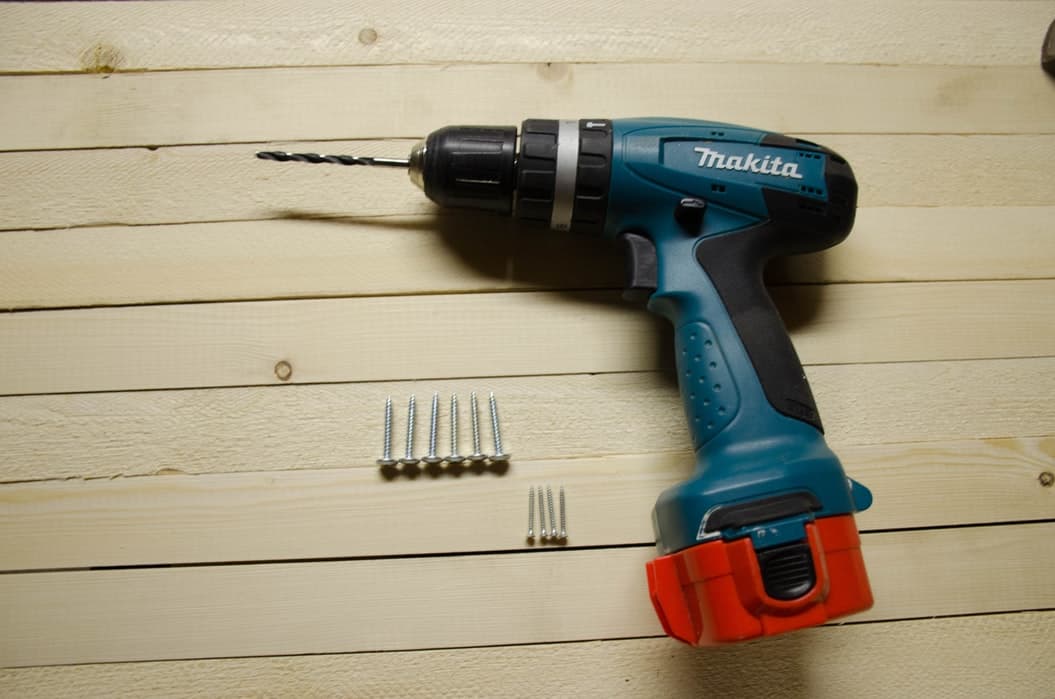
Before jumpstarting this project, make sure you have all the necessary tools and materials. Here’s a complete list so that you have everything ready at your fingertips.
Materials:
Spackle or wood fillers;
Gypsum board;
2 in x ¾ inch wood slats (minimum ½ inch width);
Epoxy putty;
1 ¼-inch coarse thread drywall screws or 2 ½-inch wood screws;
Self-adhesive patch tape (fibreglass);
Spackling;
Drywall joint tape (fibreglass).
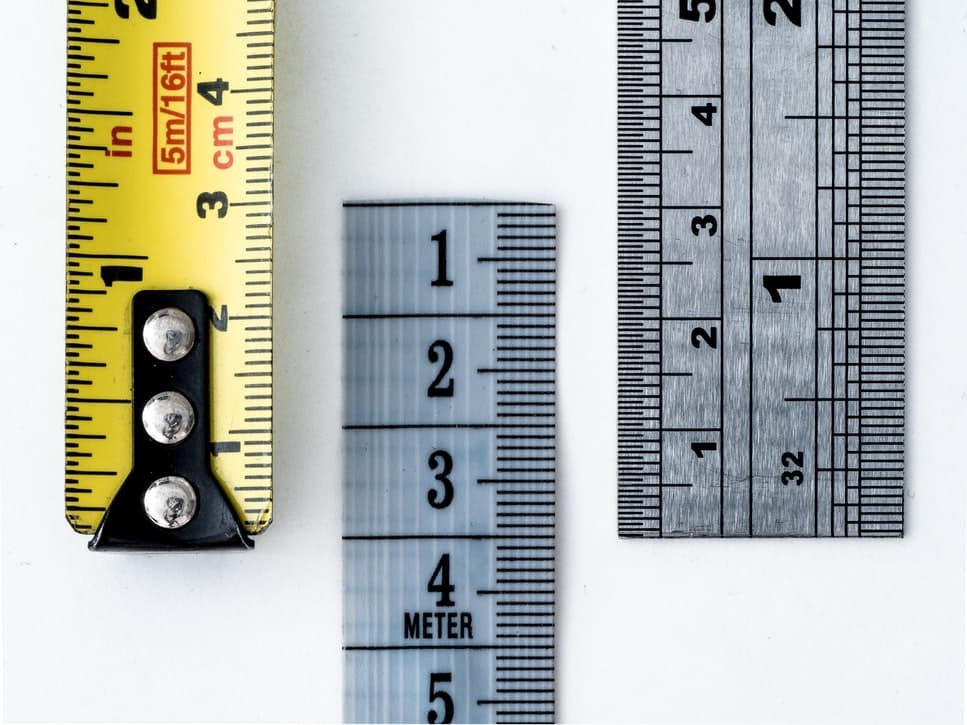
Tools:
Scissors;
Medium grit sandpaper;
Framing square;
Stud finder;
Measuring tape;
Screwdriver and drill bits;
Drywall saw;
Retractable utility knife;
Carpenter pencil;
Trowel.
Repairing a Small Hole (Less Than 2 Inches Wide)
To repair a slightly larger hole, but one that is less than 2 inches in diameter, you'll first need to gently sand around the edges of the hole. Then, wipe away any dust from the process with a damp rag. Next, use a joint compound or spackle to patch the hole.
Spread any excess spackling with a trowel and wait for it to dry fully. Once the allotted time has elapsed, use sandpaper to smooth the surface until it’s perfectly level and flat. Note that for a relatively deep hole, using a flexible filler is strongly recommended.
Are there any visible cracks around the hole?
Should there be any cracks around the hole, you’ll need to apply a piece of self-adhesive patch tape over the hole and ensure it adheres properly to the surface. Next, you’ll need to apply joint compound over the patch tape that covers the hole, adding a little extra product on either side of the area. Then, spread the second layer of the joint compound, and smooth it outwards with your trowel.
Let dry, and adhere once again to the manufacturer's instructions. Once this step is done, gently sand the surface and remove excess dust with a damp cloth.
Spackling a Hole Larger Than 2 to 5 Inches in Diameter
On the other hand, for larger holes (between 2 and 5 inches wide), wipe the surface of the cavity with a clean, slightly dampened rag. Then, place the self-adhesive patch tape over the hole and, with a trowel, apply a coat of joint compound.
Respect the manufacturer's instructions regarding the waiting period to make sure the product is dry and then repeat the steps. Remember to smooth the product towards the outside, downwards. To finish, sand the surface and wipe it down with a damp cloth.
Are you looking for experts to tackle your renovation project?
Fill out our form to receive quotes from certified contractors!
Patching a Hole Larger Than 5 Inches in Diameter
To repair this type of hole, start by using your carpenter's pencil to outline a rectangle all around the damaged area. Then, using a utility knife, cut out a perfect rectangle around the cavity and wipe the surface after you’ve finished cutting.
Use a stud finder to locate any of the wall’s structural framing. It’s important to determine the presence of studs because you can use them to screw in the piece of drywall in place afterwards.
Otherwise, you'll need to cut two pieces of wood for reinforcement, making sure that these pieces are 3 inches longer than the length of the rectangular cut-out. Note that the wood used for this purpose should be at least ½ inch thick. Next, with your carpenter’s pencil, mark the spot where the backer boards will be fitted, which should exceed the height of the rectangular cut-out by an inch and a half.
Next, fix the backer boards along the inside of the wall according to the markings on the wall. Secure everything in place by screwing each end of the backer boards with a 1 ¼ inch drywall screw (or a 2 ½ inch wood screw), then do the same for the second support.
Then, cut a piece of drywall that’ll fill the existing hole. Once this piece is cut, fit it into the opening and screw it to the wooden backer boards that you’ve previously secured. Next, gently sand the surface around the hole with medium grit sandpaper (about an inch around the rectangle).
Afterwards, clean the surface around the spot with a damp rag to remove any dust. Next, you'll need fibreglass drywall tape, which you'll apply to all four sides of the rectangle. Once the tape is applied, cover it with a thin layer of plaster and let it dry. Finally, sand the surface with a damp cloth to remove the dust.
Note that some people prefer to apply the joint compound directly to the wall. However, it's best to apply the drywall tape beforehand to conceal the patch as much as possible.
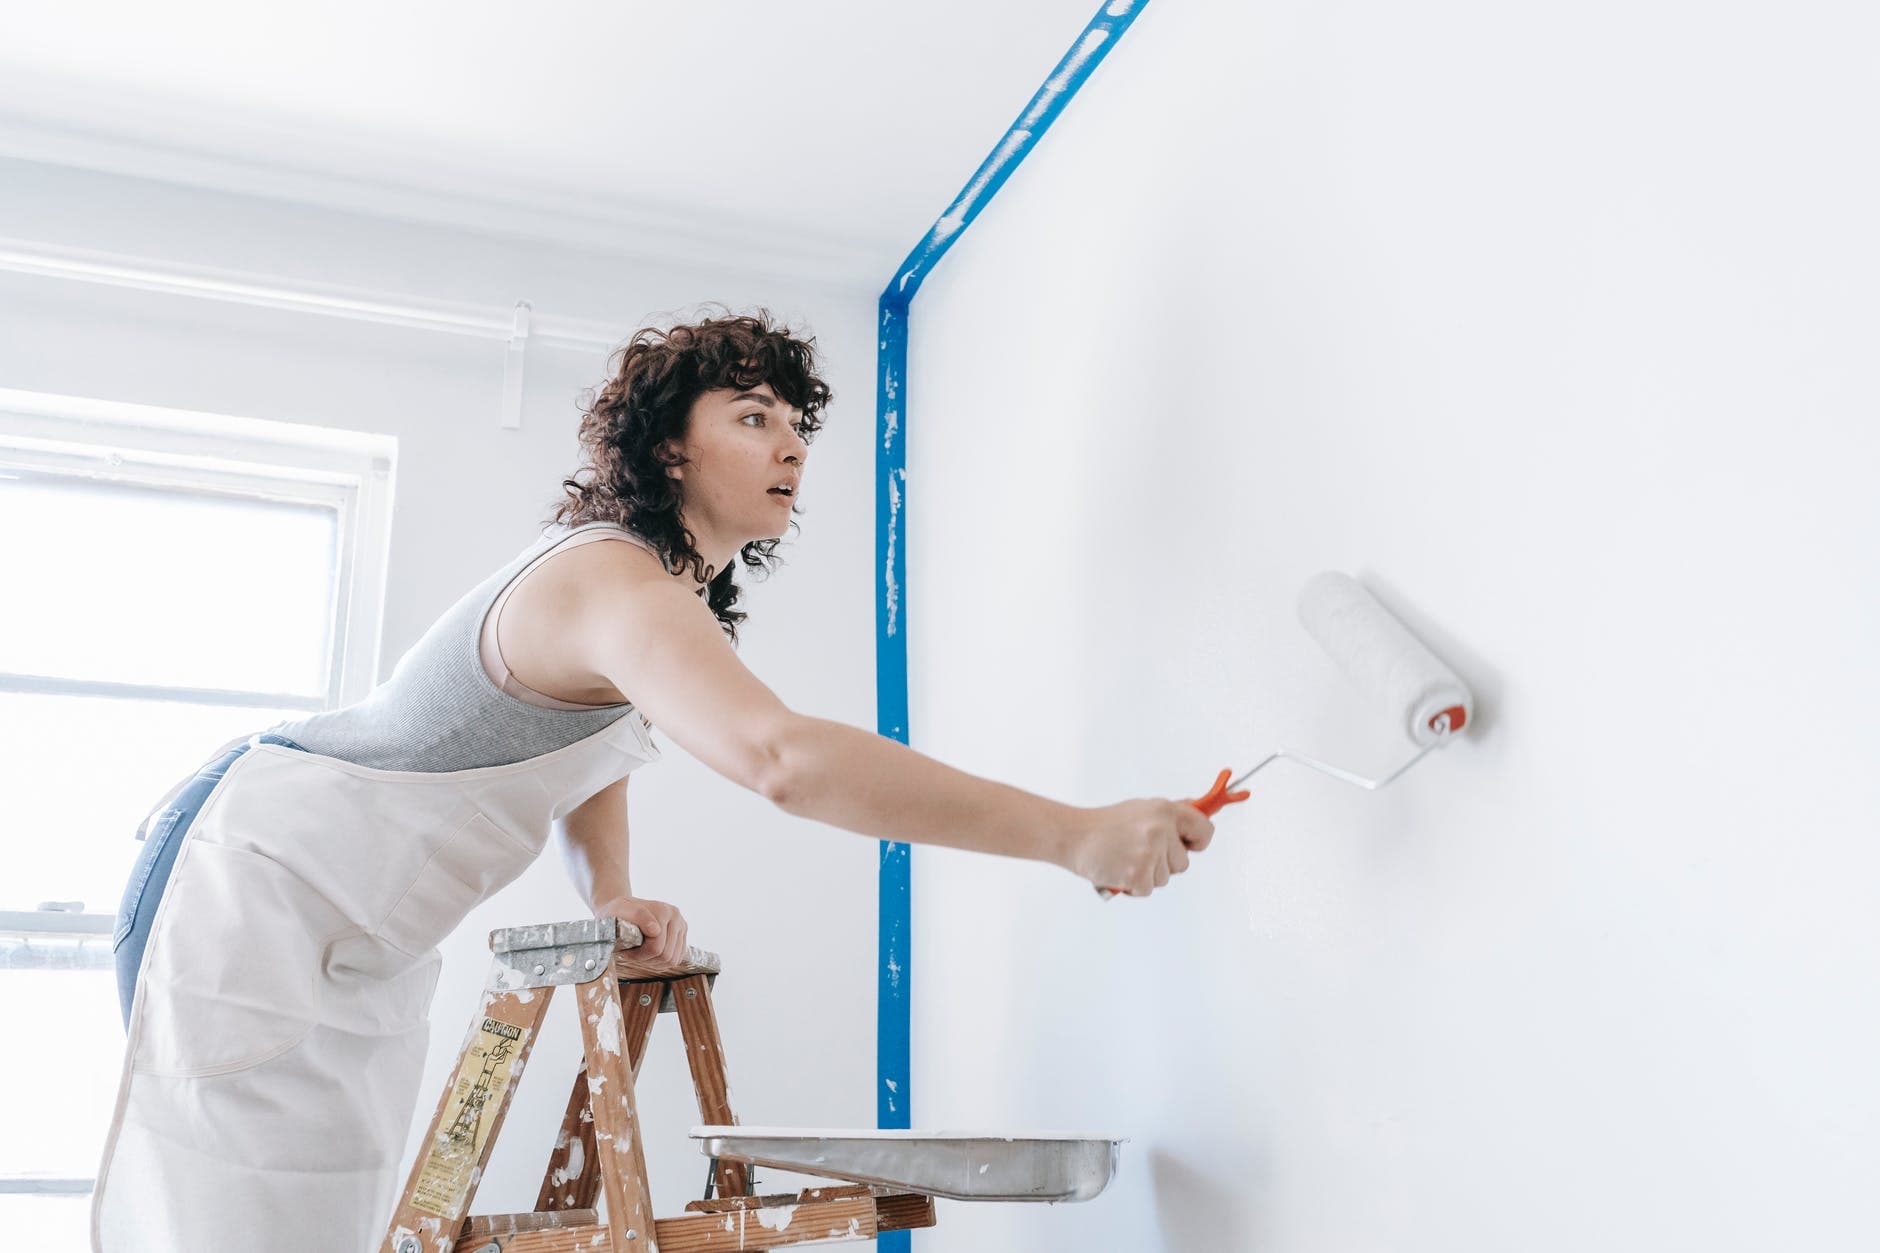
Should you notice any demarcation on the surface of the wall, apply a second coat of joint compound and repeat the previously outlined steps. It's always better to paint the entire wall again to avoid having any noticeable break in colour.
Do you need drywall boards installed? Check out our article on the subject matter to successfully carry out your project.
Get 3 quotes for your renovation project
RenoQuotes.com can help you get quotes for your home renovation project. By submitting your project, we’ll put you in contact with top-rated contractors. Fill in the form on the homepage (it only takes a few minutes), and you will get estimates from trusted professionals.
Dial 1-844 828-1588 to speak with one of our customer service representatives.
Last modified 2023-11-07
Looking for something else?
Related articles
The latest industry news, interviews, technologies, and resources.
RenoQuotes.com • 02 May 2024
Your windows make up an integral part of your home, keeping the air inside fresh as well as offering ample light and views of what lies outside. But, what if your windows no longer fit in with your home décor or maybe they’re not performing as efficiently as before? In any case, it’s important to know when to change your windows.

RenoQuotes.com • 07 Nov 2023
The floors of the foyer are easily the most beat up thanks to our harsh Canadian winters that have us tracking slush and mud inside. Since this is the room used to remove boots, shoes and other outerwear, it is important to make sure the life of your floors is extended as long as possible.

RenoQuotes.com • 07 Nov 2023
Reducing the energy waste of your home allows you to reduce your energy costs, an easy choice to make! When all Canadians take steps to increase energy efficiency, these efforts do not add up individually. Rather, they multiply exponentially. The simple act of changing a light-bulb can create a snowball-like effect to the point of boosting economic growth and job creation from coast to coast.

Cynthia Pigeon • 07 Nov 2023
Over the last couple of years, eco-friendly alternatives to traditional asphalt shingles have made their way into taking hands around Quebec. Between energy savings, fewer environmental impacts, and sure financial incentives, choosing eco-friendly roofing is quite the compelling option.
Léa Plourde-Archer • 07 Nov 2023
At the time of writing, there are only two weeks left before we can return to live in our home. Being 32 weeks pregnant, I can't wait to get back to my belongings and my comfortable home.