Are you looking for a contractor?
Submit our quick form and get quotes now!
Table of Contents
5 min read
Making a Gravel Driveway
5 min read
Making a Gravel Driveway
Exterior renovationsMaking a Gravel Driveway
It goes without saying that asphalt is usually the first material that comes to mind when considering a new driveway. However, there are other options on the market that are just as durable and aesthetically pleasing.
For those who want to choose a material that’s both natural and eco-friendly, why not opt for gravel? Whether your project covers the entire driveway or just a single walkway, gravel is compact, comes in many different colours, and is relatively inexpensive.
Here are the steps to follow to make a gravel driveway, as well as a brief summary of the pros and cons of using this material.
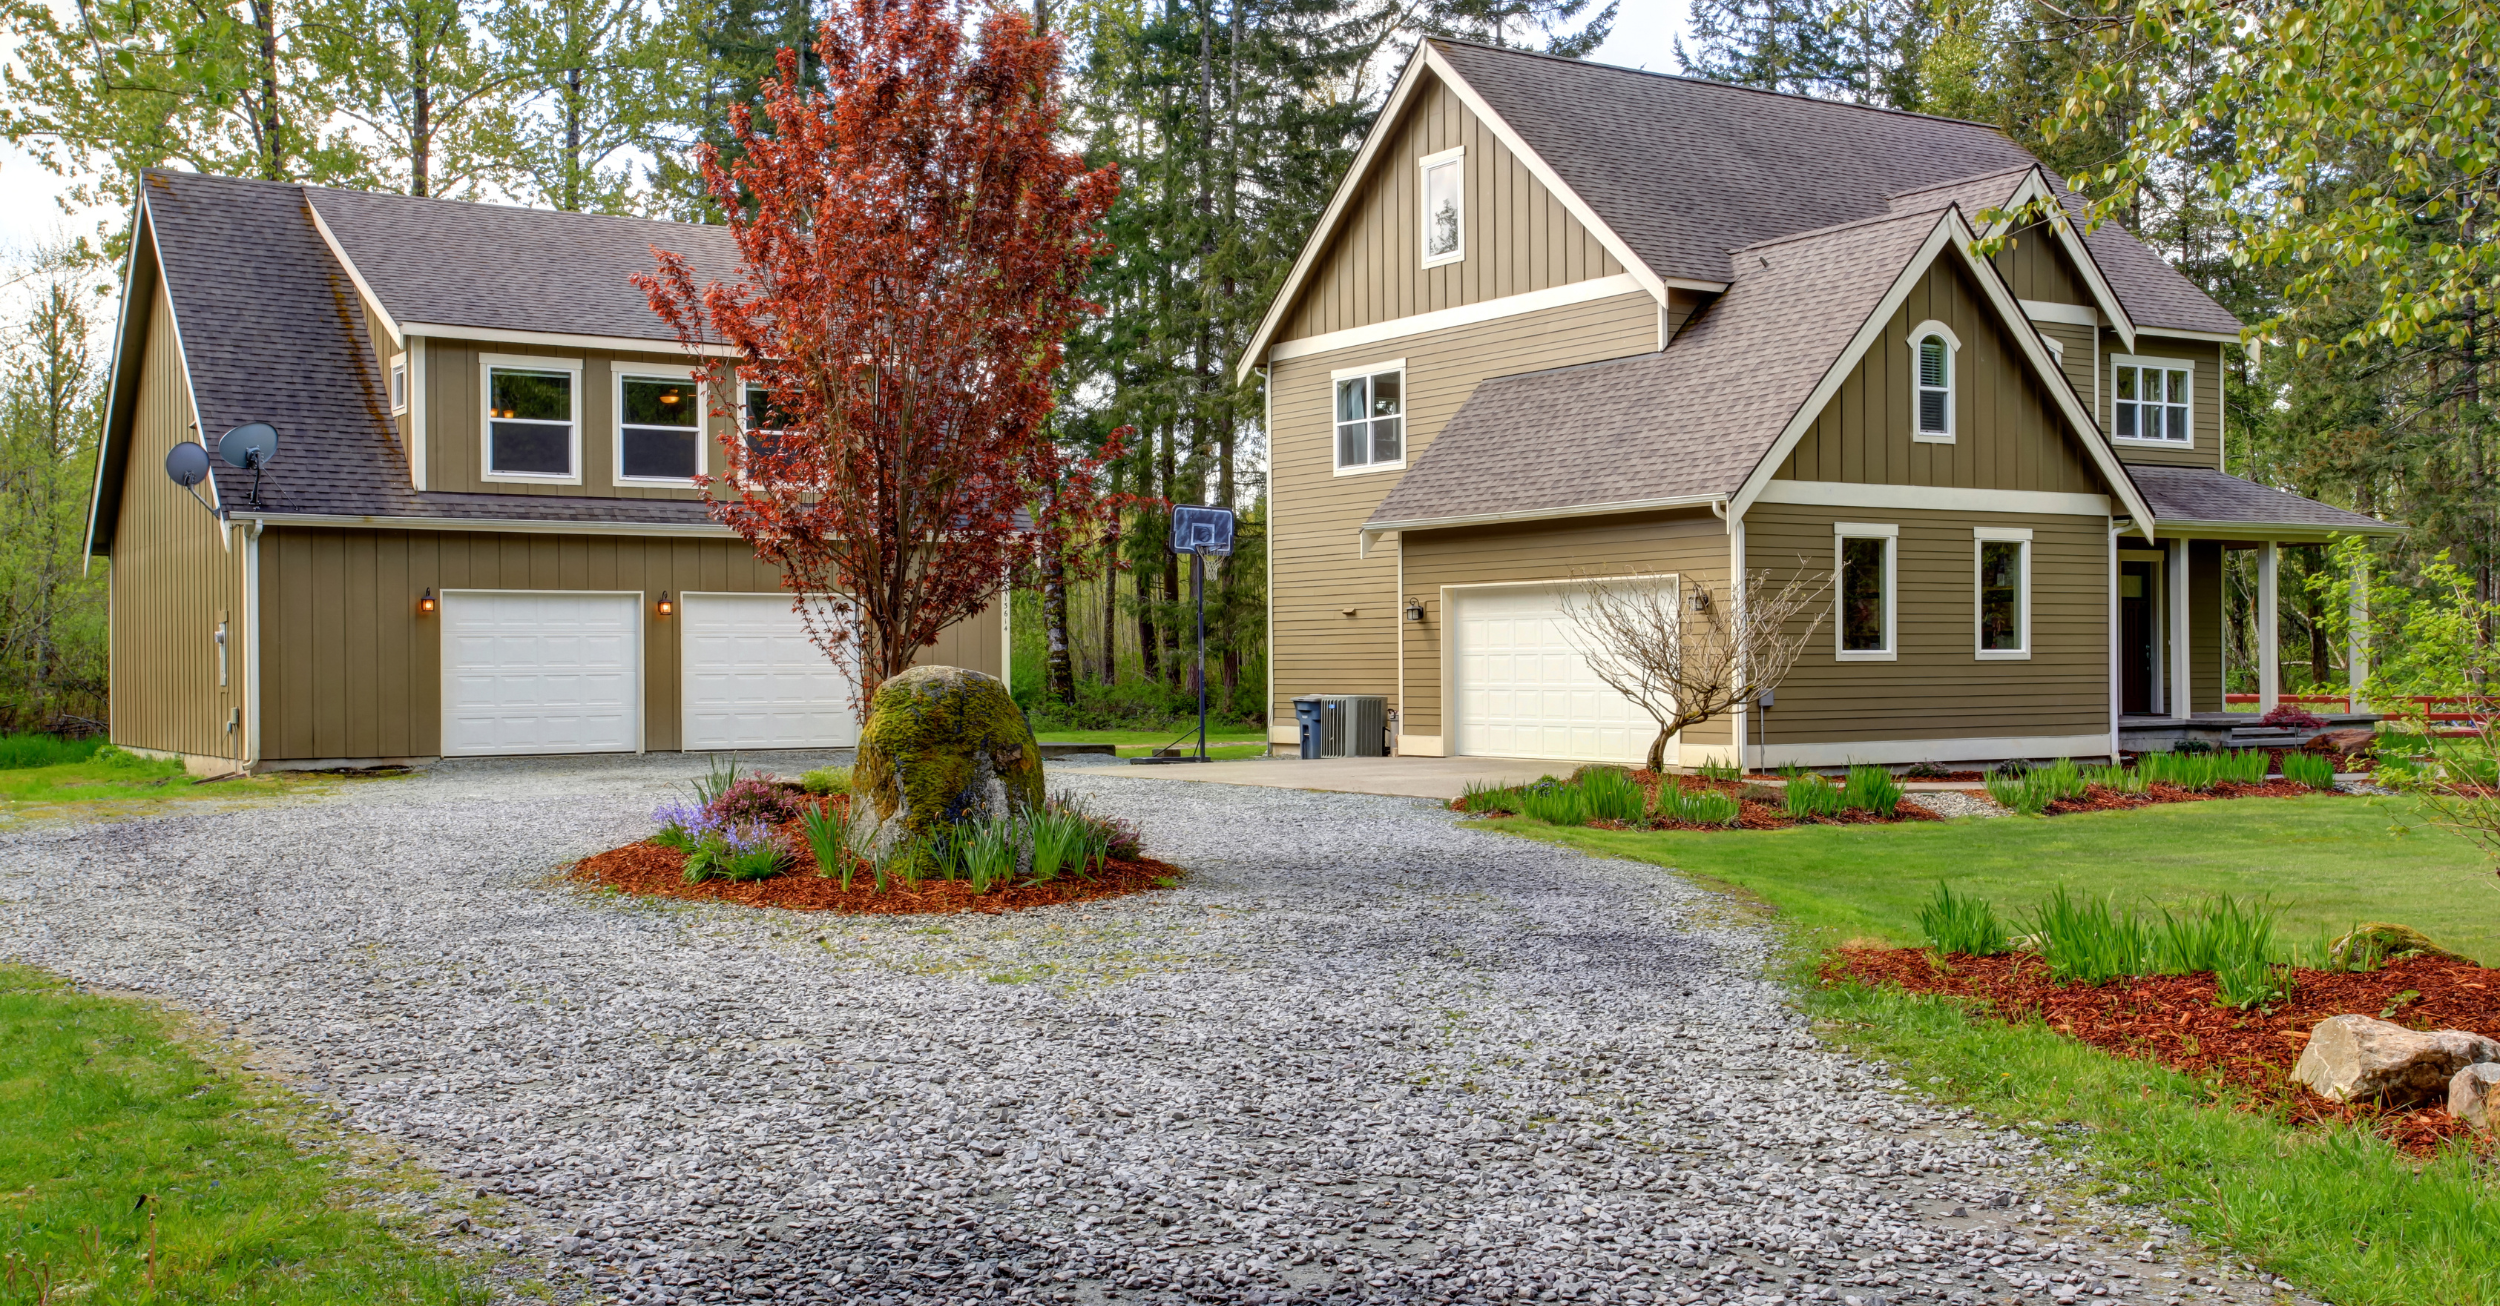
How to Make a Gravel Path
Source: Canva
Draw up a plan and determine the amount of gravel needed
As with any project, the first step is to make a plan. When you start planning, keep in mind that the walkway will need to be wide enough for pedestrians to move around easily. Also, bear in mind that if you plant flowers and shrubs around the edges, as these plants grow, they’ll lessen the amount of usable space you’ll have on your pathway.
With this in mind, a walkway should be between 80 centimetres and 1.3 metres wide, which is also sufficient space to walk around with gardening equipment or a lawnmower. You'll be glad you created this walkway when it’s time to plant your garden. There's no way your wheelbarrow will get stuck in the mud and, as a bonus, your shoes will remain dirt-free!
Once you've established the dimensions of the driveway, you'll need to calculate the amount of gravel required. On average, 50 kg of gravel per square metre is a good enough guideline. Before you start calculating, consider that the driveway will consist of two to three layers of gravel to ensure its durability and resistance, especially given the Quebec winters.
While river stones are commonly used for flowerbeds, 0-¾-inch stone dust is preferred when filling in a pathway. Also, crushed stone is preferred over rolled gravel. For driveways and yard pathways, opt for decorative gravel between 7 and 20 millimetres. Before you start laying gravel, you may need to sift it around a bit to clean out any dirt so that you don't accidentally create gaps prone to weed growth right in the middle of your walkway.
Also, consider the materials you’ll want to use for your driveway. For example, you may want to lay a cobblestone or paving stone border, or create small holes to incorporate lights, and so on.
Pouring the first layer of gravel
First off, mark the edges of the driveway with string and stakes. Next, dig about 10 centimetres deep. To work with a level surface, make sure to smooth the bottom of the dugout with a garden roller and lay down a geotextile fabric. Then, you can start pouring the first layer of gravel, which consists of ¾-inch "uniform" gravel, about 8 centimetres thick.
It's vital to choose gravel with similar shaped — and sized — pebbles, otherwise the gravel will eventually become so compacted that water won't be able to filter through it. To achieve an even layer, go over the entire surface with a garden roller suited for the width of the path.
Pouring the second layer of gravel
Next, you'll need to lay a geotextile fabric on top of the gravel so that the second layer can be poured without the first layer mixing in. This second layer of gravel will be about 2 centimetres thick. As for the size of the pebble in question, you're pretty much free to choose the size of pebbles you want. But, remember that fairly fine gravel will give off a more aesthetically pleasing finish. Top it off by smoothing out the top layer with the garden roller.
Although it's not entirely necessary to do so, it might be a good idea to have the first layer of geotextile fabric pulled up over the edges of the driveway to ground level. This'll prevent shrub roots at the edge of the path from growing into the driveway.
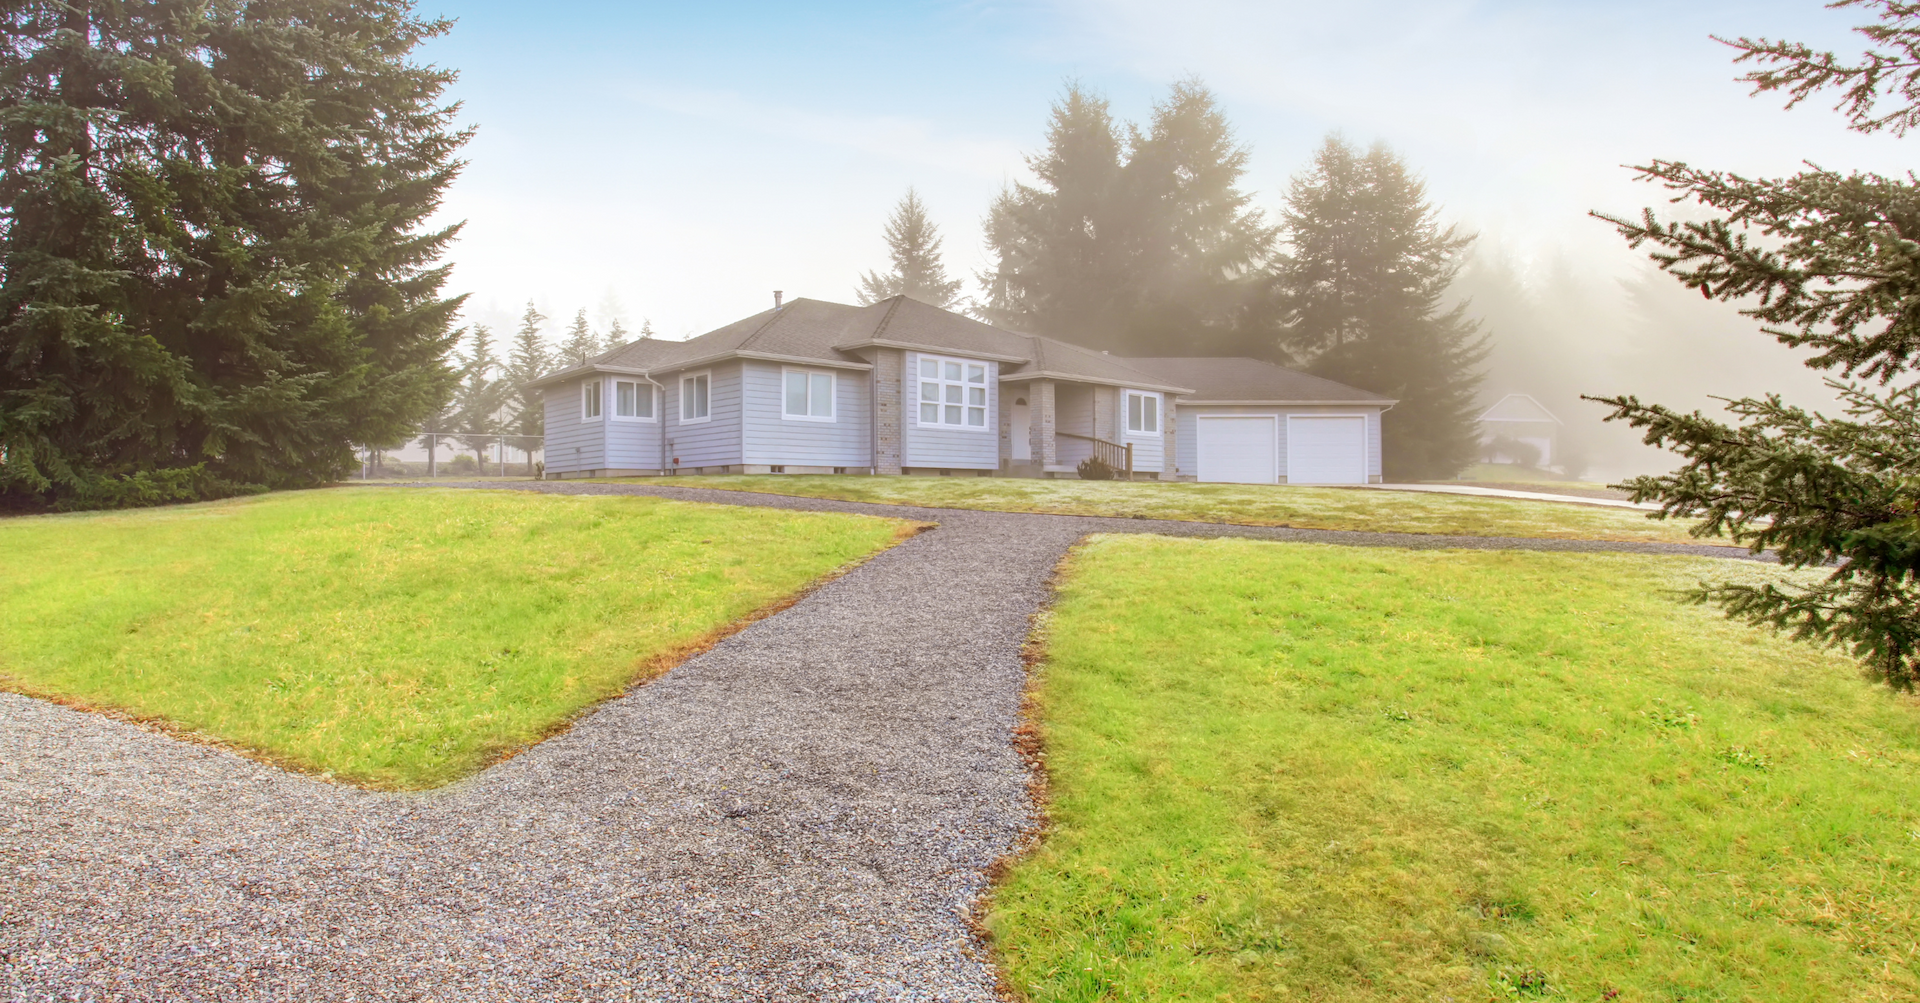
Pros of Having a Gravel Driveway
Source: Canva
When it comes to the advantages of putting in a gravel driveway, the first thing to note is the low cost of gravel, which is about $35 per square metre. Secondly, gravel prevents water from accumulating, as it filters it naturally. Therefore, a gravel driveway keeps water from pooling on its surface.
Furthermore, note that gravel is an eco-friendly material, reducing the negative impact this task could have on the environment. Bear in mind that if you want to create a winding driveway, it'll be easier to achieve with gravel than with asphalt. Finally, this type of project requires few technical skills, and even fewer people to assist, which is a definite advantage.
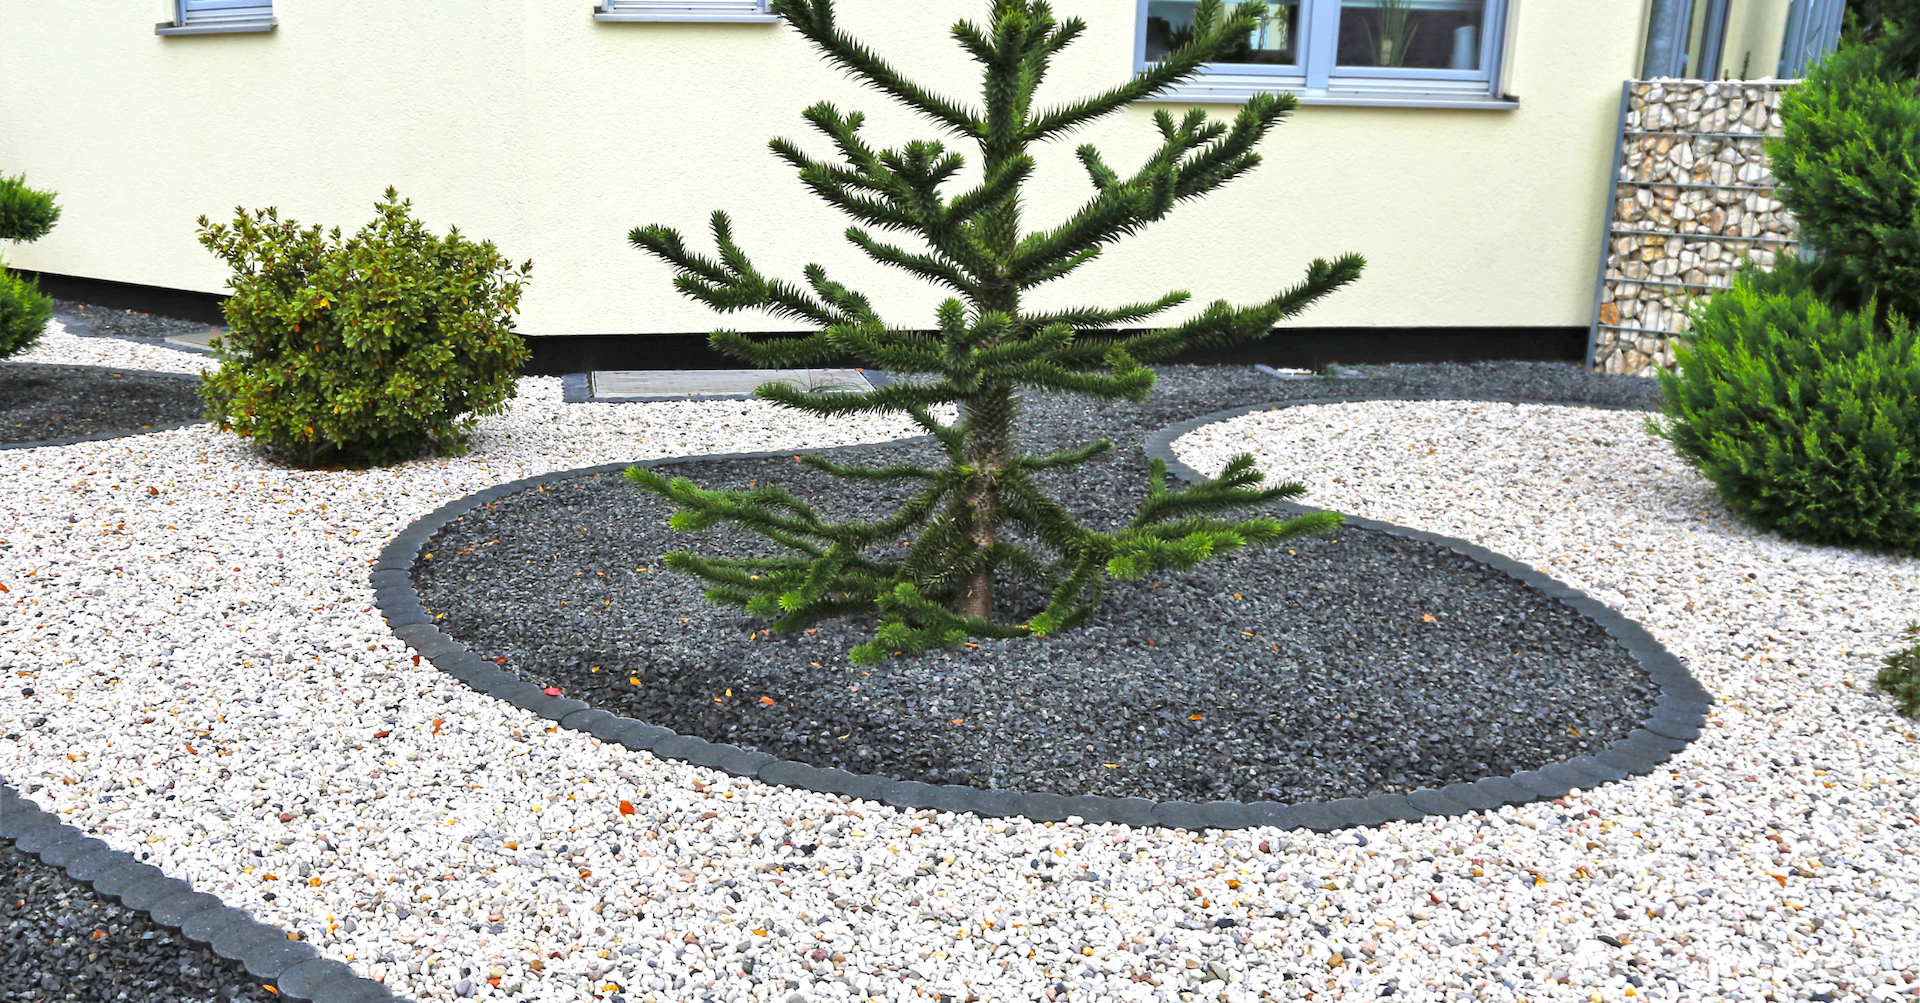
Cons of Having a Gravel Driveway
Source: Canva
As for the drawbacks of this type of driveway, note that gravel does have a tendency to loosen up a bit over time. As a result, it requires a little more maintenance than a traditional asphalt driveway. In fact, you'll need to add gravel within a few years of its initial construction to keep it level. Moreover, it is not recommended to gravel steep driveways. Rainwater will wash away the gravel and your beautiful driveway will succumb to gravity’s forces.
Get 3 quotes for your gravel driveway project
RenoQuotes.com can help you get quotes for your gravel driveway project. By submitting your project, we’ll put you in contact with top-rated contractors. Fill in the form on the homepage (it only takes a few minutes), and you will get estimates from trusted professionals.
Dial 1-844 828-1588 to speak with one of our customer service representatives.
Last modified 2023-11-07
Looking for something else?
Related articles
The latest industry news, interviews, technologies, and resources.
Amanda Harvey • 07 Nov 2023
The windows of your home have a multitude of uses: they allow for an excellent view, give access to a cool breeze on warm or stuffy summer days as well as block out the chilly air during winter months. However, even when your windows are closed, one of the main ways that air can escape out into the world is through the small spaces between the window frame, glass and walls.

RenoQuotes.com • 29 Apr 2024
Across Canada, we long for warm weather. Balmy months mean a chance to enjoy the great outdoors, and if you’re lucky, that also means enjoying a glass of wine on the comfort of your balcony. If your home has a balcony, you already know that keeping it in shape takes a little bit of effort and elbow grease.

N/A • 07 Nov 2023
A renovation project without delays is like thunder without lightning; when one occurs, the other follows. Yes, the truth of the matter is that almost every single renovation project will experience a small or large bump in the road.
Léa Plourde-Archer • 07 Nov 2023
At the time of writing, there are only two weeks left before we can return to live in our home. Being 32 weeks pregnant, I can't wait to get back to my belongings and my comfortable home.
RenoQuotes.com • 07 Nov 2023
Compared to other Canadian provinces, Quebec was shown to be a leader in a study led by Ecohome on LEED-certified homes in Canada. Quebeckers have access to numerous government-issued financial assistance programs to subsidize their eco-friendly choices.