Are you looking for a contractor?
Submit our quick form and get quotes now!
Table of Contents
7 min read
How to Paint Kitchen Cabinets
7 min read
How to Paint Kitchen Cabinets
KitchenHow to Paint Kitchen Cabinets
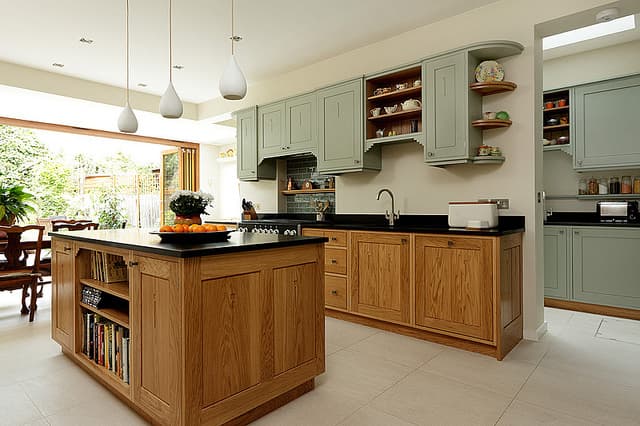
Are you looking at your kitchen cabinets thinking about how they're old and outdated but still intact? Maybe you aren’t quite ready to replace them because the frames and doors are structurally sound, or a whole new cabinet renovation just isn't in your budget. Whatever the case, for a quick kitchen update, all that cabinets require is a fresh coat of paint!
Brush on a new coat of paint to give your cabinets a quick update! This simple DIY task requires a bit of patience and finesse but can be completed by almost any homeowner. Follow our straightforward steps and your kitchen cabinets will be looking fresh and current in no time!
Here are the 5 main steps to follow when painting kitchen cabinets
1) Get Prepped!
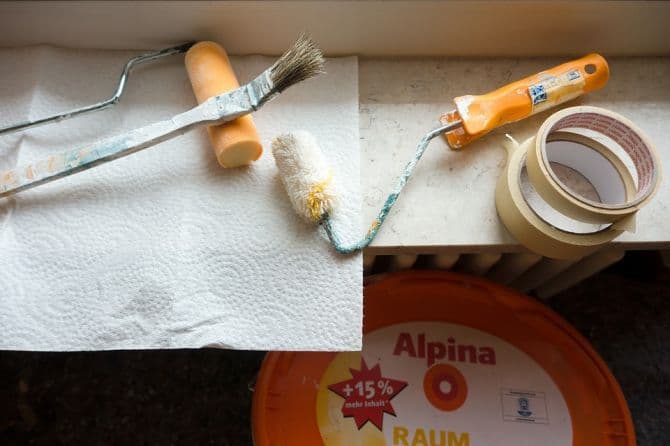
The most important steps when painting kitchen cabinets do not happen in the painting itself, but in fact, happen in the preparation for the project! To guarantee that your paint job goes as smoothly as possible, you'll want to be good and ready.
An important note is to understand which types of kitchen cabinets can be painted. Metal, wood, and wood-laminate cabinets are the easiest types to paint whereas plastic laminate cabinets can be quite difficult. If you’re working with plastic laminate cabinets, do bear in mind that they require a special kind of paint as well as a specific technique.
Regardless of your cabinet's material, we’d recommend testing a sample of the paint on an unnoticeable area to make sure the paint will stick and come out in the shade you’re looking for. Also bear in mind that flat doors and drawers will be much easier to paint than detailed woodwork or raised panels. If your cabinet doors have detailing, they’ll need more time to prep, paint, and dry.
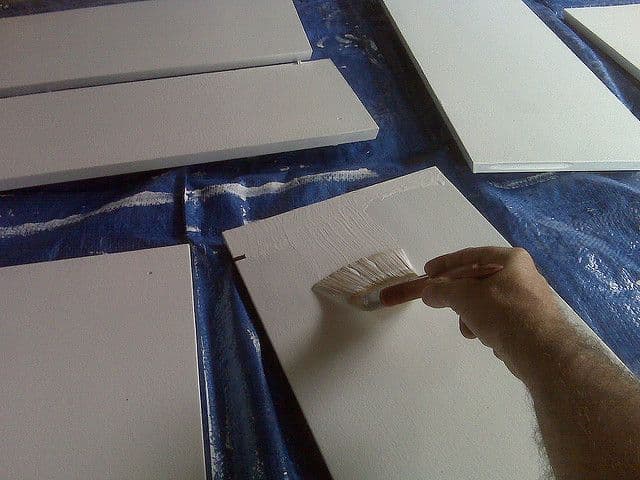
One of the most common mistakes homeowners make when painting their kitchen cabinets is forgetting to remove the doors from their place. However, this step is crucial. Take the doors off, remove all hardware as well as any knobs, hinges, or additional drawers you plan on painting. This will make the painting process far easier than attempting to paint the cabinets while they're still in place.
After removing all fixtures, label the doors, drawers, and hardware! This step may seem unnecessary, but in the end, you'll be thankful! Label each door with tape so you’ll know where they go when the job is finished. Use numbered labels or pieces of masking tape stuck to the backside of each piece.

2) Clean the Kitchen Cabinet Surfaces
Following the removal and labelling, you'll want to devote more time to prep the surface of your cabinets. This involves thoroughly cleaning, sanding and priming every inch of the surface. Cleaning the surface of the cabinets is a vital step, allowing for your new paint and primer to adhere properly.
Since kitchens deal with daily grime and grease, years of dirt is hanging around and sticking to your cabinets, so you need to be extra attentive to any buildup or residue.
To do this, you should work with a TSP Substitute. If the cabinets have been cleaned recently, or aren't too greasy, a degreaser will work just fine. It may take a few passes of the substitute or degreaser before the cabinet is fully prepped, so roll up those sleeves and put your arms to work! Not only do you have to clean the cabinets themselves, but make sure to clean the surrounding area as well. Be sure to avoid soaking cabinets with water, as this could lead to permanent damage.
Any grease in the area could make its way onto your freshly painted cabinets, and you don’t want your new paint job to be tainted by leftover grime. If you notice little imperfections on the surface of the cabinets that you want to fill in, now would be the time. If you're working with wood cabinets, use a wood filler.
3) Sand the Surfaces

Even if your cabinets are new or in mint condition, do not skip sanding them. Sanding further prepares the surface for the paint and primer to adhere. Skipping this step will likely end in an uneven paint job that you'll be hoping you could take back. A rotary sander can be used for this job, specifically for flat areas of cabinets. Hand sand the parts that are sticking out or any small details on cabinets. We should mention that when sanding cabinets, it’s not required that you remove all existing paint.
Do not forget about door edges! Determine the type of sandpaper you use based on the shape your cabinets are in. If you're unsure, play it safe and go for medium grain sandpaper. If your cabinets have been previously painted, this may require stripping the surface, which is a necessary extra step!
4) Prime the Cabinet Surface!
Some homeowners will be tempted to skip this step or buy a paint-and-primer in one product. But beware, neither of these options will have the desired outcome. Priming the surface is yet another way to prepare for painting, as well as to avoid unwanted knots bleeding through months down the line by offering a solid base for water-based or semi-gloss paints. Make sure to choose a water-soluble primer or one that has been recommended for the type of surface you are working on, as well as the kitchen.
Also, it's important that the primer is tinted to match the top coat and is especially crucial if the original surface is dark. You'll want to avoid the potential for the initial colour to bleed through and taint the new paint colour. After your primer coat is dry, gently sand away any imperfections that you find on the surface, but be very careful with this step as you want the primer to stay intact.

5) Time to Paint the Cabinets
After all the initial steps, we are finally ready to paint those kitchen cabinets! Firstly, make sure to choose the correct colour. Although this is a straightforward project, it's not one that you'll want to repeat anytime soon. Thus, as we mentioned in our first step, be certain that you've painted a test surface to see how the colour dries. If you're satisfied, then you can go ahead with painting the cabinets. Not only is the colour important, but you'll want to buy the right type of paint for the kitchen.
Choose between acrylic enamel paint and alkyd paint. Water-based acrylic paints have little fumes and clean easily whereas alkyd or oil-based paints need to be applied in a space with good ventilation, as they contain solvents that can irritate the lungs. However, alkyd paints provide a very durable finish.
Buy the best quality paint you can afford, as this will ensure the paint's longevity. There exist self-levelling paints that level out brush marks as the paint dries, making for a super smooth finish. Make sure paint is well-stirred and start with your cabinet doors, as they will need time to dry in order to paint both sides.
Then you’ll want to move onto wood pieces and moulding, followed lastly by drawers. Avoid allowing the paint to accumulate in one spot. Make sure to leave at least 3 hours between coats of paint. Some homeowners may choose to apply between 2 and 3 coats, as 3 coats will protect against heat, splatter, and frequent use. Complete the paint job with a small brush, making sure to be extra careful around door edges and delicate details.
Finish painting with a foam roller to smooth things out nicely, especially if you're not working with self-levelling paint. Now, it's time to wait. Don't be too hasty when reattaching cabinet doors; give ample time for everything to dry and your cabinets will be beautiful and ready to use in no time!
Get 3 renovation quotes for your kitchen cabinet painting project
RenoQuotes.com can help you get quotes for your kitchen cabinet painting renovation project. If you submit your project to us, we’ll put you in contact with top-rated contractors. Fill in the form on the homepage (it only takes a few minutes), and you will get estimates from trusted professionals.
Dial 1-844 828-1588 to speak with one of our customer service representatives
Last modified 2023-11-07
Looking for something else?
Related articles
The latest industry news, interviews, technologies, and resources.
Amanda Harvey • 07 Nov 2023
Is your home ready for a much-needed renovation? Do you feel like you're prepared to take on the job? Many homeowners feel as though everything has already been considered and arranged, but there are often aspects of home renovations that are overlooked and can lead to serious problems down the line.

Amanda Harvey • 07 Nov 2023
During the warmer months of the year, letting a cool breeze in through the windows of your home feels like a treat. However, during winter time those drafts feel particularly frustrating, blurring the lines between indoors and outdoors.
Léa Plourde-Archer • 07 Nov 2023
Thinking about laying tiles as a wall covering? Learn more about the different characteristics of this material that’s both durable and customizable, as well as maintenance tips, and the average cost of tiles.

RenoQuotes.com • 07 Nov 2023
Inflation significantly affects several economic sectors, and the renovation industry is no exception. Whether it be minor or major repairs or remodels, when the cost of materials, supplies, and services increases, it becomes much more difficult for homeowners to carry out renovation projects as intended.
RenoQuotes.com • 07 Nov 2023
A few months ago, if you had told us that we would be telling contractors to present quotes remotely, we would've had a hard time believing you. We are now going through an exceptional situation that requires us to adapt to a new reality. The most recent recommendations from the government have been to reduce in-person meetings to avoid spreading the virus.