Are you looking for a contractor?
Submit our quick form and get quotes now!
Table of Contents
5 min read
How to Replace Caulking Around Windows


5 min read
How to Replace Caulking Around Windows
InsulationHow to Replace Caulking Around Windows
Did you know that 25% of your home's heat loss is due to faulty caulking resulting in outside air seeping in? Therefore, properly caulking your home is an essential part of protecting your health and that of your family, and reducing your electric bill.
It can be easy to neglect your window caulking upkeep by thinking you do not have the necessary skills to undertake such a project. However, it is such an easy thing to do!
Why is replacing your old window caulking so important? And, how are you to know that you are doing it the right way? Keep reading to find out!
4 Essential Steps to Caulk a Window

Source: Canva
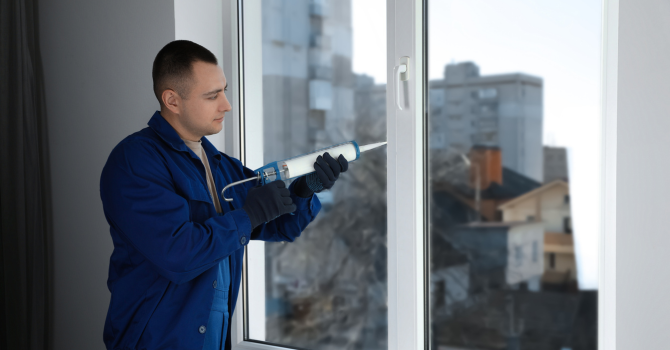
1. Proceed with a Visual Analysis
Source: Canva
The importance of adequately caulking your home lies in the fact that it will act as a sealant between the joints of the house, as well as prevent water, cold and warm air, and potentially harmful elements from infiltrating. A properly done caulking will prevent humidity from seeping through the insulation and the whole of the home.
The first step would be to proceed with a detailed visual analysis to detect any air seeping in from the windows. A good way to find out if your windows are allowing outside air to penetrate is to be on the lookout for spider webs, as insects have a tendency to build their webs in areas with open airflow.
2. Remove Old Caulking and Prep Surface
Source: Canva
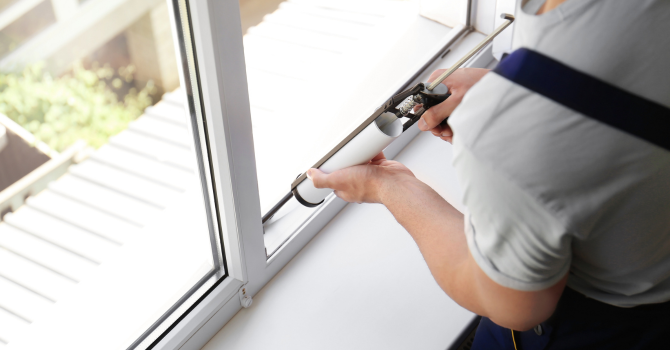
The already present caulking will have to be removed in its entirety. Since the caulking will most likely be dry, it is best to soften it beforehand in order to work without too many difficulties. To do so, use a heat or soldering gun, and run it back and forth along a short section of the caulking. Proceed cautiously as this step should be done without haste in order to avoid damaging the paint around the window frame.
Then, with the help of a knife with a retractable sheath, you should be able to slowly peel back the caulking in order to remove it. Once all the caulking has been removed, clean the surface with a cloth that has been dipped in lighter fluid to ensure the surface has been rid of any caulking residue. Vacuum in between the window frame and the window to remove any particles that might have fallen or gotten stuck in the gap. Also, make sure that the surface is entirely clean and devoid of any dust or paint chips.
Before caulking, insert foam tapes in the gaps should the space be greater than ¼ inch. The foam will ensure that the gaps are fully sealed, as well as provide additional cushioning for the caulk. If your window gaps are very wide, insert a filler material such as expanding foam or adhesive strips.
3. Caulk Window

Source: Canva
Position the caulking gun at a right angle along the gap line. To ensure a smooth finish, gently squeeze the trigger and limit to a minimum any interruptions in the caulking process.
Should you experience any difficulties in properly filling in the gaps, use a small disposable stick to push in the paste to properly fill the space. Make sure the gaps are filled on both sides and do remember to add more paste if needed. When completed, gently release the trigger to avoid any spillage.
4. Smooth Silicone Caulk
Source: Canva
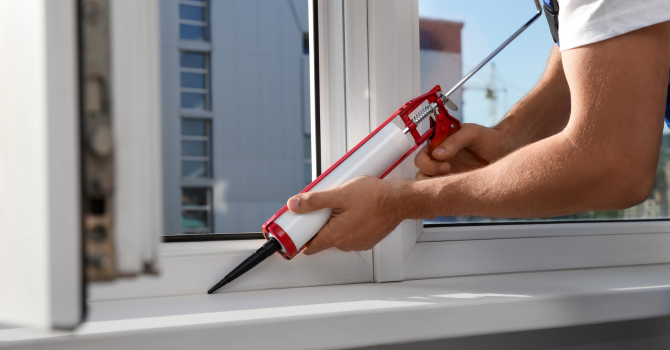
To ensure a smooth, high-quality sealant, use a spatula made especially for this type of work (or a small stick dipped in an antiadhesive) to remove any excess product. Note that the ideal seal should be 12 millimetres thick and form a 45-degree angle. At this stage, be meticulous to ensure that you remove any small protrusions, as these have the double disadvantage of being, aesthetically speaking, an eye-sore and a cause of dust accumulation.
An alternative method is to use a water-based or silicone caulking compound. By doing so, you can just dip your fingers in a bowl of soapy water before running them over the paste, to smooth the sealant. The soap coating your fingers will prevent the paste from sticking to your skin.
Why Re-Caulking Is Important
First of all, windows that have not been properly caulked will allow for water to seep in through the gap between the window and the siding, and will eventually lead to its deterioration.
Furthermore, during the winter, cold air will seep into your home if your windows are improperly caulked, which will then result in an expensive heating bill. And, the condensation created from the air seeping in will lead to premature degradation of the windows and window frames.
The caulking should absolutely be redone or replaced when it has become obviously dry or no longer fully encompasses the cavity between the siding and the window.
Effective Window Caulking Tips
Apply just the right amount of sealant—no more than is necessary. A common error is to cut the nozzle too low, which creates too large an opening to dispense the sealant;
Should this be your first experience with caulking and you are concerned about using too much product, use masking tape around the edges to make sure the lines are perfectly clean and straight;
To guarantee the maximum longevity of the sealant, choose a caulking product with a 30-year warranty;
Opt for a good quality product, as low-cost caulk can be difficult to apply and have limited durability;
Aim to work in temperatures between 8 and 25 degrees Celsius, as this will prevent the caulk from drying too quickly;
If you suspect air infiltration through the window mouldings, you should consider removing all the mouldings one by one and injecting polyurethane foam around the frame. The foam will need a few hours to expand and fill the entire space.
Get 3 renovation quotes for your window caulking project
RenoQuotes.com can help you get quotes for your window caulking project. By submitting your project, we’ll put you in contact with top-rated contractors. Fill in the form on the homepage (it only takes a few minutes), and you will get estimates from trusted professionals.
Dial 1-844 828-1588 to speak with one of our customer service representatives.
Last modified 2023-11-07
Looking for something else?
Related articles
The latest industry news, interviews, technologies, and resources.

Cynthia Pigeon • 07 Nov 2023
Replacing the windows in your home can be quite an expensive project! And that is reason enough to be somewhat cautious when choosing a particular model or material.

N/A • 07 Nov 2023
Depending on the household, the utility of the basement differs from place to place. Whether it’s used as a family room, a home theatre or your personal warehouse, there is always room for improvement. However, when it comes to acting on this desire for change you may be faced with a lack of inspiration.

Cynthia Pigeon • 07 Nov 2023
Are you an absolute fan of mechanics and the outdoors? Are you looking for a job that’ll allow you to challenge yourself on a daily basis?

N/A • 07 Nov 2023
There is nothing worse than waking up on a cold winter morning and stepping down on ice-cold floors. Yes, this may be inevitable during those freezing winter months, but what if there was a solution to this common problem? Enter radiant floor heating, also known as heated floors.
