Are you looking for a contractor?
Submit our quick form and get quotes now!
Table of Contents
5 min read
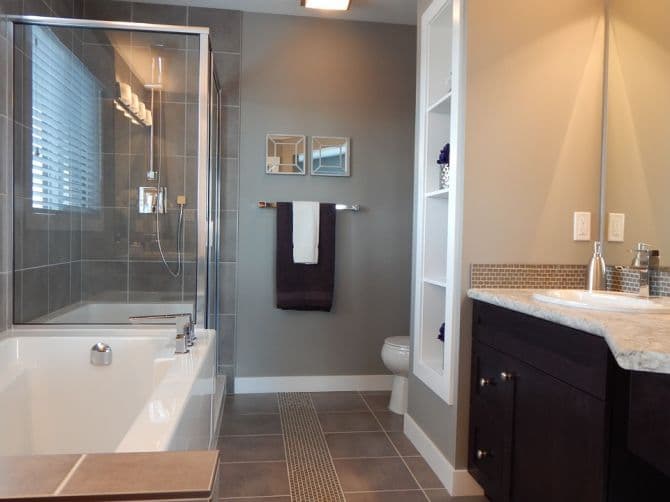
How to install a shower stall step by step
5 min read
How to install a shower stall step by step
BathroomHow to install a shower stall step by step
Ready-made shower stall kits can be purchased, and these include the shower tray, panels, doors, profiles, faucets, drainage system and mounting screws. This article has for purpose to explain how to install a shower stall sold as a kit.
Should you experience any difficulties, contact a plumber who will be more than capable of answering your questions regarding the required installation steps. It is always advisable to get help in order for the project to be carried out easily.
Adhere to the following guidelines if you have hot and cold water inlets of 10/12 mm in diameter and a PVC evacuation tube of 40 mm in diameter.
8 Steps to Installing a Shower Stall
1) Fit Shower Tray
First and foremost, carefully open the shower installation kit, ensuring that no parts are lost in the process. According to the instructions, check that all the parts are included and in good condition. Before proceeding, close the shut-off valve in your home to avoid flooding your bathroom and carefully read the manufacturer’s instructions.
Place the tray in the desired location and use a level to ensure that it is sitting perfectly flat. Confirm that the tray is level on two perpendicular sides by placing the level on the tray’s edge. If the floor is not horizontal, the shower tray risers must be screwed or unscrewed to ensure that it sits evenly on the floor. The position of the risers can then be locked in place with an open-end wrench.
2) Install Drain
Tilt the tray on its side to make it easier to position the drain. Then, set the drain with its gasket maker under the shower tray and hold it in place while fitting the screw nut. The nut should be hand-tightened first, then tightened with the plastic wrench included in the kit. Now, connect the drain outlet to the PVC drain pipe.
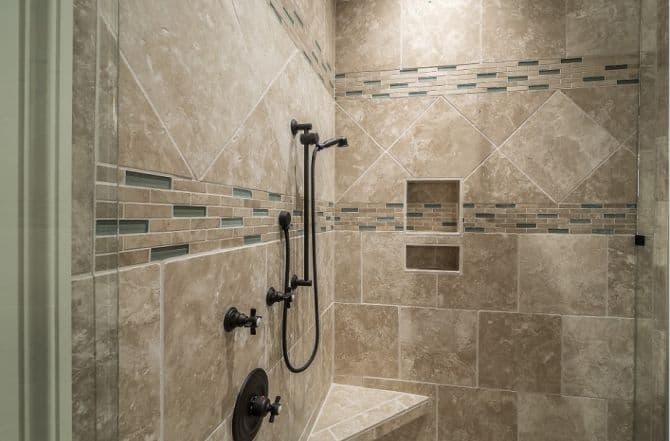
3) Mount Shower Panels
The shower stall panels are connected both to one another and to the shower tray with screws. Now, the first step is to secure the panels to one another, and should you want to make extra sure that the panels are perpendicular, use a carpenter’s square. Ideally, use 5 screws per joint. Note that is it best to use a screwdriver for such a process.
To seal the shower, you will need to install gasket makers between the shower panels and the edge of the shower tray. You can glue them on the shower tray itself or under the panels. The protruding gasket pieces can be cut with an X-ACTO knife.
Pro tip: Use a cloth soaked in methylated spirits on surfaces where you plan to seal your joints to ensure that they adhere properly. Next, you will need the help of another person to mount the panels to the shower tray, and then screw them in place with 3 or 4 screws on each side.
4) Install Shower Door
For this very purpose, the shower door supplied in the installation kit usually has pre-drilled holes. First, you will have to fix the frame profiles on the edges of the panels. Note that the fixing screws are supplemented with plastic protective washers designed to conceal the screw heads for a more aesthetic result. Then, add the horizontal profiles, fixing the bottom one first.
If you want to install fixed glass panels, now is the time to mount them. This procedure may differ based on the type of door you wish to have put in, therefore, carefully read and follow the manufacturer's instructions. If the door is properly installed, there should be no gaps or sealing issues when it is closed. It should also open and shut easily.

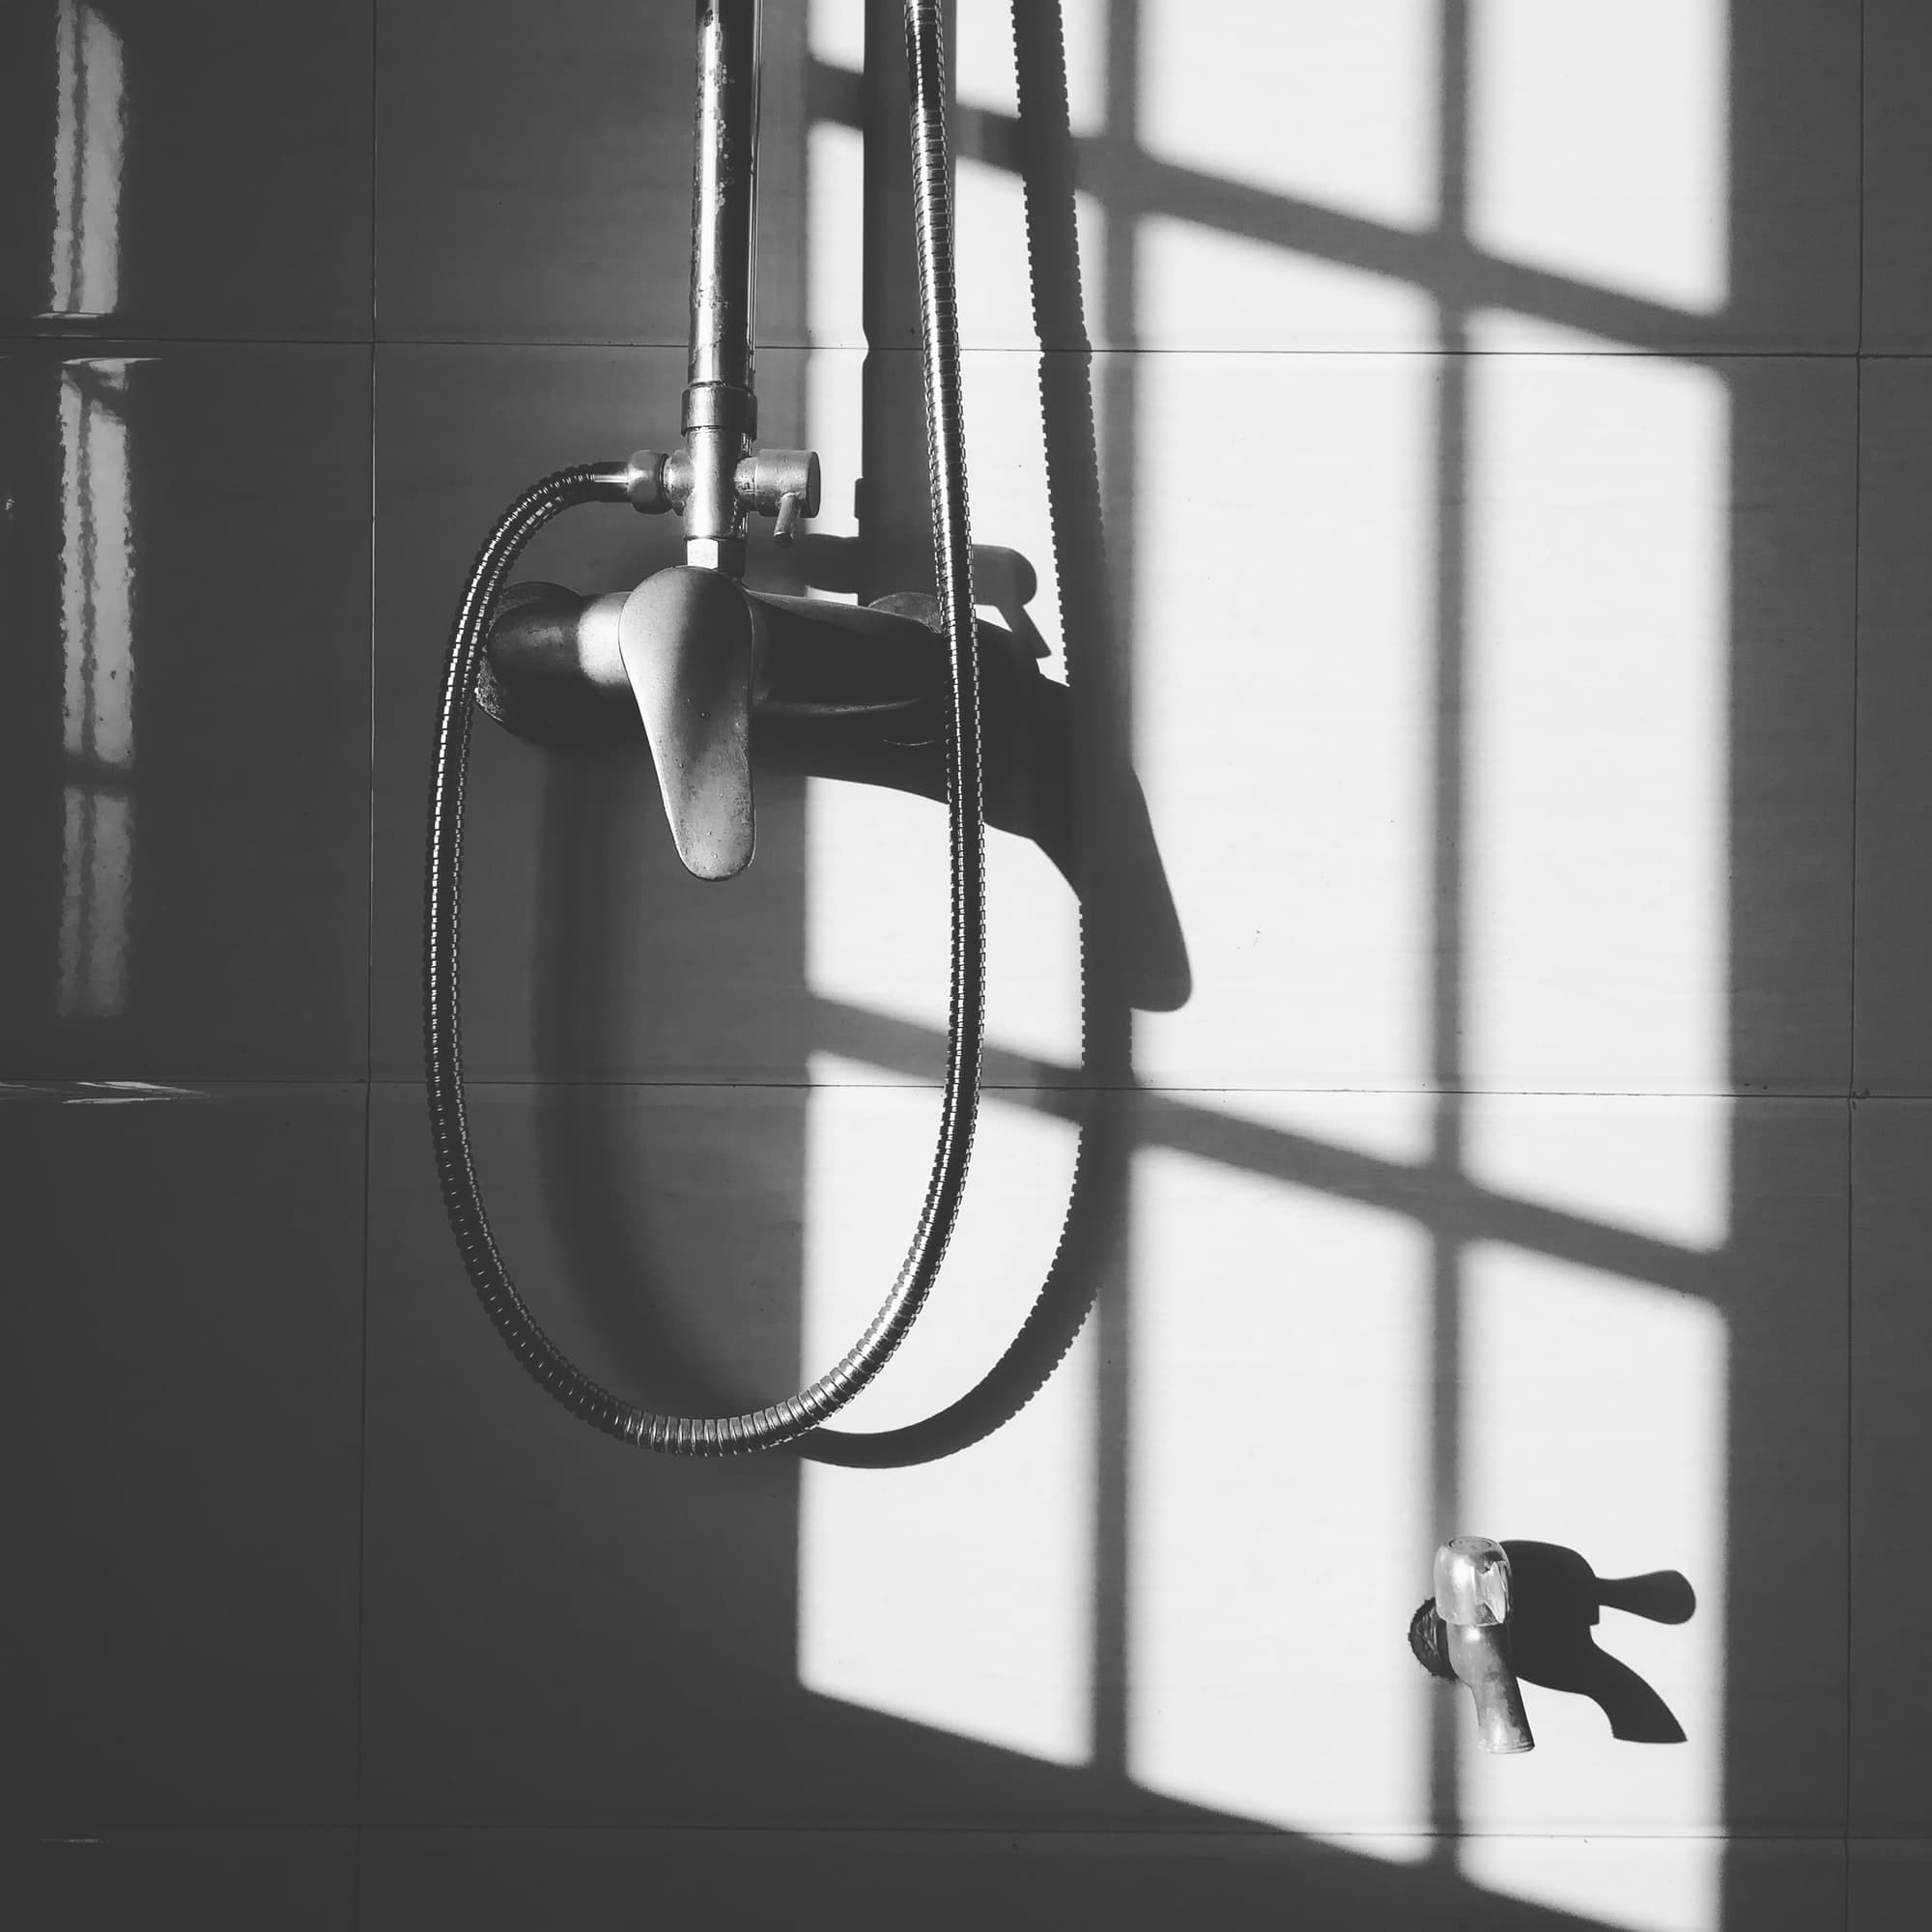
5) Install Shower Faucet
The provided shower stall has factory-made holes in order to install the faucet and the handheld shower.
6) Install Mixer
Take hold of the mixer along with its rosettes, fittings, and rubber gasket makers. Then, position the faucet by fitting the threading into the holes. Secure it from the other side of the panel whilst another person holds it in place. For each thread, fit the flat gasket maker, then the metal ring and screw nut, and tighten it with a wrench.
7) Install Handheld Shower Holder
Start by positioning the adjustable showerhead bracket around the pipe, positioning the fasteners at each end and placing everything in the desired location. Then, screw the bracket to the shower wall. Depending on the model, you can either screw it in from inside or outside. Next, connect the flexible shower hose to the faucet.
8) Reconnect
Position the stall in its preferred location leaving roughly 40 cm of clearance from the wall to allow access to the drain pipe. You can then connect the mixer to your water supply with stainless steel braided hoses. To ensure that the connections are properly sealed, you should wrap the threads with Teflon tape: 8 turns should do the trick. The hoses can then be screwed on by hand and tightened with a wrench.
For the drain connection, start by scrubbing clean the outside of the hose and the inside of the upper drain with alcohol. Then, apply PVC glue on these two surfaces to then connect them. Wait for the glue to dry before running water to check for leaks around the fittings.
Once you have made sure that the installation is airtight, position the stall and secure it to the wall with plastic fasteners, which are normally included in the installation kit. Your shower stall is now all set!
Do you need some advice to choose the right size for your new shower? Read our article Showers: how to choose the right size.
Step by Step Recap
Steps to follow | Instructions |
1) Fit the tray |
|
2) Install the drain |
|
3) Mount panels |
|
4)Set shower door |
|
5) Install shower faucet |
|
6) Install mixer |
|
7) Install handheld shower holder |
|
8) Reconnect |
|
Get 3 renovation quotes for your shower remodelling project
RenoQuotes.com will put you in contact with 3 reliable contractors for your shower remodelling project. Fill in the form on our homepage (it only takes a few minutes), and you will receive quotes from trusted professionals.
Dial 1-844 828-1588 to speak with one of our customer service representatives.
Last modified 2023-11-07
Looking for something else?
Related articles
The latest industry news, interviews, technologies, and resources.
RenoQuotes.com • 06 Dec 2023
Your house may be running out of space, but why leave the ideal setting where your kids grew up? Since moving out is off the table, building onto your family home becomes mandatory. If you happen to find yourself in this situation, you’ve definitely come to the right place! Our article will detail everything you need to know about building an extension onto your house.

N/A • 07 Nov 2023
Outdoor columns on the facade of your home add an element of originality and allure. Whether used for your landscaping, porch or walkways, incorporating columns into your design can have a lasting appeal. However, since these columns are outdoors, they are exposed to various forms of weather damage. Therefore, it’s important to know how to care for your outdoor columns.
Cynthia Pigeon • 07 Nov 2023
For the majority of people, embarking on a renovation project is synonymous with substantial financial implications. While the level of financial investment often ensures that the end result will be satisfactory, it is nevertheless possible to achieve the desired results on a smaller budget, without having to compromise in terms of quality and aesthetic value.
Cynthia Pigeon • 07 Nov 2023
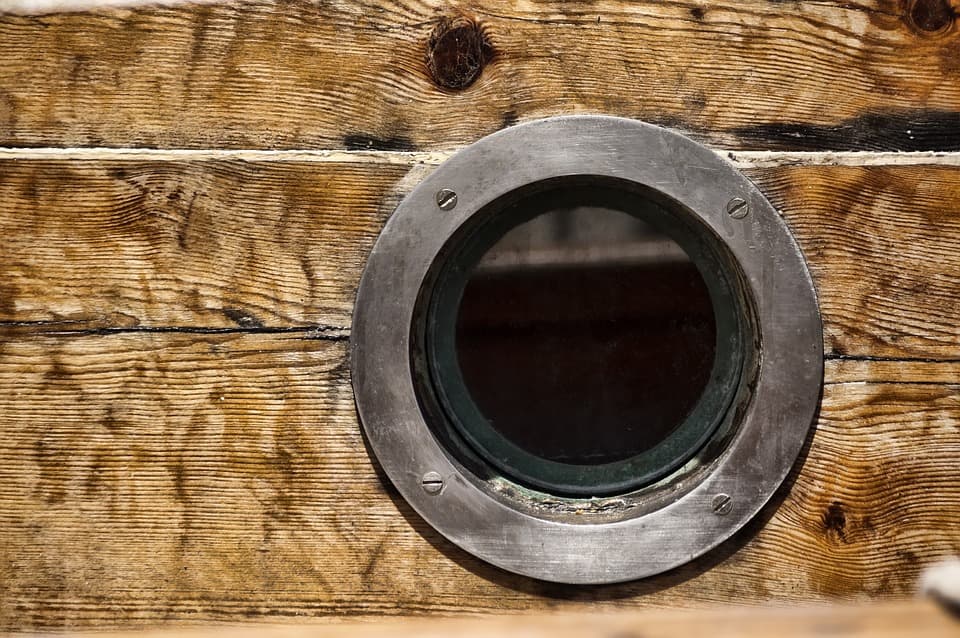
The fenestra cochleae, more commonly known as a round window, has quite a distinctive flair, which adds a certain uniqueness to your home. However, its installation requires a certain dexterity and presents some particularities that should be considered before undertaking such a project.
N/A • 07 Nov 2023
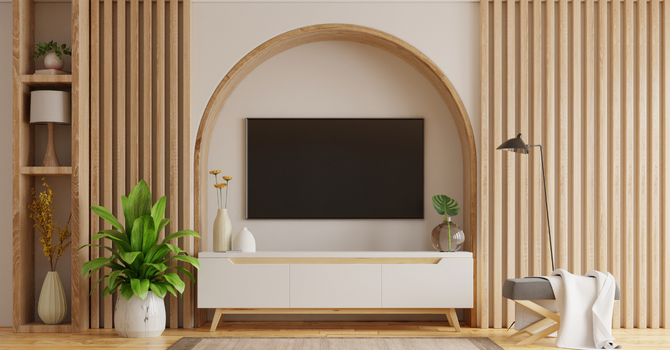
A few months ago, we shared an article about the 8 unique ways you can divide your space. Among the examples, some featured vertical wood slats which basically form a panel that doesn't block sunlight, and that's meant to divide your space. This effect can be created using a variety of materials, from wood to metal.