Are you looking for a contractor?
Submit our quick form and get quotes now!
Table of Contents
7 min read
How to strip and wax a floor?
7 min read
How to strip and wax a floor?
FlooringHow to strip and wax a floor?
Applying a new finish to your floors every so often is an excellent way to keep your floor looking glossy and good as new with the addition of a protective layer.
Stripping and waxing are necessary, especially if you’ve noticed a build-up of scratches, dents or dirt.
Over time, the layer of our flooring wears down, and in turn, the surface begins to deteriorate. Stripping and waxing your floors can give them an entirely new life. Luckily, this process can be completed by even the most novice of homeowners. So, if you’re thinking about this project you’ve definitely come to the right place.
Here are the steps to strip and wax your floor
Prepare the area
Preparing the area you plan on stripping and waxing is the initial step before putting down any chemicals or compounds. For stripping and waxing to be most effective, you will need to remove all furniture and obstacles from the area where you plan on working. It is recommended that you start with a small area, and do not try to do more than one room at a time.
Have mats close by in case you plan on leaving. This is because your protective footwear will track chemicals into the rest of your home. Speaking of protective footwear, before beginning this job make sure you are properly outfitted in protective gear including gloves, eyewear, a respirator mask as well as the aforementioned footwear. Long sleeves and long pants are also recommended. Make sure to have open windows and doors in order for plenty of air to flow. Remember, you are working with chemicals and for this reason, extra care should be taken.
Stripping: the first steps
The first step to this process, if you don’t count the preparation, is stripping the floor. Take a trip down to your local hardware store and pick up some floor finish stripper. Make sure to choose the correct floor stripper for the material you are working on. Hardwood will become damaged by certain types of floor finish, so take careful note of the label before buying the stripper. Further, for best results, use a floor finish stripper that is the same brand as the last floor wax you used. If this isn’t possible, just go with something made with the same material.
Another thing worth noting is that some floor strippers will be labelled as “no rinse.” This simply means that they will not need to be rinsed off the floor once this stripping process is complete. However, since all floor strippers are solvents, you may prefer to rinse even strippers that do not require such. There are also environmentally-friendly options on the market, and these will be marked with a logo or tag stating such.
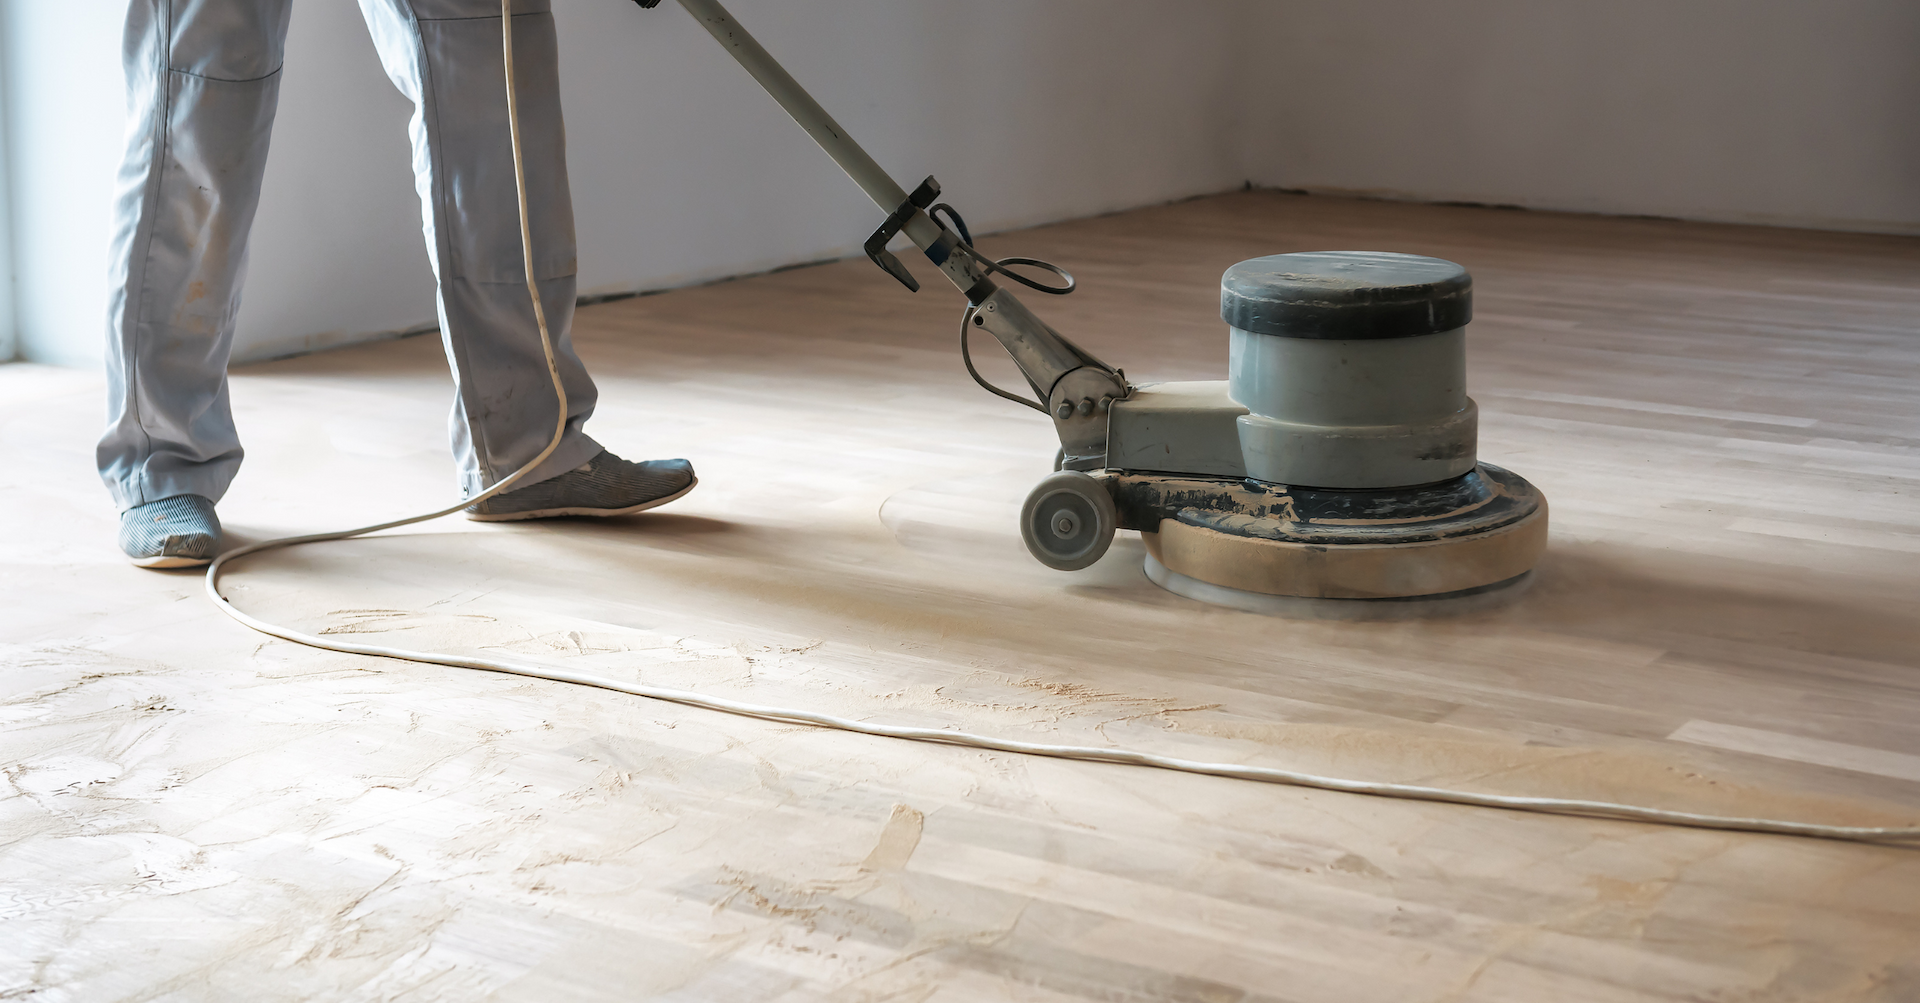
After purchasing your chosen stripping compound, it is recommended that you rent an electric floor scrubber as well as a wet-dry vacuum. If you have this equipment already, excellent! Either way, using these tools will make the job much easier. The floor scrubber can be used to scrub away finishes, whereas the wet-dry vacuum will remove any residue left over from the stripper, sealer or finish.
Begin by testing the stripper on a corner of the floor, specifically a part that is not always visible such as an edge or a section hidden underneath furniture. Older floors, especially linoleum, may suffer damage when you try and strip them. If you find that the stripper ruins the patch of floor where you test it, consider another brand. If it’s really bad, contact a professional.
It is also recommended that you line three large buckets with trash bags, keeping them close by to help with clean-up as well as for holding all of the necessary tools.
Start stripping your floor

Source: Canva
Now, once you’ve tested the stripper and determined it works on your floor, it’s time to get down to business. Start in the corner that is farthest from the exit of the room and work your way towards it. If you are stripping the floor by hand, make sure to work in small sections. However, if working with a floor scrubber, strip large sections at a time. Mix the stripper with water, carefully diluting it according to instructions as most strippers cannot be used without diluting them first.
Fill up the second bucket with clean water, using this to rinse the stripping solution from the floor after the finish has been removed. Then, fill the third bucket with necessary tools for the project, and this will include: two mops, scrapers, a toothbrush and scrubbing pads. A quick note that these tools will likely be unusable after this project, so do not use anything you’re attached to.
Afterwards, apply the stripper evenly using a mop, using enough of the stripper to coat the area thoroughly but making sure to avoid letting it seep between seams or cracks. However, apply stripper more liberally in areas where you notice a significant amount of wax buildup. If you have tougher areas of build-up, use an electric floor scrubber to scrape away any additional wax buildup. Once completed, use a toothbrush to scrub away nooks or corners where there might be tiny pockets of excess buildup.
Once you have completed the stripping process, it is time to remove the floor finish stripper. This can be done with a variety of tools, including a floor scrubber, squeegee or a wet-dry vacuum as we previously mentioned. Since you are working in sections, you should be simultaneously cleaning and stripping, alternating sections until you finish the area where you are working.
If you come across a section where there is too much buildup, remove what you’re able to and then reapply the stripper. Once the entire area has been covered, mop with clean water and let dry, making sure that no streaks or traces of the stripper remain.
Do you need more information to complete your project? Check out our article RenoQuotes.com Renovation Guide.
Wax on, wax off
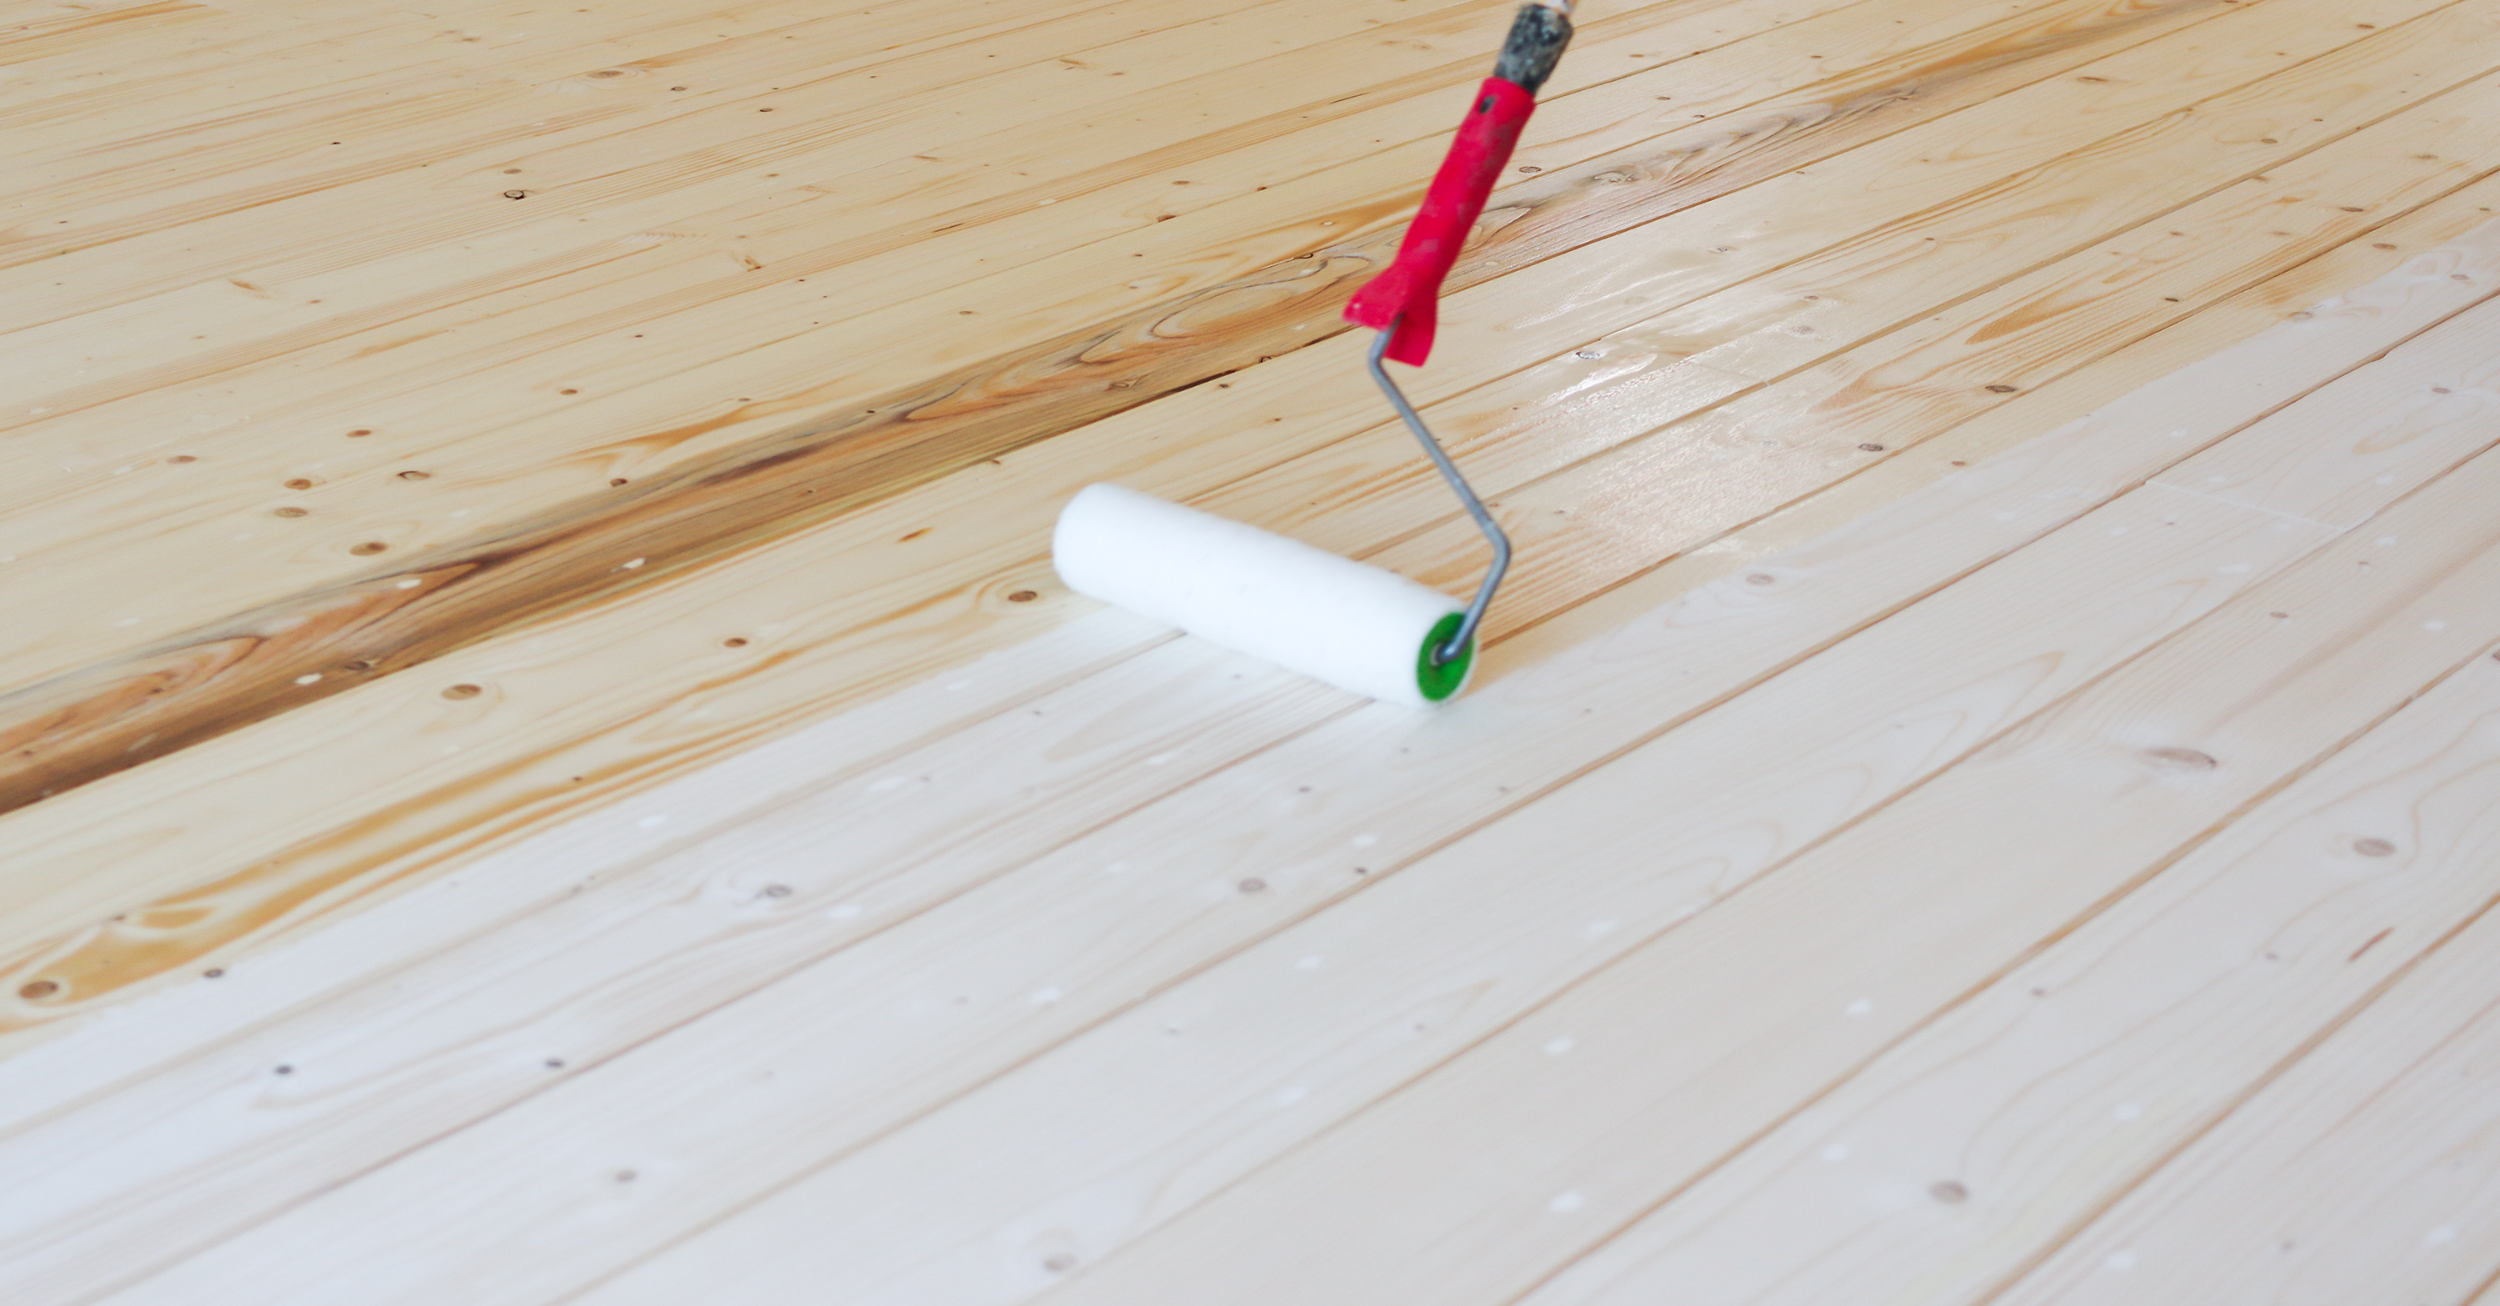
Source: Canva
Once your floor has dried, it’s time to begin the waxing process. Start by reading the instructions on the product to make sure you’re using it correctly. Use a clean mop, and in some instances a brand-new mop. A new mop is recommended to avoid any dirt finding its way into the new layer of wax. There are specific wax mops on the market, sometimes referred to as a flat wax applier mop.
If using an ordinary mop, you’ll need a bucket to pour wax into. Make sure the bucket is lined with a trash bag, as wax is quite difficult to clean. If you’re using a wax applier mop, skip this step and pour the wax directly over the mop itself.
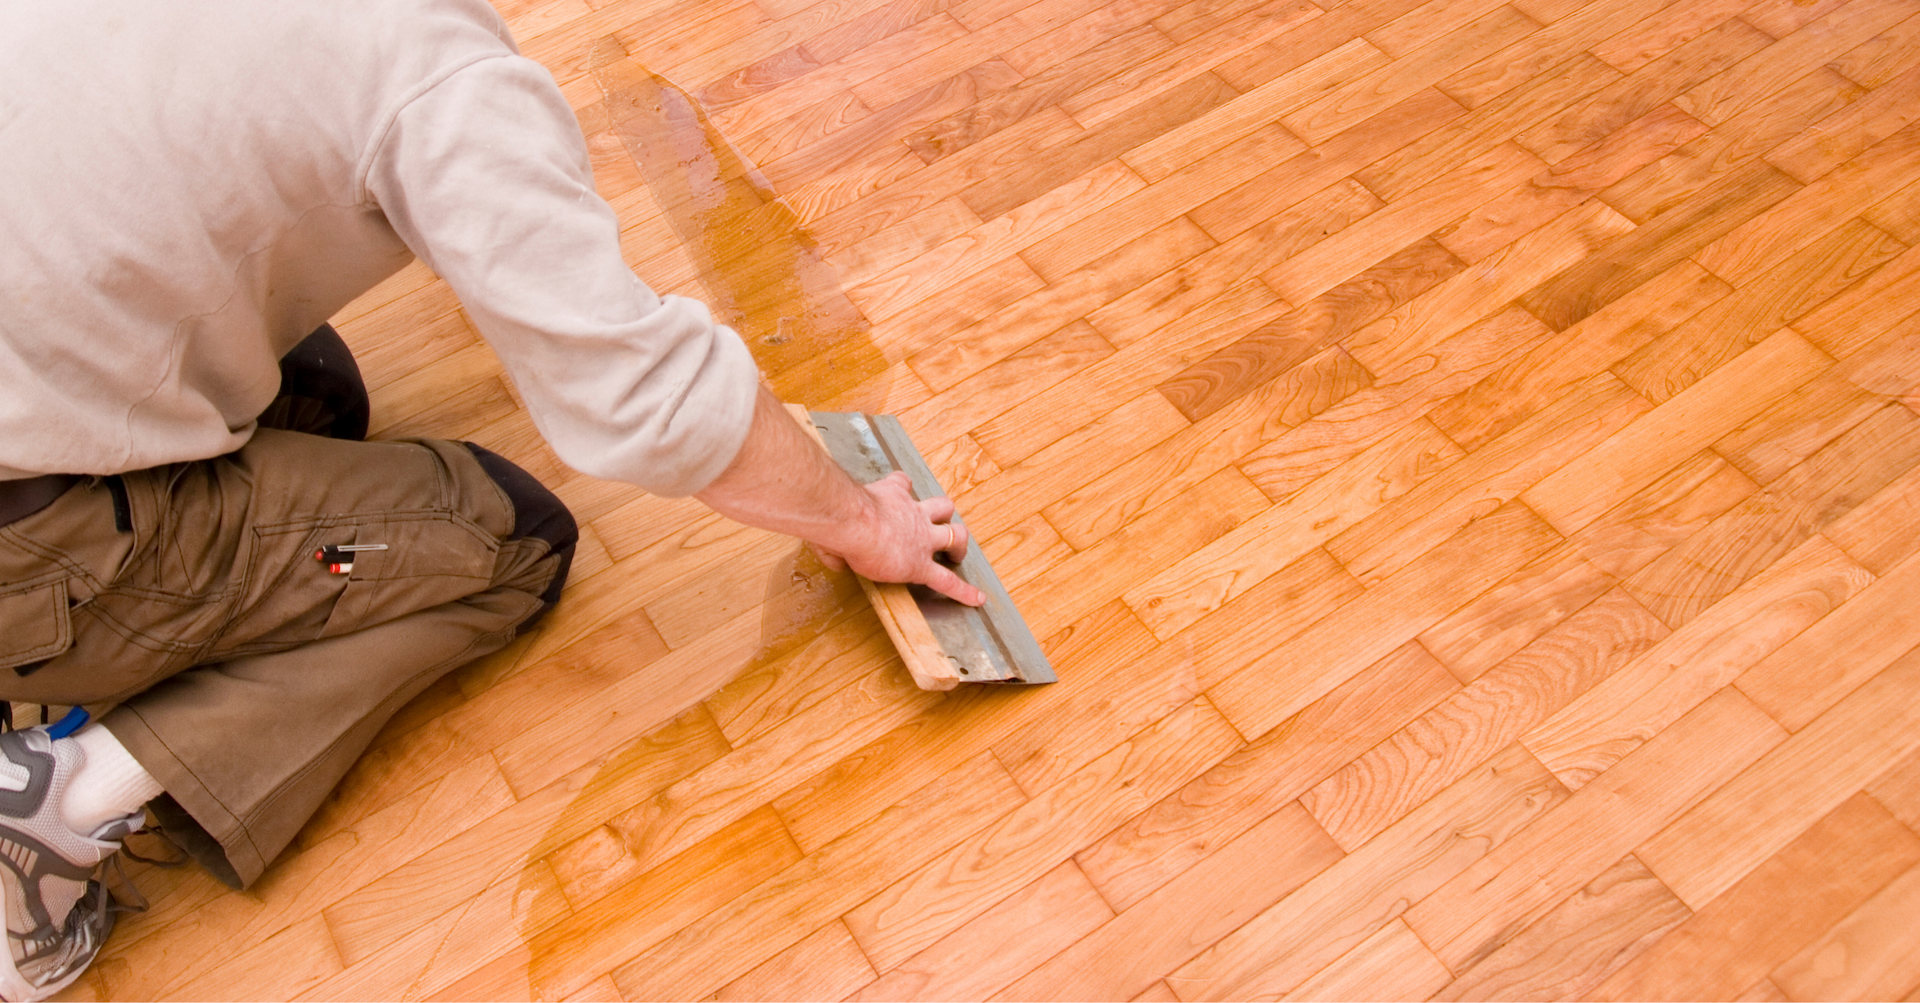
As with stripping, apply the wax to your floor in sections. Get the mop damp with wax, but be certain that it isn’t soaked. Apply the wax in a thin coat and work towards the exit so that you don’t end up trapped in the room. Let the wax dry completely. This process can be sped up with a fan if necessary. However, do not point the fan directly at the floor, as this will interfere with the wax’s setting process. If needed, apply additional layers, but allow each layer to dry before applying the next.
If you’ve got a buffer on hand, buff the floor following the waxing process. Make sure to check if your product advertises “no buffing” or if the floor looks glossy after waxing.
Are you doing a floor renovation project soon? Try our cost calculator to get have an estimation of the cost of your next renovation project.
Get 3 renovation quotes for your floor project
RenoQuotes.com can help you get quotes for your flooring renovation project. If you submit your project to us, we’ll put you in contact with top-rated contractors. Fill in the form on the homepage (it only takes a few minutes), and you will get estimates from trusted professionals.
Dial 1-844 828-1588 to speak with one of our customer service representatives
Last modified 2023-11-07
Looking for something else?
Related articles
The latest industry news, interviews, technologies, and resources.

SoumissionRenovation.ca • 07 Nov 2023
As the weather outdoors begins to warm up, there’s not much we’re thinking about other than finding ways to spend time outside. Maybe this is the year you’re finally going to build and install an outdoor kitchen in your backyard! When it comes to designing an outdoor space, functionality, practicality, and personality are very important traits. In the project planning process, be certain to keep your lifestyle in mind as you’ll be more likely to make use of the space if it works in accordance with your wants and needs.

Karine Dutemple • 18 Apr 2024
The Quebec government recently announced changes to the Rénoclimat grant program. This program, which targets energy-efficient renovations, has been modified to expand the range of work that it covers. In this article, we will present the types of projects that will benefit from this grant, the conditions to be eligible and the steps to follow to obtain the amounts in question.

N/A • 07 Nov 2023
A few months ago, we shared an article about the 8 unique ways you can divide your space. Among the examples, some featured vertical wood slats which basically form a panel that doesn't block sunlight, and that's meant to divide your space. This effect can be created using a variety of materials, from wood to metal.
Amanda Harvey • 07 Nov 2023
When push comes to shove, if you’ve lived in the same home for a few years, you’ll likely need to do repairs at a point in time. Whether the renovation you take on is big or small, it’s important to think about the quickest, most efficient and least expensive way to make it happen.
RenoQuotes.com • 07 Nov 2023
Looking to change your kitchen countertop? To achieve the desired result, thoroughly follow a series of well-defined steps. Without further ado, here's how to install your kitchen countertop just like a professional.