Are you looking for a contractor?
Submit our quick form and get quotes now!
Table of Contents
8 min read
How to Prevent Paint Bubbles or Blisters
8 min read
How to Prevent Paint Bubbles or Blisters
Exterior renovationsHow to Prevent Paint Bubbles or Blisters
There’s nothing like a bit of paint to morph a room, to then embrace the environment in no time. While painting projects are mostly feasible by all, it still goes without saying that professionals have proficient knowledge of the basics of painting to carry out a flawless finish. If that doesn’t reflect your abilities, unsightly marks could give you away sooner or later...like paint blisters or bubbles appearing on a freshly coated wall.
This swelling, which looks like blisters and is either empty or full of water, is a telltale sign that the basics of painting have not been followed. But don’t panic! The original substrate hasn’t degraded; it’s simply a sign that something is not right.
To avoid making the most common mistakes, or to learn how to fix them, check out the following. These practical tips could spare you a lot of trouble.
Wall Paint Bubbling: Lifting, Not Sticking
The colour is perfect, and it was painted to perfection. The paint used was top-notch, yet your walls are covered in bubbles and blisters a few hours—maybe even a few months—later? Well, this baffling phenomenon can occur a little while after the paint on your walls dries.
Not to burst your bubble here, but it’s, unfortunately, a common occurrence.
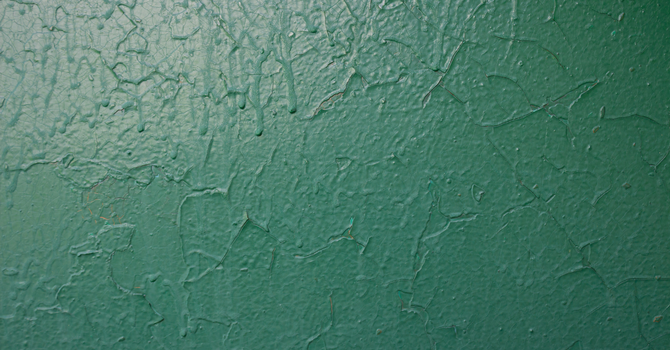
Blisters and bubbles occur when the layer of paint doesn’t adhere properly to the underlying surface known as the substrate. When the paint film dries and lifts, it means air or water bubbles have formed beneath the surface. Some will deflate or pop on their own, thereby making the surface irregular. Some bloated surfaces won't ever bind to the substrate again and will start to chip or peel. Other bubbles or blisters harden while the paint dries, which results in a flawed surface you’ll have to fix, later down the line.
The adhesion issue is usually caused by heat, humidity, or a combination of both. However, other factors can be the root cause of it, like painting on a dirty or inadequately prepared surface. If the problem can be corrected, the root of the issue has to be resolved or it will reoccur at a later date.
Possible Causes of Air Bubbles and Blisters
One can spot bubbling paint by the way craters (bubbles that pop, which result in cavities) form on painted surfaces. This phenomenon is known as bubbling or blistering. A number of factors can cause it: overly mixed paint, using an inadequate roller, a too-cold or too-warm room, an elevated humidity level…
Prior to painting, here are some elements to consider if you want to avoid any unexpected outcomes.
Prep work
For interior and exterior painting projects, the most common mistake is the lack of preparation. Oftentimes, when the task at hand seems so demanding, we want to get it over with before having even started. Result: We skip over the steps we think aren’t necessary.
Yet, the first thing that’s likely to cause bubbles after applying a coat of paint is the wall itself, or rather its overall state.
Wall
You have to clean the walls since paint doesn’t adhere as well to dirty surfaces. A lot of products out there are designed specially to clean walls prior to splattering them on paint. You’ll be able to get all the necessary information from your local paint retailers.
That way, before laying painter’s tape to shield certain areas, ensure that the surfaces to be painted are not only clean but also dry. Paint applied to still-damp surfaces will create condensation. Humidity, sandwiched between two coats of paint, will cause it to bubble. As the water evaporates, it will put pressure on the coat of paint and it will then seep through the surface.
NOTE:
Always apply a coat of primer-sealer on stains, bare drywall, or new joint compound.
Paint and paintbrushes
Do you have leftover paint in your workshop? Note that leftover paint from a year ago, or low-quality paint, will more likely cause bubbling.
Did you open a gallon of paint and notice that the components separated? Unless it has just been mixed by a vendor, paint must be stirred…the right way, otherwise, it’ll bubble. Then, let it sit for a bit. That way, it’ll better adhere to the wall.
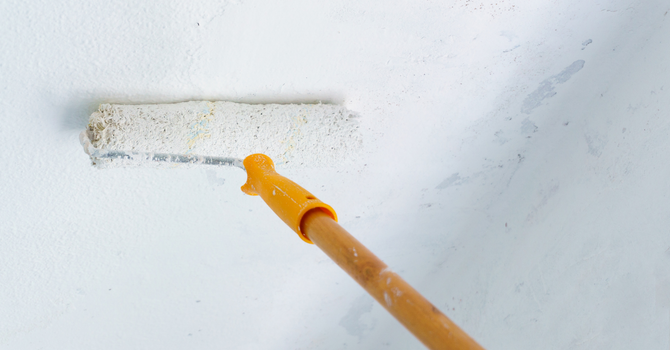
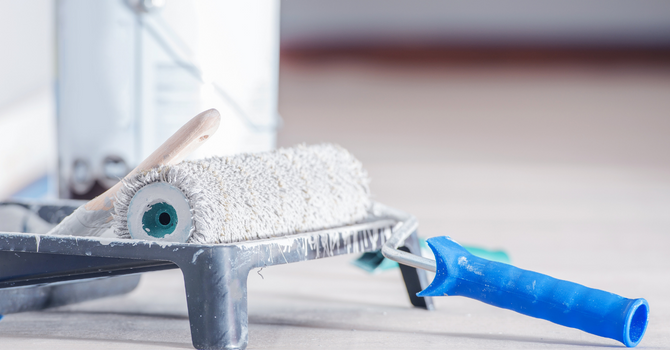
Also, using a paint roller with a cover that doesn’t suit the surface or has too-long fabric, will be detrimental when it comes to the paint adhering to the surface and will also cause bubbling. A foam or short-pile roller suits smooth or semi-smooth surfaces, while a medium-pile roller will be ideal for slightly coarse surfaces. As for a long-pile roller, it’s strictly used for especially coarse surfaces.
Are you using a good-quality roller, yet your paint is still bubbling? Slow it down! Excessive movements or a really fast applied coat will favour bubbling. Also, avoid applying touch much paint to the roller and don’t push down too hard on the pole.
Have you just cleaned your paintbrushes and rollers? If so, wait until they’re dry or use other ones. Otherwise, humidity bubbles will automatically surface due to the presence of water.
Heat
The ideal temperature to paint in is between 15°C and 25°C. It’s advised to paint at an ambient temperature of about 20°C. When the temperature is a few degrees lower, the paint will take too long to dry, and a few degrees higher, it’ll dry too quickly.
Walls that are too warm will compromise that paint’s adherence and could cause it to lift. For that reason alone, never paint a surface directly in the sun, and don’t even think about painting during a heatwave, periods of intense heat, or elevated humidity levels.
Humidity
If the wall in question is humid because you’ve just cleaned it, wait until it’s completely dry. Paint doesn’t adhere very well to humid surfaces, and a damp wall will just be impossible to paint.
If humidity is a result of water damage, a leak through a crack or because the room is poorly insulated or ventilated, your painting project is on the verge of total failure. Before even thinking about going any further, fix any issues.
An expert in the field will be able to help you along the way. The fix is often simpler than it seems, for example, replacing degraded caulking. Installing air vents or fans can also prevent excess humidity. Lastly, using an anti-condensation paint is also an option.
Drying time wasn’t respected
The recommended drying time is indicated on all paint cans. It’s really important to respect it. When the drying time between two coats is cut short, the last coat will dry much faster since it’s directly in contact with air and will act as a barrier against the first coat, thereby trapping the moisture.
Water-based paint applied on oil-based paint
For many years, oil-based paint was used as interior paint before it was banned for numerous environmental reasons. While it’s no longer featured on store shelves, it’s still very present in our homes, coating our walls.
One of the main qualities of oil-based paint is that it was especially reliable, and that, for a long time. However, though its time is up, note that the latter isn’t compatible with latex or water-based paints. Applying either over one another will be, without a doubt, disastrous.
By that, we mean applying it to a “corrupt” surface. A surface that’s contaminated by an oil-based paint will have to be treated with a primer prior to applying a coat of latex paint.
Rules of Thumb to Avoid Any Issues
Overall, to prevent paint from bubbling or blistering, follow these golden rules:
Choose durable paint, one that was specially made for the surface in question. Latex paints adhere better to brick surfaces since it allows the paint film to breathe.
Never apply paint that’s been sitting around for more than a year.
Adequately prepare the surface (clean, apply a primer, etc.).
Make sure the paint you’re going to paint over is still adhering to the substrate.
Take into account the temperature and humidity levels in the room. The ideal temperature to paint in is between 15 °C and 25 °C (60 °F and 77 °F). Outside, avoid painting if the humidity levels of wood surpass 12% (18% if you’re using latex paint).
Check the temperature of the surfaces; it must be identical to the ambient temperature.
Make sure that the surface to be painted is completely dry.
Use dry paintbrushes and rollers fit for the job at hand.
Glide the roller at a moderate speed.
Respect the drying time between coats.
How to Fix a Paint Blister
Fixing blistering paint isn’t rocket science. Just follow the steps, one after the other. First and foremost, if the drywall is water-damaged or shows signs of humidity, once this issue is rectified by a professional, replace it.
Lay down protective tarps in the room in question to easily clean up the paint chips. Wear a mask to avoid breathing in dust, as well as protective goggles.
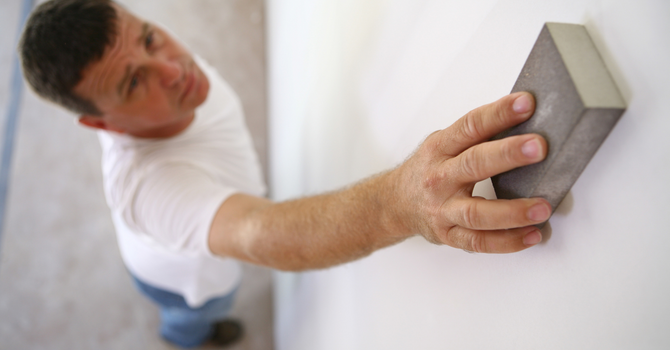
With the help of a putty knife, remove any lifting or bubbling paint by gently scraping it by way of long vertical and horizontal motions. One can also use a heat gun to easily lift the coat of paint.
Then, sand the wall to remove all the damaged paint. Use fine grit sandpaper to avoid damaging the substrate, then wipe away any dust with a damp rag, never a soaked one. If there are only bubbles, limit yourself to that area. If you need to sand the entire wall, you can leave this extensive project to a professional. With the right tools and experience, they’ll be able to complete the work much faster than you’d imagine.
Apply putty to conceal any imperfections before sanding once again. The goal is to have a perfectly smooth and even surface.
For better adherence, apply a primer. Note that the latter is a must if you’ve replaced the drywall. Once the primer is completely dry (a dehumidifier or a fan can help accelerate the process), the surface can be painted again. One or (preferably) two coats, and the trick is done.
Handy tip: If the water bubbles are on an exterior wall, wait before doing anything. Rain can be the root cause of these if it occurred before the paint had time to dry. The bubbles will most likely dissolve when the sun comes out.
Get 3 renovation quotes for your painting project
RenoQuotes.com can help you get quotes for your painting project. By submitting your project, we’ll put you in contact with top-rated contractors. Fill in the form on the homepage (it only takes a few minutes), and you will get estimates from trusted professionals.
Dial 1-844 828-1588 to speak with one of our customer service representatives.
Last modified 2024-04-25
Looking for something else?
Related articles
The latest industry news, interviews, technologies, and resources.
Amanda Harvey • 07 Nov 2023
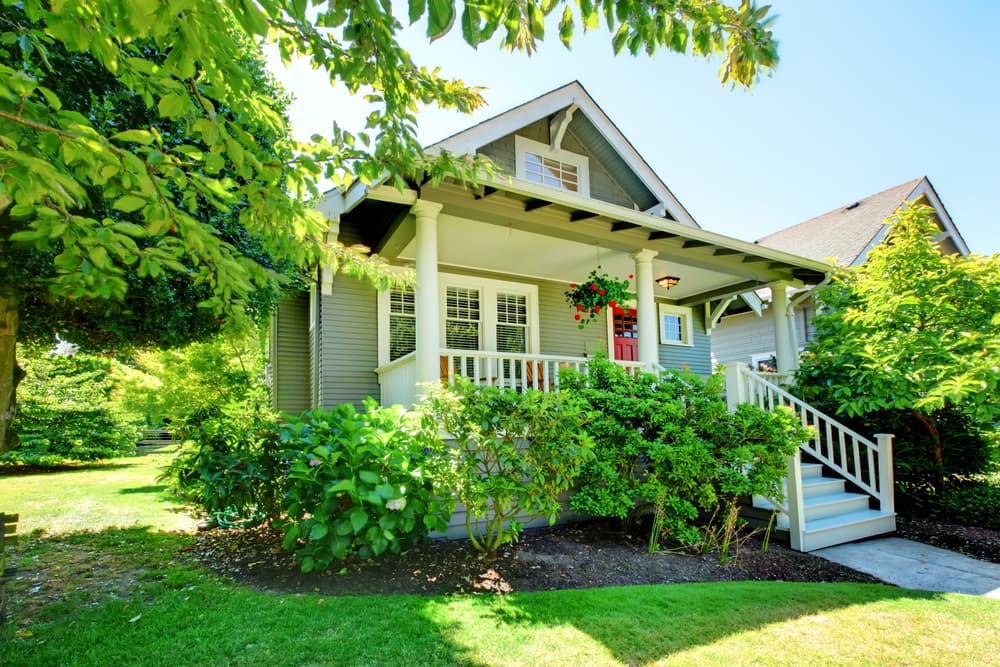
Whether interior or exterior, giving care and consideration to all aspects of your home will be obvious to friends and strangers alike. Imagine walking by a beautiful house with an impeccably tailored garden; what would be your first impression? A well-crafted, bright, polished lawn and garden not only presents a welcome first impression but actually works to improve the value of your home.

RenoQuotes.com • 07 Nov 2023
When watching old lumberjack documentaries, Canadians may get that feeling that felling trees is as much a part of their DNA as tapping maple trees during the sugaring-off season.
Léa Plourde-Archer • 07 Nov 2023
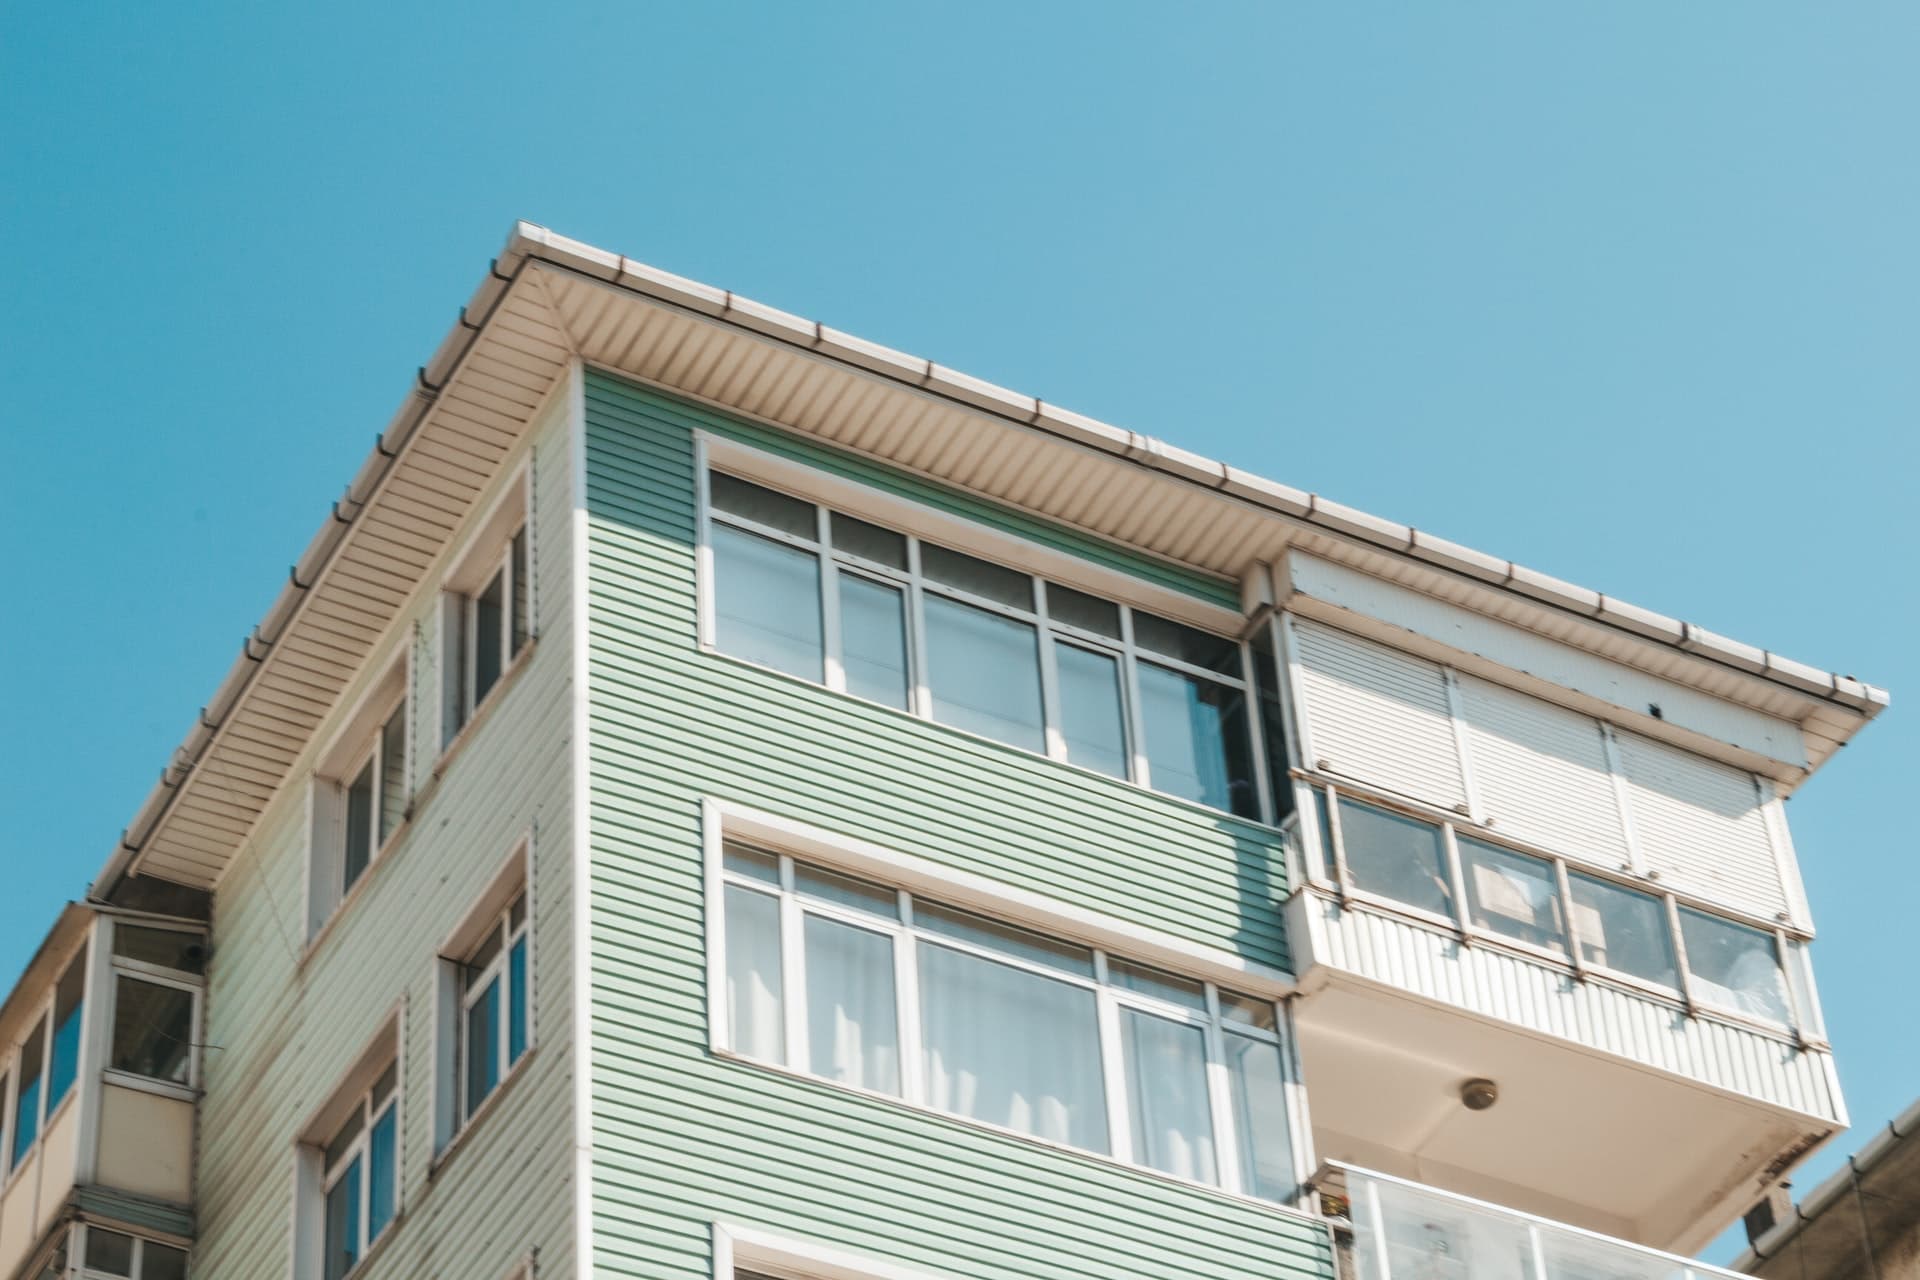
Windows are an important component of your home, serving as a point of entry for natural light into your space and allowing you to ventilate the rooms. There are several options available on the market, but today we are focusing on PVC windows.
RenoQuotes.com • 17 Apr 2024
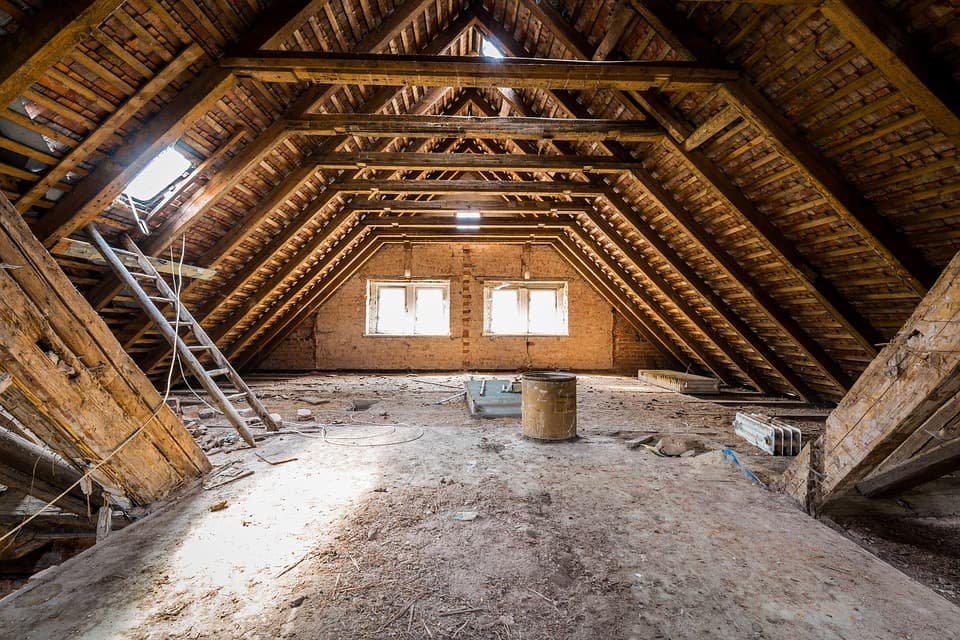
It goes without saying that no one likes to feel cold inside their home, especially when winter knocks on our doors. As insulation in the attic is critical to the preservation of a comfortable indoor temperature, it is important to understand which materials and techniques need to be used to ensure that it is optimal.
Cynthia Pigeon • 07 Nov 2023
Sliding doors have a significant advantage over hinged doors: the lack of a swinging panel. This unique characteristic makes many homeowners more prone to installing this type of door. And there are many options to choose from when it comes time to purchase a sliding door.