Are you looking for a contractor?
Submit our quick form and get quotes now!
Table of Contents
7 min read
Efficient Methods to Paint Wood
7 min read
Efficient Methods to Paint Wood
PaintEfficient Methods to Paint Wood
Let’s be real, wood isn’t easily replaceable. We can all agree that wood’s warmth and versatility are especially valued. We like that it’s easily worked and offered in a variety of essences to suit all preferences. Both authentic and malleable, wood works wonders no matter what.
However, a well-known fact about wood is that it requires maintenance when used outdoors. Painting wood revamps it so that you can enjoy it for many years to come rather than replace it.
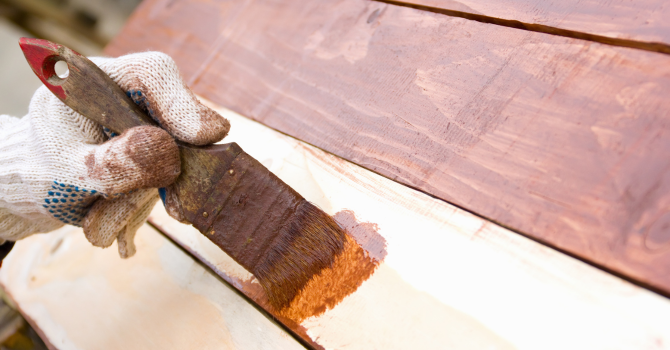
Paint and Stain on Treated Wood: Our Top Tips
Source: Canva
Ideally used to build decks and porches, or as exterior cladding, pressure-treated wood is both eco-friendly and mould- and insect-resistant.
Unlike creosote wood, treated wood can be coated with all types of exterior paint finishes. Ideally suited for durable construction, wood is protected by preservatives. Such products are available in a variety of colours, especially in the semi-transparent stain category.
Fall is a prime time for exterior painting projects, especially when it comes to repainting the siding on your home. Summer is also a good time to paint because the sun helps the wood dry quickly. Regardless of when you choose to apply paint, steer clear of very humid days. Moisture, the main cause of blistering and peeling, can quickly wreak havoc on your project.
Pro tip: Beware of morning dew. Wait until the dew has cleared and the air has warmed before you start painting in the morning. In the afternoon, put your brushes away early enough to give the paint time to dry before nightfall. Paint also dries somewhat more slowly as the temperature drops. If the overnight temperatures are cool, the paint may still be sticky by morning.
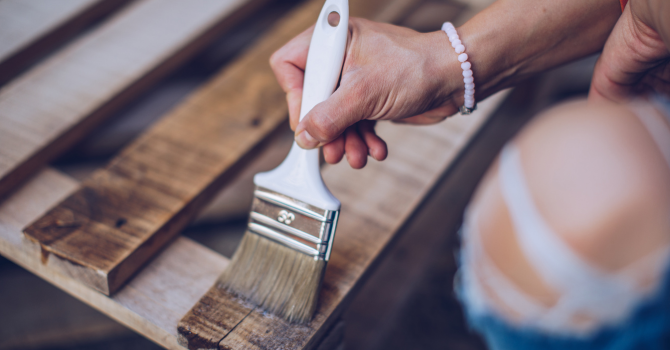
Getting paint to stick to wood: A flawless finish in 3 steps
Source: Canva
Anyone can paint wood. However, whether it's a door, deck, fence, or furniture, to get a professional-looking result, you'll need the right tools, the right products, and the right technique. With every step of the process, everything must be done properly. Here's a list of tips to avoid making mistakes while painting.
Step 1: Prepare the surface
Albeit crucial for a decent finish, adequately preparing the surface is often an overlooked step when painting.
Clean the wood prior to painting it
Grease and dirt prevent paint from holding up, increase the drying time, and result in the paint's yellowing. Start by vacuuming or spot-dusting all surfaces. Then, use a degreaser (a trisodium phosphate solution or TSP) to eliminate grease stains, dirt, or any other contaminants.
Remove the current coat of paint
If there are paint remnants, remove the latter with a putty knife. Simply scrape the surface. Sanding will help remove all residual paint. If the paint isn’t easily removed, use a stripper.
Step 2: Sand the wood
Essentially, sanding down the wood will make the surface smooth and favourable to the new coat of paint’s adherence. The wood must be completely dry. On rougher surfaces, use coarse grit paper. On surfaces with fewer imperfections, medium-grit paper will get the job done. For a quality finish, close this step by sanding the entire surface with fine-grit paper.
Tips: Always sand with the grain, not against it. Never use a metal wire brush or stainless steel on wood as it’ll damage the fibres. Don’t push down on the sander to avoid digging into the wood.
Trick: To easily remove dust, use a vacuum and then wipe down the surface with a damp rag.
Step 3: Apply the paint
The paint is applied according to a few steps.
Apply a coat of primer
Since wood is a porous material, it absorbs paint unevenly. By applying a primer, it allows for an even layer of paint. It can also help conceal any small flaws like stains that didn’t come out when you cleaned the surface.
The primer can be applied with a paintbrush or a roller. Depending on the surface and product you’re using, you may need one or more coats of primer.
Tip: On wood, using an oil-based primer is best since a latex one risks raising the wood grain. A grey primer is preferred beneath dark paint and a white or clear primer beneath a light shade.
Apply a finish coat with a paintbrush or roller
For vertical surfaces, it’s best to paint from top to bottom, and always with the grain, not against it. By painting in one go, you’re ensuring that there are no brush or roller strokes. Apply as many coats of paint as necessary to obtain the desired result.
Pro tip: Is your painting project spread out over several days? Instead of cleaning your paintbrushes and rollers every day, slip them into individual bags, seal them, and leave them in the refrigerator.
Apply a protective finish
Many types of paint are advertised as providing water or wear protection. However, it's best to apply a product specially designed to ensure the durability of the wood. The varnishes currently available on the market include a wide range of finishes that highlight the beauty of your project while also adequately protecting it. For an impeccable finish, lightly sand the surface between each coat of varnish.
Trick: Varnish is a little denser than paint. Apply thin coats of varnish to avoid bubbling, drippage, and streaks.
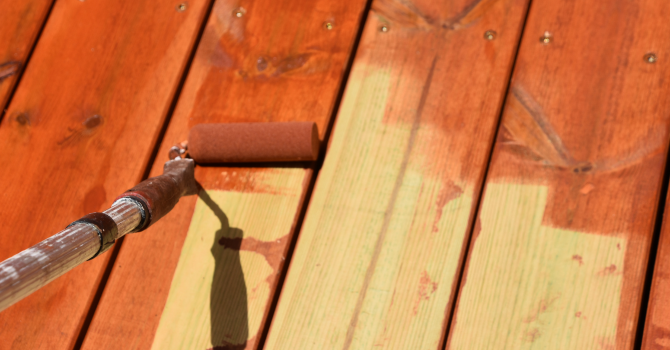
How to Paint or Stain Wood Patio Furniture

Source: Canva
Talk about the perfect weekend project! By following along with the steps detailed below, you’ll be able to benefit from your garden furniture for many years to come. Here’s how to go about it.
Step 1: Prepare the surface
Start by looking over all the surfaces. If there’s mould, clean it off with a part of bleach and a three-part water solution. Rinse and allow to dry.
On a cold day, move the furniture inside the house so that it dries faster. When the weather is nice, just ensure it's sheltered from the rain. Don't cover the furniture with a tarp or plastic sheet since adequate air circulation allows it to dry completely.
Step 2: Sand and strip the surface
Sand the wood with the grain, first with coarse-grit paper, then with finer paper until the surface finish is nice and smooth. If necessary, use a stripper to remove the current layer of paint.
Step 3: Apply and treat wood paint
The old layer of paint or stain can sometimes serve as a primer. Otherwise, ask a capable sales representative for help in choosing the right primer for the job at hand.
To paint wood garden furniture, you have to choose quality products that won’t alter when exposed to the sun, will resist adverse weather conditions, and will also protect the wood. Keep in mind that exterior wood paint needs to be more efficient than interior wood paint.
Once painted, leave your furniture to dry in a clean, well-ventilated area. Don't leave the furniture outside because the wind carries dust and particles that can stick to the still-wet surfaces.
What type of paint should be used on wood?
Source: Canva
To paint wood, you have to choose the right type of paint. Depending on the surface and the intended use, you can choose between acrylic paint, solvent-based paint, oil-based paint, or spray paint. Every type of paint has its respective advantages and disadvantages, and for that matter, you’ll have to choose according to your specific needs.
Here are a few Canadian wood paint brands that’ll improve your décor. This type of paint is normally available in several colours and can also be used on flooring.
INSL-X Prime Lock Plus – $49.99
Prime Lock Plus is an all-purpose, high-coverage primer that gives the finishing coat a gloss and even appearance. It can be coated with a layer of alkyd or latex finish. It can also be used as a touch-up primer for outdoor surfaces.
SICO Exterior Wood Paint and Primer – $79.99
This 100% acrylic latex paint has the distinct benefit of working at temperatures ranging from 1°C to 32°C. It doesn’t require a primer, is resistant to mould, and has excellent UV ray resistance too.
Benjamin Moore’s AURA Exterior Paint – $39.99 to $109.99
AURA exterior paint allows you to carry out your projects in record time, while still using less paint. We appreciate the fact that it has superior coverage, excellent durability, and colour-fade resistance.
Get 3 renovation quotes for your wood painting project
RenoQuotes.com can help you get quotes for your painting project. By submitting your project, we’ll put you in contact with top-rated contractors. Fill in the form on the homepage (it only takes a few minutes), and you will get estimates from trusted professionals.
Dial 1-844 828-1588 to speak with one of our customer service representatives.
Last modified 2023-11-07
Looking for something else?
Related articles
The latest industry news, interviews, technologies, and resources.

SoumissionRenovation.ca • 07 Nov 2023
New year, new you! As the old saying goes, at the start of the year many homeowners change various aspects of their life in favour of adopting new tastes and styles. This is often reflected in our home decor, as trends quickly evolve. When it comes to the colour of your walls, you may have wanted deep mahogany last year to create rustic decor.
Léa Plourde-Archer • 07 Nov 2023
When it comes to interior transformations and renovations, walls are one of the first elements that come to mind. They are often one of the least expensive renovations, and many people decide to complete the work themselves.

N/A • 07 Nov 2023
Our homes are complex systems that are multifunctional and multi-faceted with a lot of various parts. Thus, it is important for our homes to run smoothly and efficiently like well-oiled machines. All machines need energy to operate, and as most homeowners know, our homes consume a large amount of energy annually.
Karine Dutemple • 07 Nov 2023
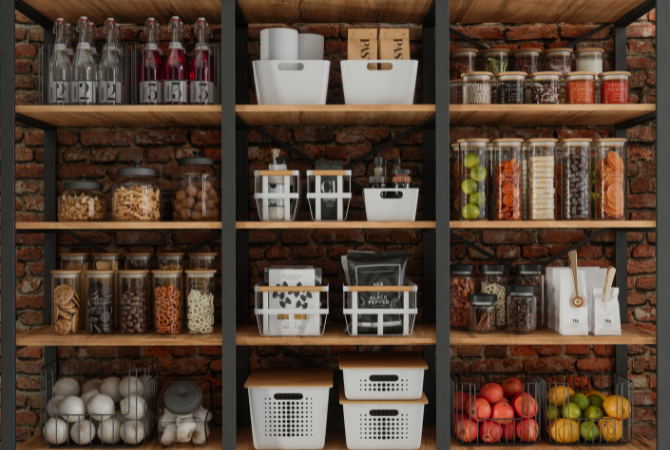
Whether you're messy or on the contrary, ultra-organized, you'll agree that a tidy pantry is very convenient on a daily basis! We go to the pantry several times a day to pick up snacks, ingredients and to store groceries.

N/A • 07 Nov 2023
2020 has proven to be a year of adaptation and evolution. The ongoing Black Lives Matter movement has sparked reckoning across almost all industries. As we’re being made aware of the imbalances and injustices faced globally by racialized people, we need to begin and continue to find ways to support and highlight the work they’ve done.