Are you looking for a contractor?
Submit our quick form and get quotes now!
Table of Contents
6 min read
How to paint a wooden deck: step-by-step instructions
6 min read
How to paint a wooden deck: step-by-step instructions
Exterior renovationsHow to paint a wooden deck: step-by-step instructions
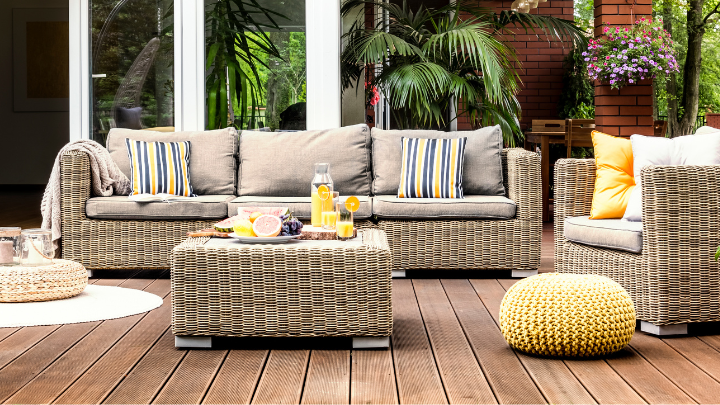
If you’re one of the lucky ones, your home may have a beautiful outdoor space or backyard. A popular fixture in many yards is the patio. Also known as a deck, whether large or small, wood is commonly used as a material to construct these beautiful features.
As you may know, your wood will need to be treated in order to be safe for outdoor use while also maintaining its longevity.
In most cases, this will involve staining, priming and painting. Painting may obscure the surface of the wood, but is an excellent option to breathe new life into an older surface or give a unique touch to a new one.
For a step-by-step guide, we met with one of the contractors in our network, Felix Deblois-Beaucage, as he and his team were working on a wooden deck renovation project. Here, we’ll go over the five main steps of this process.
5 steps to paint a patio
1- Clean the surface of the wooden deck

Source: Canva
Before you begin painting, you’ll need to be sure that you're working on a clean surface. Be sure to fix any popped nails or screw heads that may have come loose. Also, if you find large cracks throughout the surface of the wood, these will need to be filled in before painting.
This can be completed with epoxy putty and then stained to match the surrounding deck boards. This step is especially important when working on a deck you plan to use for a number of years.
If your deck has several years of dirt, grime, and dust build-up, a deep cleaning process with a specific wood-safe cleaner is necessary. If the cleaning process has dampened the wood, let it dry before the next step.
Sometimes the drying process can take up to 48 hours and painting any earlier than this can compromise the wood. Otherwise, removing dust with a dry cloth should be a good enough treatment to the surface.
2- Sand the wood
Once the surface of the wood has been treated for holes while also being clean and dry, you'll need to sand it with 50-grit sandpaper. This is an important step because any trace of old paint, primer, or stain should be removed from the surface of the wood before you go forward with adding another paint or primer.
Not to mention that sanding the surface works to open up the pores in the wood, which will improve the new paint or stain adhesion. If there's no paint, varnish, or stain on the wood, we recommend using 100 or 120 grit sandpaper. An electric sander is another tool that will make this step easier and speed up the process.
For our specific project, the contractor needed to sand twice to remove the old stain. In some cases, including when working on very old surfaces, you may have to use a chemical stain and sealer remover or a thermal removing technique. If the product you want to apply is sheer, this sanding step is paramount, as wood will show through the finish.
3- Apply a primer
Source: Canva
Since the surface we’re working with is wood, it's advised to use a primer. Although some paints now come with a primer mixed in, we’d suggest that you opt for a separate primer. A separate primer will help to seal the wood and greatly improve the adhesion level of the finished paint. Therefore, the final result will be more durable.
This type of primer or sealer can easily be found in any local hardware or specialized paint store. Make sure to protect the surrounding surfaces with painter's tape or a plastic sheet, and this includes any vinyl cladding or deck accessories.
For elements not on the surface level of the deck, such as rails, handrails or caps, use a brush to stain these surfaces. When it comes to the rest of the deck’s surface, we’d recommend using a roller, as it will be able to cover more of an area in less time. Then, simply follow the manufacturer's recommendations for application methods as well as drying time.
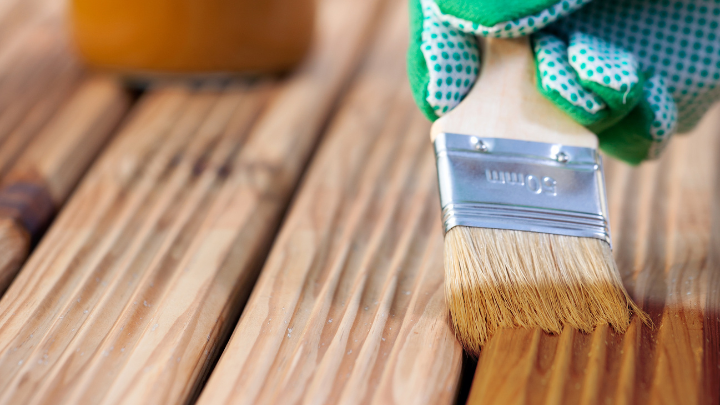
4- Apply paint to your wooden deck
Only when the primer is completely dry should you begin the painting process. For this specific project, two coats of opaque 100% acrylic paint were used. As we mentioned above, use a roller to apply the paint. The workers in this project used one for large areas and a paintbrush for corners and edges. Once the entire surface was covered, they let it dry according to the paint manufacturer's instructions.
When it comes to the painting of your deck, you could also cover the wood using a sealant or a stain. Do bear in mind that when working with a stain, anywhere between one and three coats may be necessary. However, this will be dependant on the type of stain you apply.
Use your personal judgment when it comes to deciding on the number of coats. Remember that paints and stains may dry differently than they appear going on.
5- Drying time
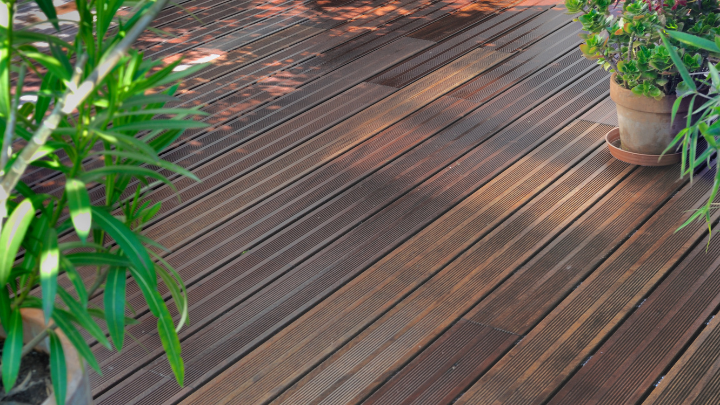
Source: Canva
After you’ve applied the right amount of paint coats to your deck's wood surface, you’ll then need to let it dry for at least 24 hours. Drying time may be dependant on the weather and this is an extremely important factor to consider. Before you start this project, we’d recommend checking out your local weather forecast to reveal the 24-48 hours during which you plan on undertaking this project. This is to make sure it’s clean, dry and not too humid. Unfortunately, if it happens to start raining before the paint dries, you may have to paint all over again.
Also, avoid painting on significantly hot days as high temperatures decrease paint adhesion. For optimal results, take the time to complete each step properly and respect weather conditions.
After the painting job
For our contractor, this project lasted three days. For you, it’s possible that it could take more or less time. If you're looking for a professional and refined result, we’d suggest hiring experienced contractors to carry out the job.
Lastly, we'd like to mention that if you're working with a stain, it's recommended to re-stain your deck every 1-3 years. This will continue to protect the surface and help the structure to last longer. If you use paint instead, it is advisable to repaint every 2 or 3 years.
If you do not have a patio and want to build one, read our article Deck Building Materials and Construction.
Would you like to have an estimation of the cost of your new deck? Try our cost calculator!
Get 3 renovation quotes for your wooden deck painting project
Renoquotes.com can help you get quotes to paint or stain a wooden deck. If you submit your project to us, we’ll put you in contact with the most suitable contractors for you. Fill in the form on our homepage (only a few minutes), and you will receive quotes from companies that are specialized in exterior painting.
Dial 1-844 828-1588 to speak with one of our customer service representatives
Last modified 2024-02-12
Looking for something else?
Related articles
The latest industry news, interviews, technologies, and resources.
N/A • 07 Nov 2023
Your personality can truly shine by way of your home’s architectural details. As you've likely noticed, there are plenty of different style choices and preferences out there.

RenoQuotes.com • 07 Nov 2023
As the weather gets warmer, many of us jump at the chance to spend our days outdoors taking in the sights and sounds while occasionally working to spruce everything up. As much as we love our outdoor space, the fact of the matter is that it’s not always easy to arrange our land in a beautiful as well as functional way.
RenoQuotes.com • 28 Feb 2024
The garage is often one of the last places to get the attention it deserves in terms of decor and layout. It’s first and foremost a space that is meant to be useful, although in some cases, it can be turned into a workshop, a play space or a storage room.
Amanda Harvey • 07 Nov 2023
The bathroom is arguably the most loved room of the home, as it is visited several times a day, morning, noon and night! With that in mind, it’s no wonder that the bathroom needs to be renovated every so often. If you’re looking for a way to give your bathroom a modern update, or you just need to take care of those rougher edges, look no further!

Cynthia Pigeon • 07 Nov 2023
With the new year ahead, major developments are being ushered into the renovation industry.