Are you looking for a contractor?
Submit our quick form and get quotes now!
Table of Contents
5 min read
How to install exterior brick siding
5 min read
How to install exterior brick siding
Wall coveringsHow to install exterior brick siding
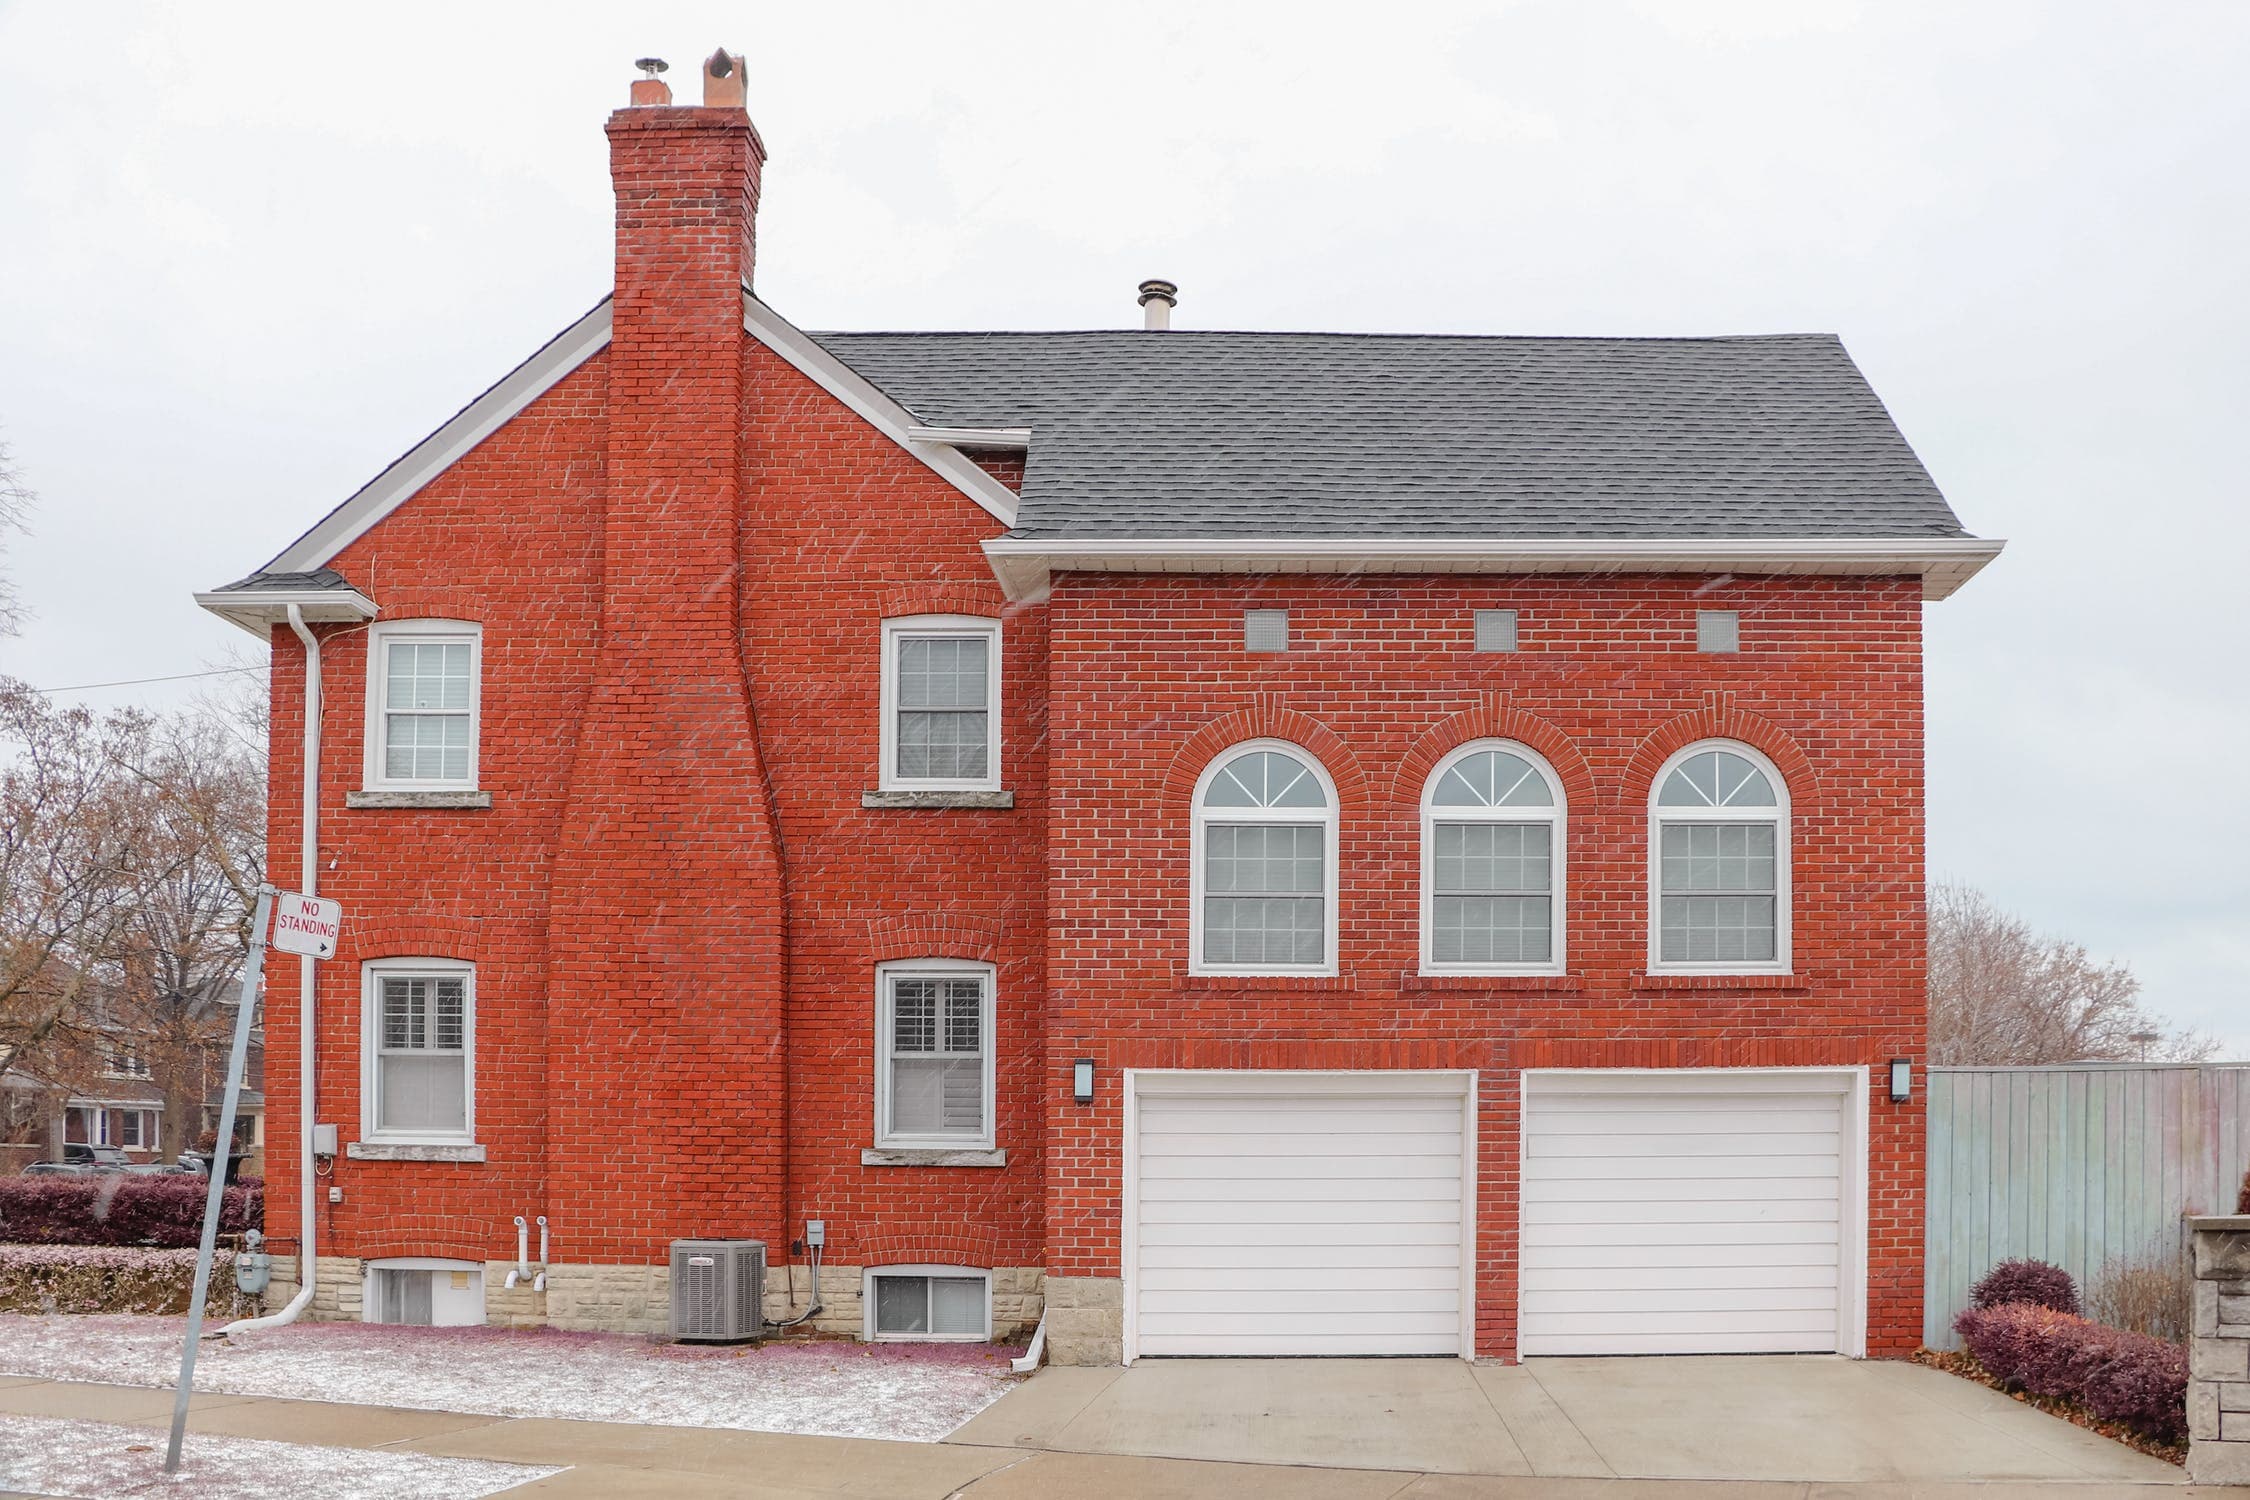
The beauty of a brick exterior is undeniable. It’s captivating, offering a sturdy-looking facade in a way that other materials can’t compare to. However, a modern brick home doesn’t mean the walls will be made of solid brick.
In fact, it’s likely that this home has a conventional wood frame with brick veneer installed overtop. Aside from its obvious beauty, there are many advantages to a brick exterior, so how can you install one for yourself?
This article will offer key information on exterior brick siding, also known as veneer, as well as discuss the steps to installing this on your own or with the help of a trusted professional.
What are the steps to install exterior brick siding?
Source: Pexels
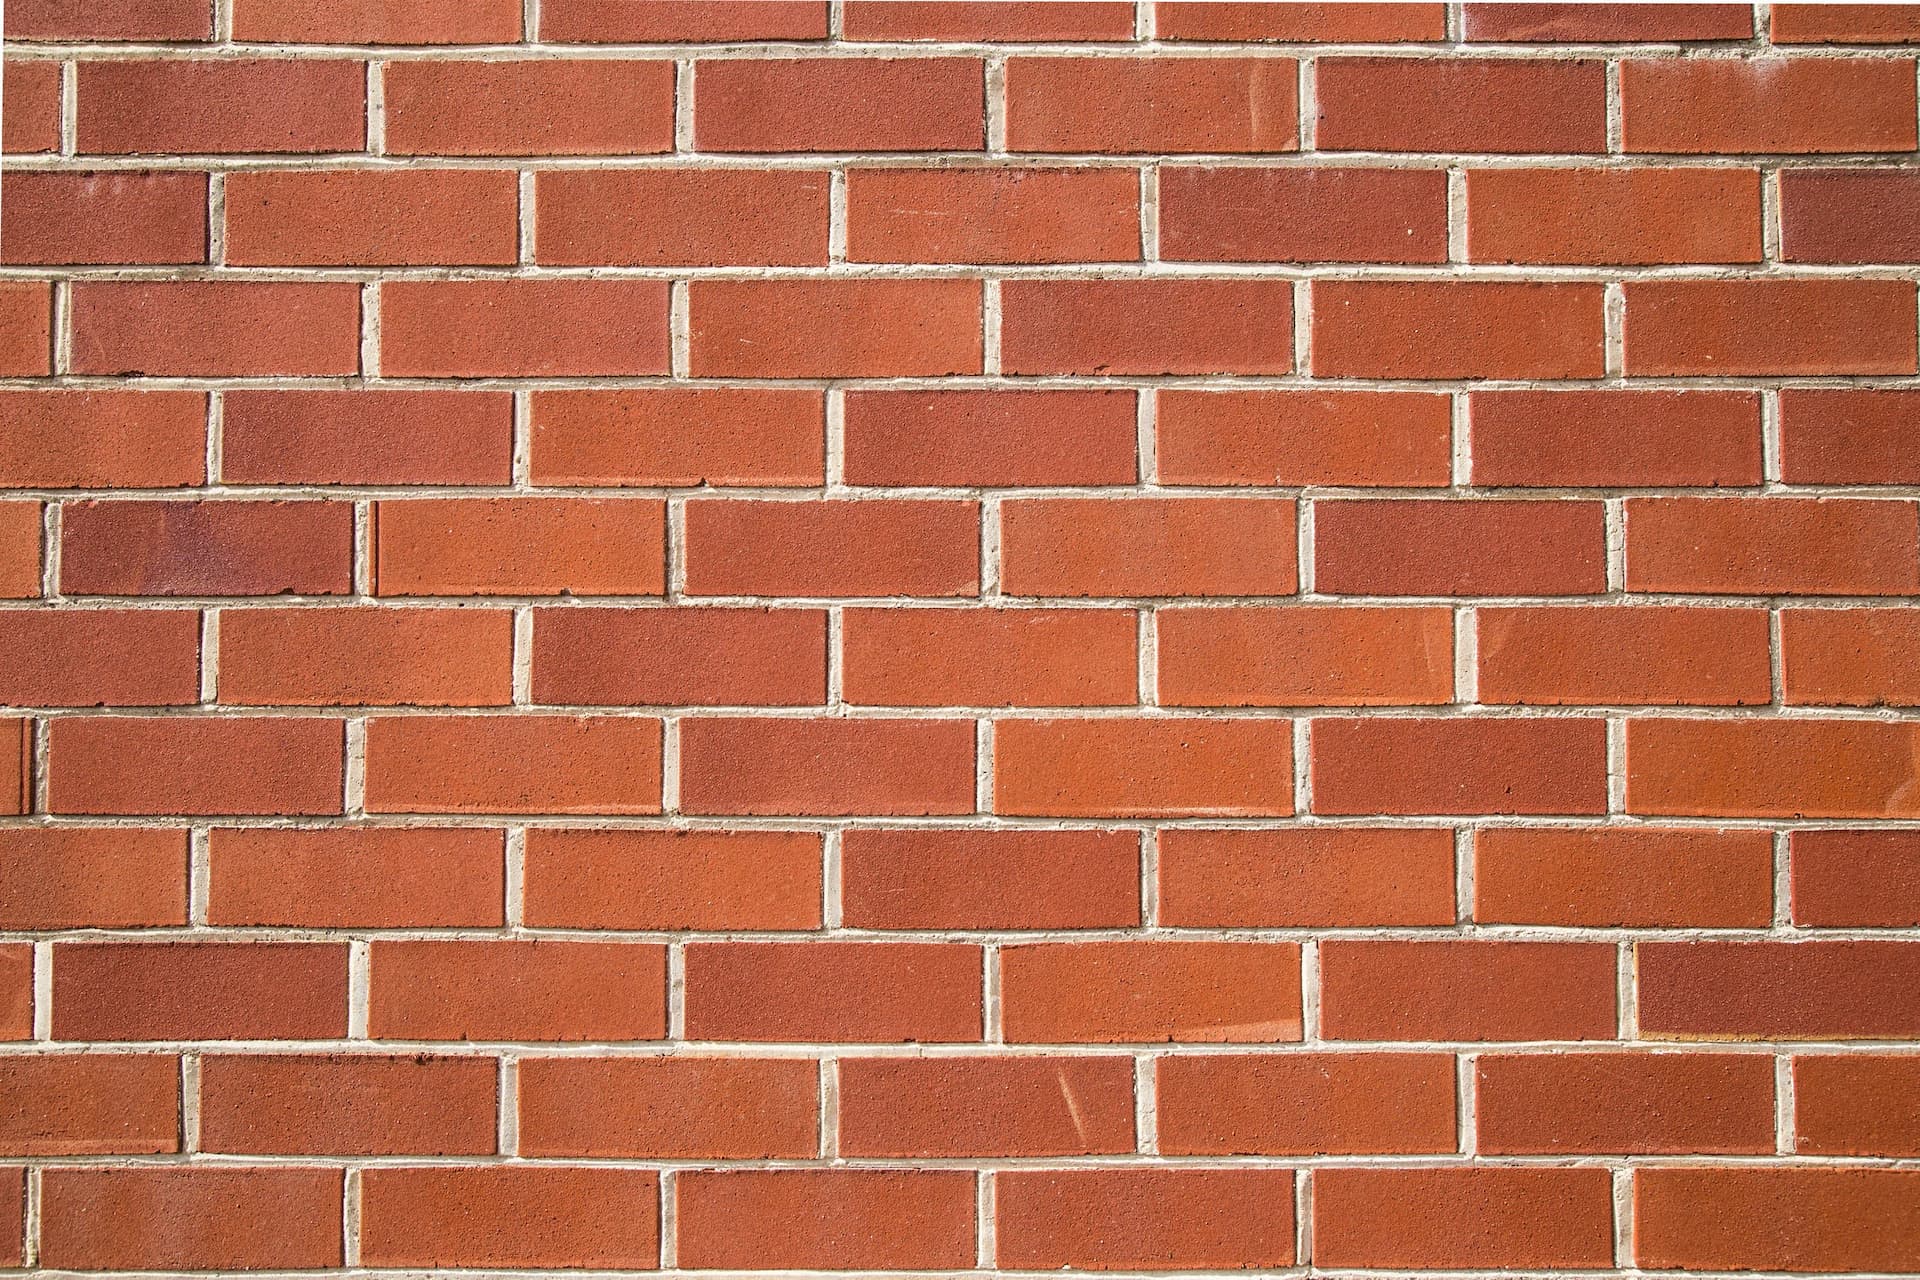
Types of brick veneer
Before we go into the steps to complete this project, we should first discuss the types of brick siding that are available for you to choose from. There are two main types of brick siding.
The first mimics the look of traditional brick siding, as the bricks are laid in a similar pattern as a traditional brick wall, but doesn’t add any structural support to an exterior wall. Generally, brick siding consists of full-sized bricks that have been laid with mortar and tied to an already framed wall with anchor ties.
The second category of brick veneer is referred to as both thin brick and brick tile. These could be compared with ceramic tiles, as they consist of very thin clay or concrete-like pieces that are only ⅝ to ¾ inch thick. Just like ceramic tile, thin brick is glued to a surface or wall with a thin-set mortar or adhesive. Once the brick is in place, the spaces between bricks will need to be filled in with mortar or grout to simulate real mortar joints.
The steps to install brick siding
1- Clean your exterior walls
Before starting most renovation projects and installations, it’s important to begin with a clean surface area. This can be done with a stiff-bristled brush to clear away any visible dirt and grime. We’d also recommend rinsing the wall with a power washer to get rid of excess debris that's collected. The clearer the surface, the better the brick siding will be able to adhere. Following these steps, use a terry cloth to wipe down and dry off the wall. Then, we’d suggest letting the wall dry for a 24-hour period before moving on to the next step.
2- Attach wire mesh
Now that your wall is clean and dry, you’ll need to attach a wire mesh over the length of the wall where you’re planning to install the brick siding. The mesh should be secured into place using galvanized nails that sit at 1-foot intervals. This step will likely require two sets of hands in order to go smoothly.

Source: Pexels
3- Apply mortar to the wall
Next, you’ll need to apply mortar to the wall. Begin by mixing the mortar as per the instructions from the manufacturer. Take a trowel and use it to apply the mortar in the top corner of the wall area where you’re working.
Scooping the mortar with the trowel, you’ll be looking to apply a thick layer over the corners of the wire mesh, about ½ an inch. Make sure you are using the trowel to firmly press the mortar through the mesh. Using the notched side of the trowel, create horizontal grooves in the mortar. This will help it to properly adhere to the brick siding when it’s installed.
4- Install brick siding corners
The brick veneer will come with specific corner pieces that’ll have to be installed first. Gather these pieces together, then take one and apply a ¼ inch layer to the back of the piece. This can be done using the smooth side of your trowel. Spread the mortar evenly onto the panel and then attach the first corner piece to the wall. Now, press the piece firmly into the corner of the wire mesh and into the mortar that’s already in place. Repeat this step for all of the corners of the wall you’re working on.
Source: Unsplash
5- Place the panels
Now you’ll take on one of the most important steps, putting the brick panels in place. You’ll begin at the corner where you first started and spread a ½ inch layer of mortar onto the wall. Then, apply mortar in a ¼ inch thick layer to the back of the brick panel. This piece will need to be carefully fitted beside the first corner piece. Wiggle the panel so that it bonds firmly, and also press it in all 4 corners as well as the middle to make sure it adheres.
Move onto the adjacent area of the wall, apply mortar to it and then repeat the process with another panel. Work your way across the wall and then move downwards. Bear in mind that for this to look like real brick, you’ll want to attach panels with staggered joints.
It's worth mentioning that brick can be laid in a variety of traditional patterns, such as running bond, common bond or stacked bond. You may need to use a circular saw in order to cut end pieces to complete your installation. Make sure to scrub away the residual mortar by scrubbing the surface of a wall with a brush. The mortar requires 24 hours to cure.
Source: Pexels
6- Grout
Start by preparing the grout. This grout will need to be applied to the joints between veneer panels. You’ll want to wipe away excess grout with a damp sponge.
This is the last and final step in your exterior brick siding project. You can now reveal the beauty of your brick veneer. If you’re looking for more information on exterior siding, you may want to check out a few of our other articles on the subject:
Get 3 renovation quotes for your interior brick wall project
RenoQuotes.com can help you get quotes from qualified masons and renovation contractors for your interior brick wall. If you submit your project to us, we’ll put you in contact with the best masons in our contractor network. Fill in the form (it only takes a few minutes), and you will receive quotes from qualified masons and home renovation companies.
Dial 1-844 828-1588 to speak with one of our customer service representatives
Last modified 2023-11-07
Looking for something else?
Related articles
The latest industry news, interviews, technologies, and resources.
RenoQuotes.com • 07 Nov 2023
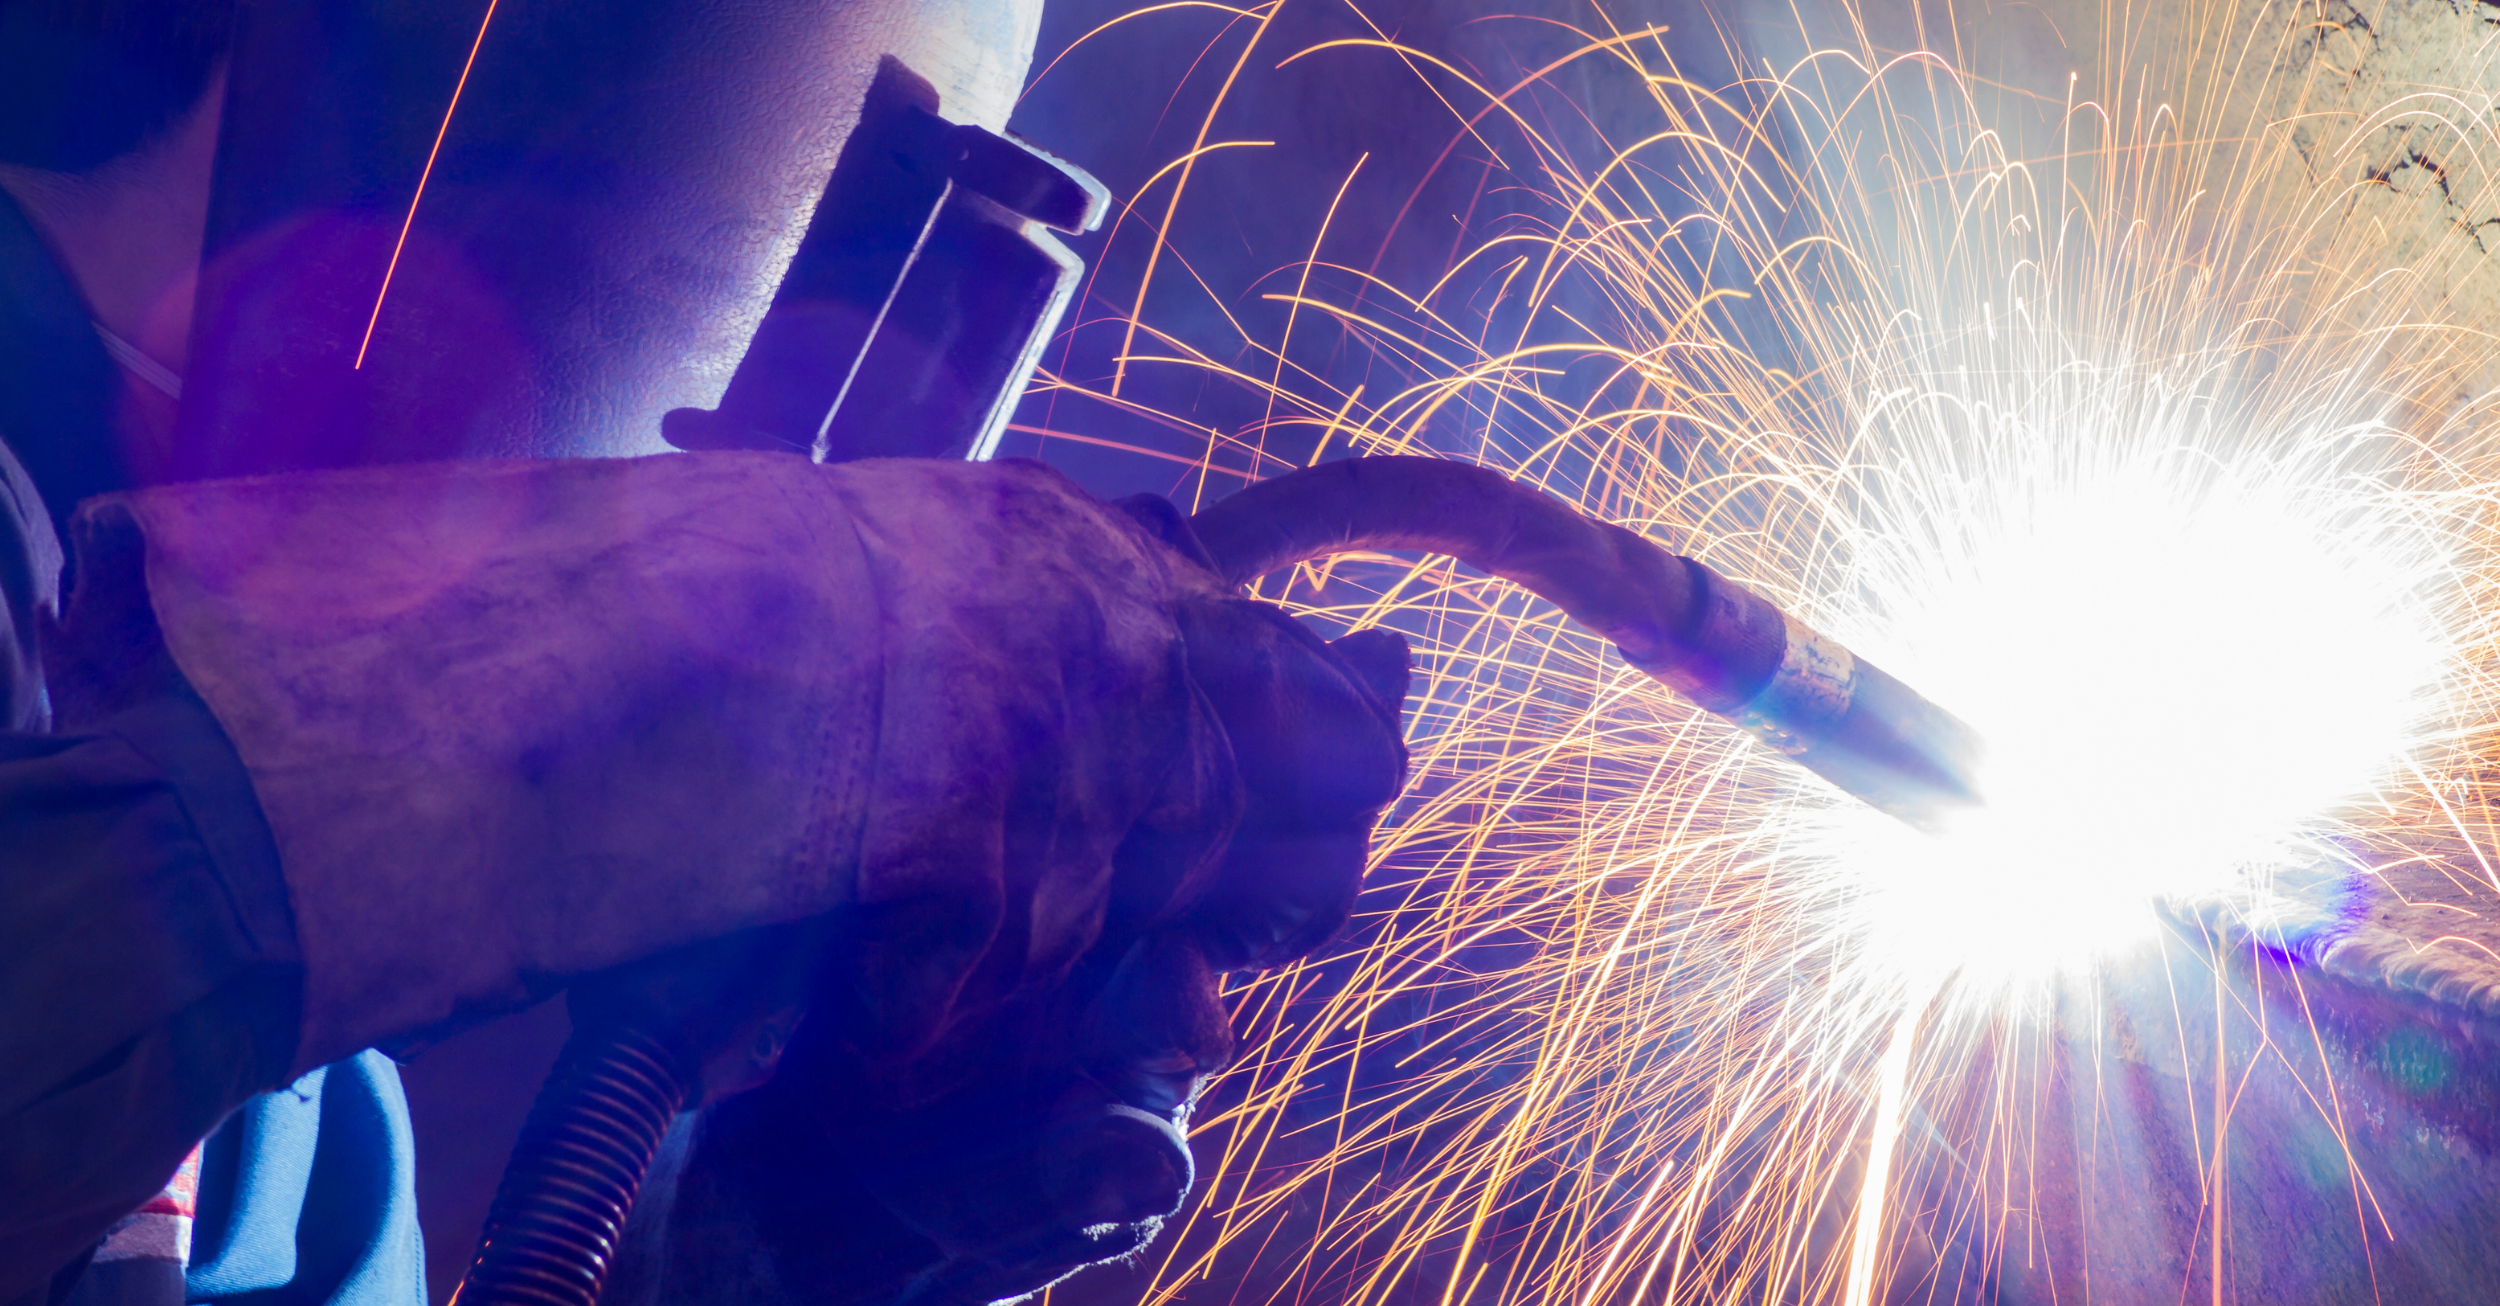
MIG/MAG welding, also known as gas-shielded arc metal welding, is a widely used welding technique in various industries. In this article, we will delve into the details of this welding process and explore why MIG/MAG welding is such a popular method.
Léa Plourde-Archer • 07 Nov 2023
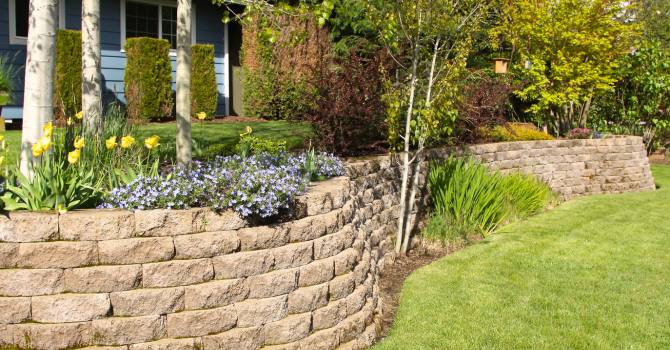
One of the main advantages of owning a home with a backyard is that you can create an exterior environment that fulfills your needs. The front yard greets us when we come home and is the last thing we see when we leave, whereas the backyard is a space meant for relaxing and having fun.
Amanda Harvey • 07 Nov 2023
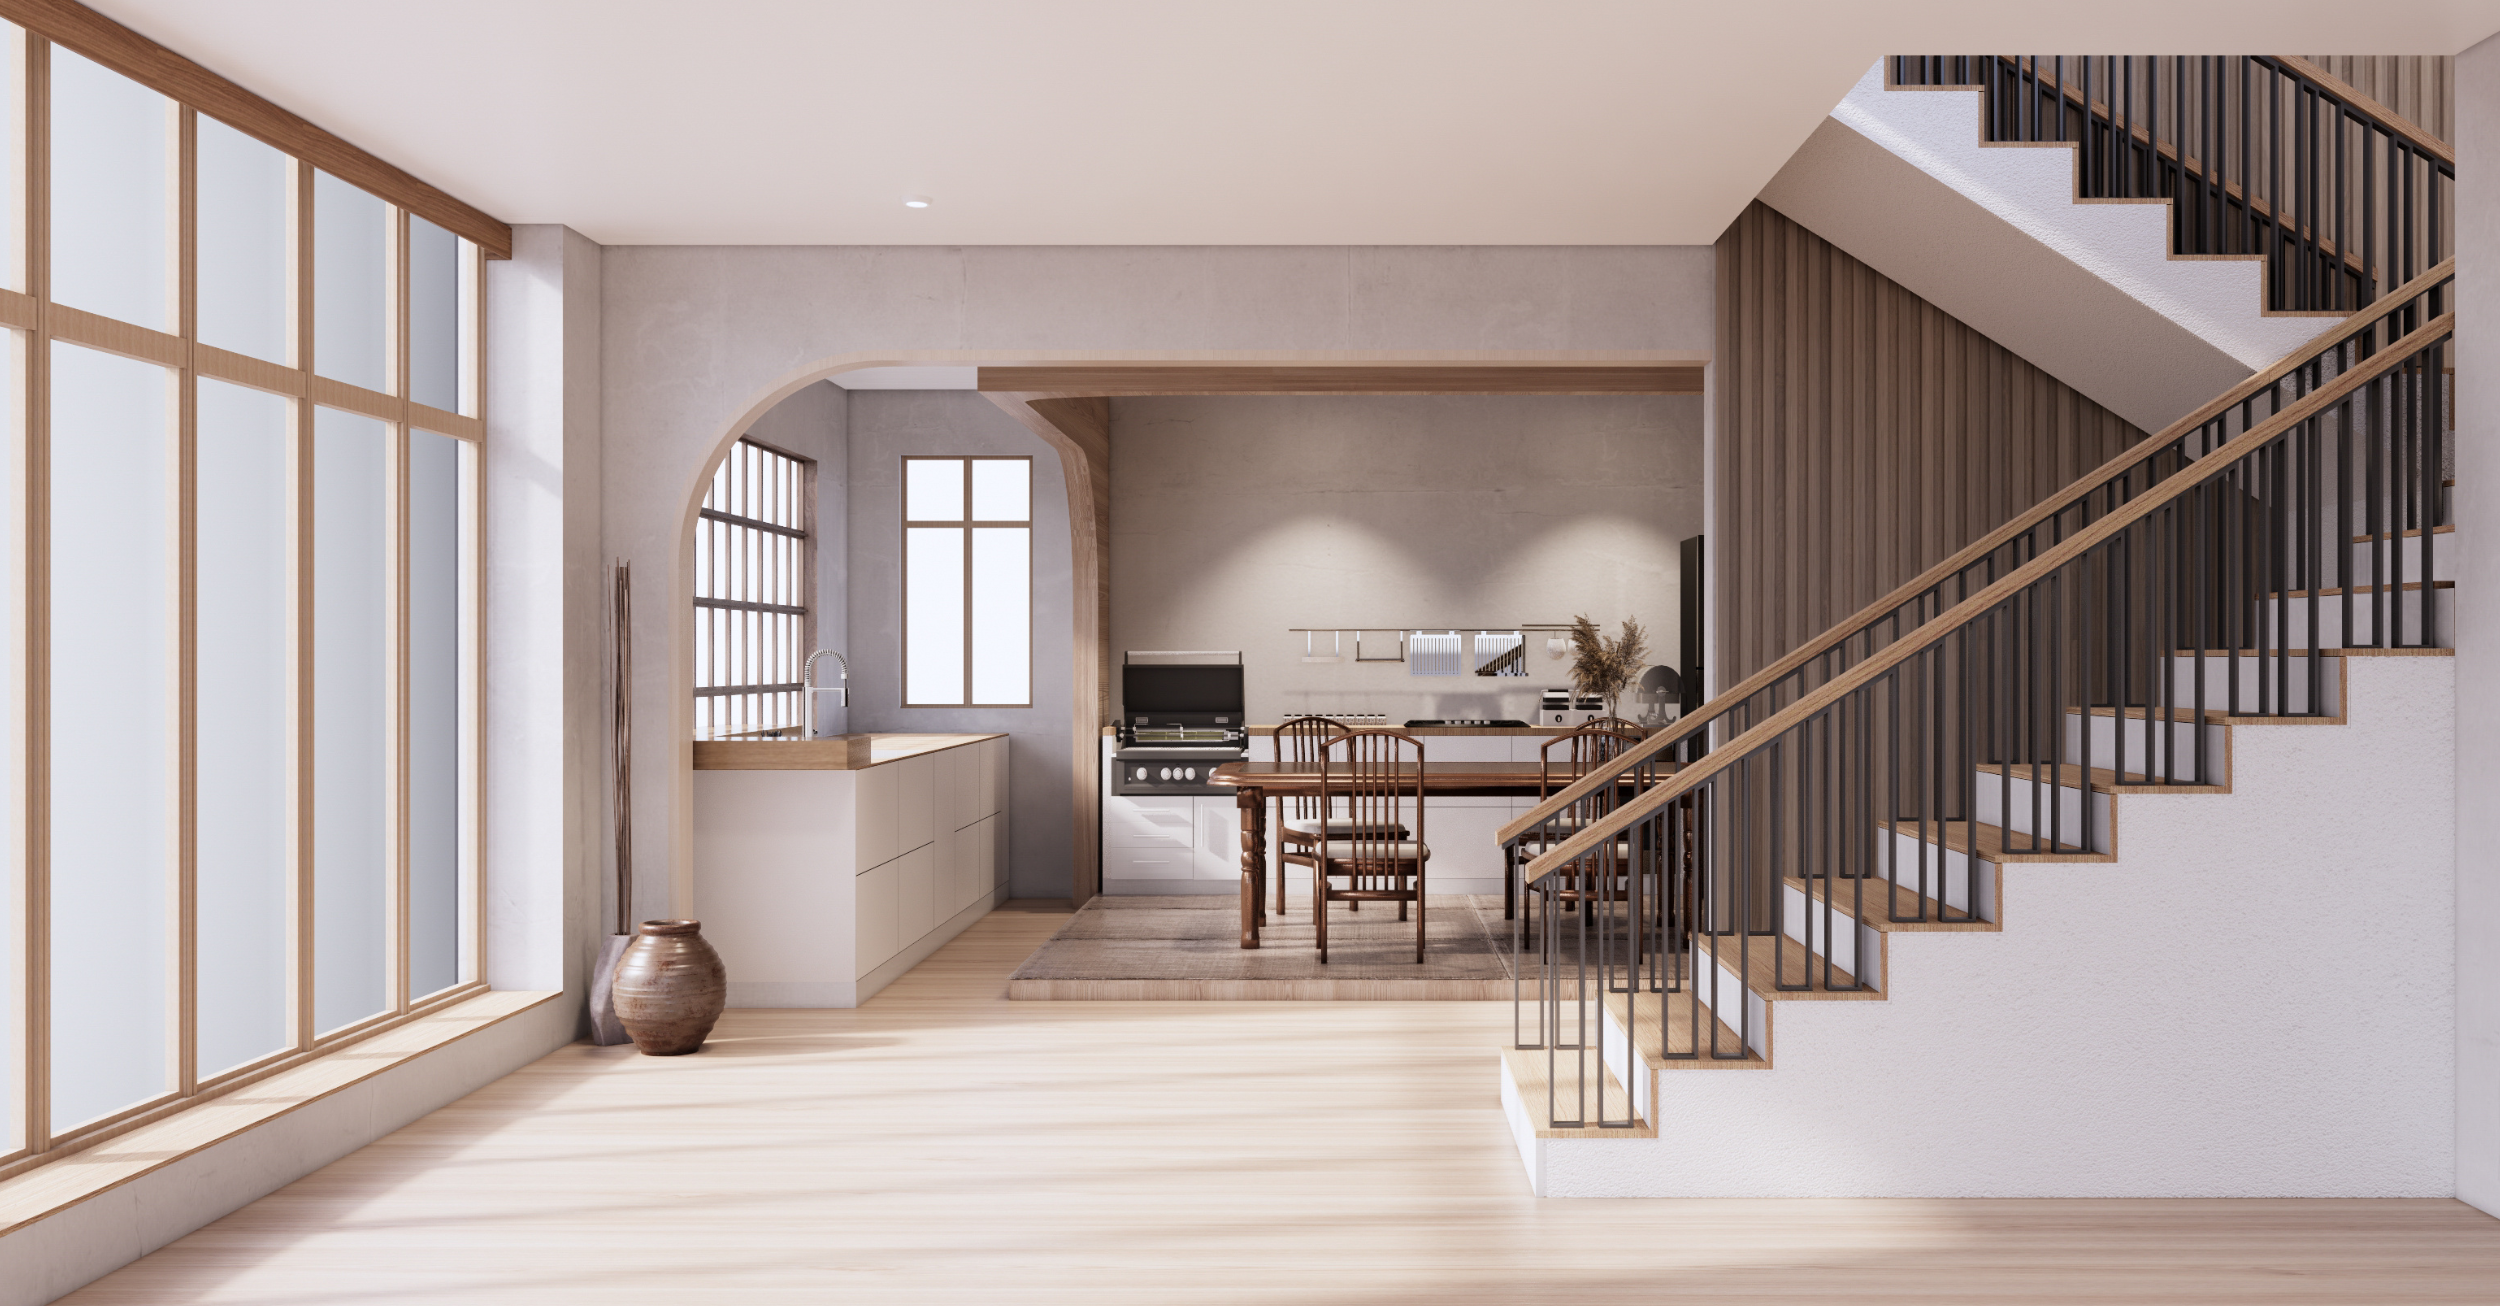
Thinking of building an interior staircase to replace the one you currently have? If this is the case, it’s imperative that you know which standards to observe to respect building codes, especially those put in place for the sake of safety and comfort. But what exactly are they?
Léa Plourde-Archer • 11 Apr 2024
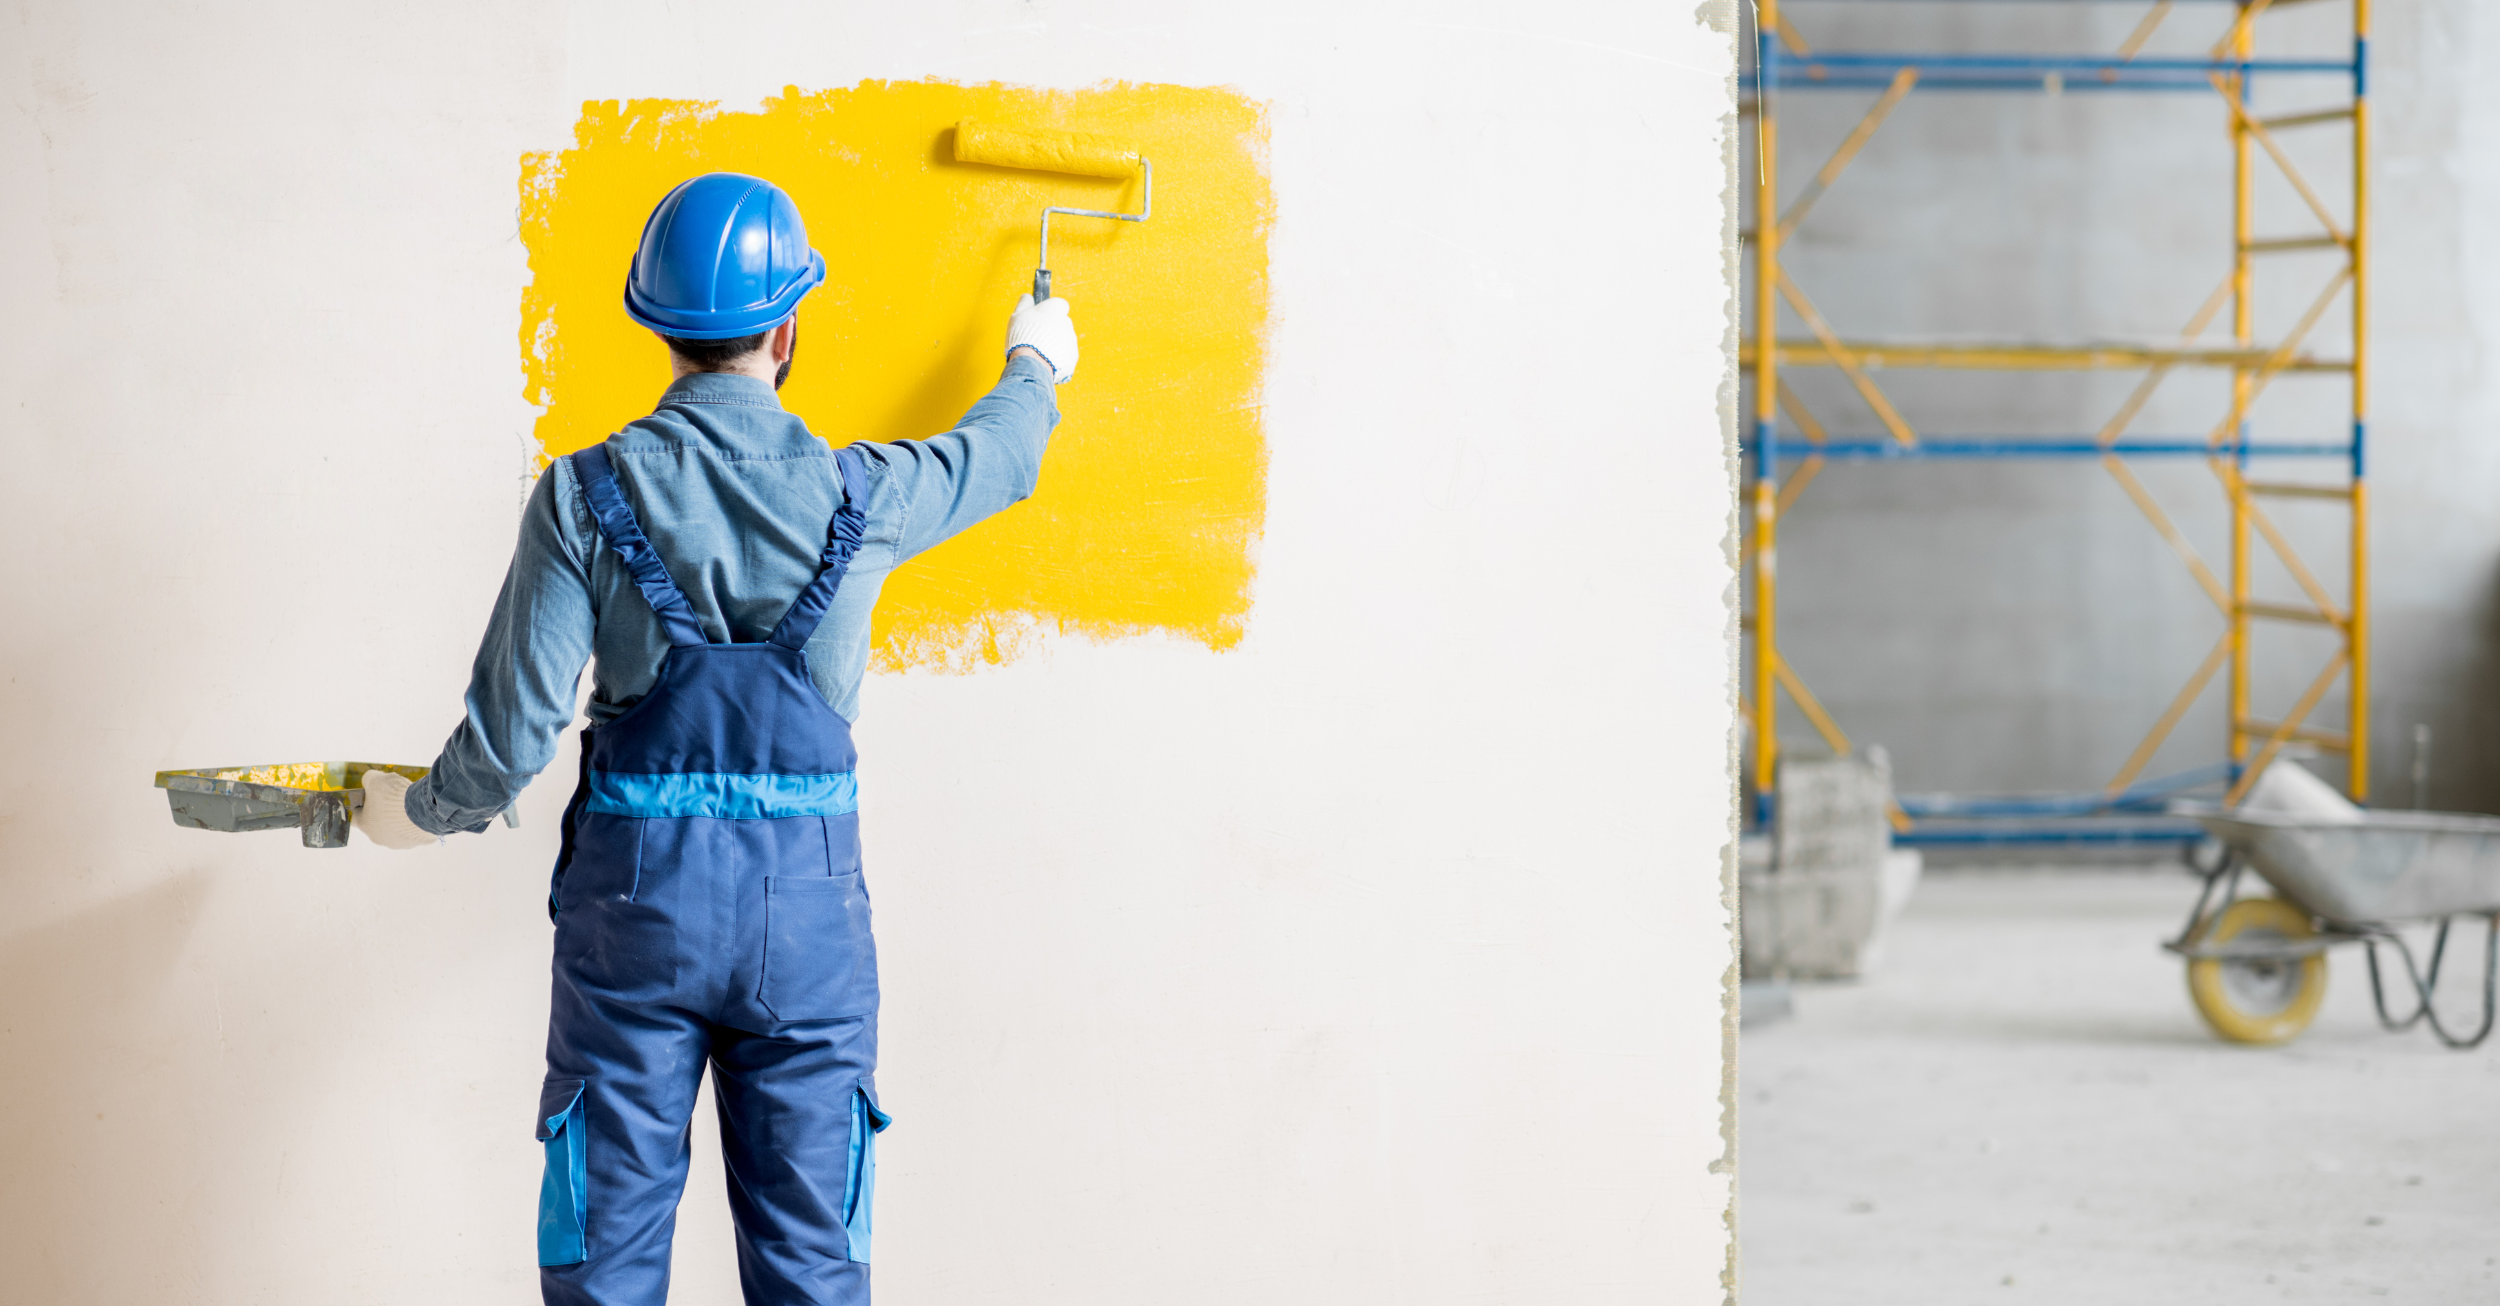
Generally speaking, the interior or exterior painting of surfaces in a residential home will need to be renewed every 4 to 5 years, depending on the humidity level, the penetration of sun rays (which discolour surfaces) and the general layout of your home. Painting is one of the best ways to keep your home looking nice and modern.
Amanda Harvey • 05 Dec 2023
The minimalist style is the ultimate choice for the urban-modern homeowner. Minimalism embraces aesthetic simplicity, with well-edited rooms that include only pieces that will assist in achieving the maximum decor effect with the least amount of furniture.