Are you looking for a contractor?
Submit our quick form and get quotes now!
Table of Contents
5 min read
How to Waterproof Your Shower: Techniques & Materials
5 min read
How to Waterproof Your Shower: Techniques & Materials
BathroomHow to Waterproof Your Shower: Techniques & Materials
Cracked grout, recessed joints, and loose tiles are some of the telltale signs of a leak, but when grout joints darken as a result of mould, and the tiles sink to the touch, it’s about time to act.
Rare are tiled showers and shower-tub walls that can withstand decades of varying humidity levels, water splashes, cleaning products, and others without a leak occurring, so keep an eye out!
How to Install a Waterproof Shower
Before tackling any waterproofing issues or leaks, it’s important to know what a waterproof shower actually is. When installing a shower, follow the steps listed below:
Get a hold of the necessary materials: Prefabricated polystyrene base with a ¼ inch slope per foot, polystyrene ramp and threshold, roll of 0.008-inch polyethylene membrane with a dual face, non-woven fabric that ensures a sturdy adhesion to the tiling glue, and 0.004-inch joint strips, as well as a drain;
Get a basic shower waterproofing kit: A base membrane, RedZone membrane, stopper, paintbrush, gloves, and a utility knife;
From a wooden casing, the drainage system has to be installed directly above the plywood, using a template, and adjust it according to the size of the opening desired. Cut off a quarter of the round template to centre it with the drain pipe;
To increase the membrane’s adherence, both on the plywood and fibrocement, apply a water-based primer with a roller or paintbrush. To enhance adherence, install the membrane as soon as the primer is dry;
Instead of a primer and fibrocement, you can make a polymer-modified tile mortar to bind the orange polyethylene membrane. Evenly spread out the adhesive with a square-notch trowel. Stick the membrane to the wall and press it hard against the surface to prevent any air bubbles from forming.
Pay close attention to the shower’s various angles to make sure they’re all waterproofed. Install in said corners a RedZone membrane, and lay it in a horizontal manner against the wall and the floor, and vertically against the wall joints. First, use your fingers to make the desired shape, then do it again with a roller. After having installed the base membrane, apply strips to all the joints between the membrane layers;
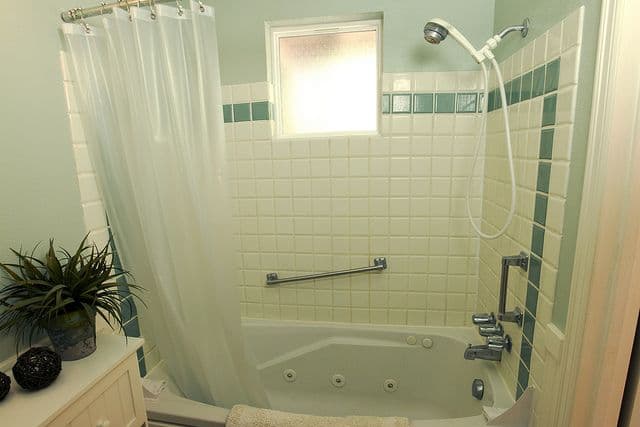
Photo: Travis Pachosa
To waterproof the drain, lay a first membrane measuring about 12 inches by 12 inches on the floor. Make a smaller than necessary opening in the membrane to allow the drain pipe to fit perfectly since it protrudes from the floor by about an inch and a half to 2 inches. Assemble the whole with an adhesive fit for the ABS drain spout onto the pipe and then apply a line of elastomeric sealant around it;
Without a prefabricated base, make a concrete floor that’s slightly inclined by ¼ inch toward the drain prior to tiling. Make sure that it’s 2 inches thick against the walls and that it narrows to 1 ½ inches near the pipe;
Plan your ceramic tile installation to scale on a separate piece of paper to avoid ending up with too narrow tiles at the bottom;
Prepare the polymer-modified tile mortar by mixing it with a mixer/whisk fitted to a drill until smooth;
Using a ¼ inch by ⅜ inch square notch trowel, spread the tile mortar on the back of the tiles. Make striations in the same direction to make levelling the tiles easier;
Start by the far wall, then move on from left to right. Install the tiles with a slight twisting motion to ensure that they’re really embedded into the mortar. Regularly check whether the rows are level by using hard plastic braces that won’t bend out of shape under the weight of the tiles;
On the floor, glue mosaic tiles which better fit the irregular shape of the floor;
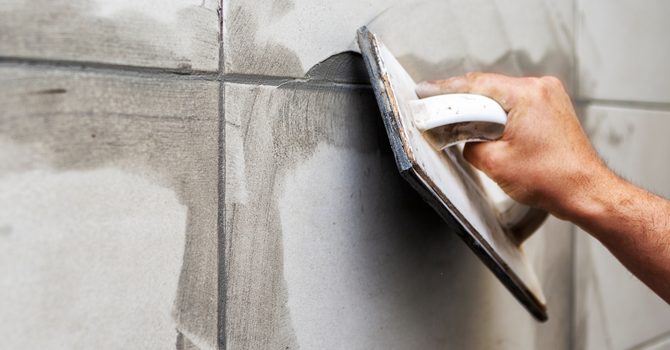
Apply grout 24 hours after having installed the tiles, a standard sanded grout will work just fine. Follow the manufacturer’s instructions;
Seal the joints to facilitate maintenance.
Are you looking for a professional to waterproof your bathroom?
Fill in this form to be connected with top-rated contractors!
14 Common Shower Renovation Errors
If you want to renovate your bathroom, you risk hindering the waterproof aspect of your shower. Installing a Roman shower means planning the work ahead of time. That’s why you need to make sure you’re not committing the following errors while undertaking the work:
Misjudging the cost of a ceramic tile shower. When choosing a Roman shower, don’t forget that it’ll be floor level and that the slope needs to be embedded in the flooring and the drain pipes too;
Not allowing access to plumbing;
Choosing stone or marble without taking into account their steep prices;
Not having a qualified professional lay the ceramic tiles.

Photo: Haphazard Traveler
If you choose to tackle the ceramic tile installation for your shower renovation instead of dealing with a qualified professional, beware of the following errors:
Not adequately preparing the surface;
Forgetting to use baseline slats;
Purchasing too few ceramic tiles;
Buying the wrong mortar;
Choosing a too-smooth adhesive; it must have horizontal striations;
Applying too much mortar on corner tiles;
Spreading the grout too fast;
Choosing a white grout and forgetting to seal it;
Forgetting to caulk around furniture and moulding with clear silicone;
Not sealing the top edge of the bathtub.
If you’re taking on your bathroom renovation yourself, carefully read over the steps above-mentioned prior to undertaking the project since all homeowners want to avoid water infiltration which could cause flooding, structural deterioration, and increased health-hazardous mould growth. The process of installing and sealing ceramic tiles is a little more complicated than painting a wall with anti-fungal paint.
How to Fix a Leak
You know how to install a waterproof shower and how to renovate a shower to make it waterproof, but what about a leaking shower? You have to act fast!
At your local hardware store and in department stores, you’ll find a large array of products to fix leaking surfaces:
A shower base waterproofing kit has a 910 ml interior primer, a base membrane (19 ⅝ in x 23 in), a 4 in x 25 in RedZone waterproof membrane, a paintbrush, and gloves;
The RedGard waterproof and crack prevention membrane – 1 gallon;
Shluter-KERDI and KERDI-DS membranes are available in various sizes.
You have to select a bathroom silicone to apply around the bathtub, counter, wall edges, and sink. Usually clear or white, the joint remains soft and easy to clean. Bianca Lamothe Verreault, a general contractor, stated in La Presse that “Silicone can’t be painted. For the sink and bathtub contour, it’s best to use clear silicone. That way, it’ll blend in with the décor, and you’ll achieve a neat finish.”
Sanded grout the colour of your choice, sold in a tube is best used for a ceramic shower tub. For a bathroom, you can use a supreme silicone that apparently cures within 30 minutes of its application. “It’s slightly more expensive than standard silicone, and used on construction sites to expedite work and avoid damaging joints while applying a second layer,” noted Bianca Lamothe Verreault.
To fix leaks, don’t hesitate about putting both feet in the shower or tub to press down on the tiles, scrape the grout with the tip of a screwdriver, and thoroughly scan the entire surface. There’s no one set way to tile a bathroom to ensure it’s watertight. Nevertheless, a good acrylic shower base will always be more affordable than a tiled floor.
Instead of applying sanded grout on the tiles, lay a membrane over the entire wall and use epoxy. This material is harder to spread, but it’s worth using since it’s perfectly waterproof, doesn’t wear off from cleaning with a scrub brush, and its flexible state renders it crack-proof.
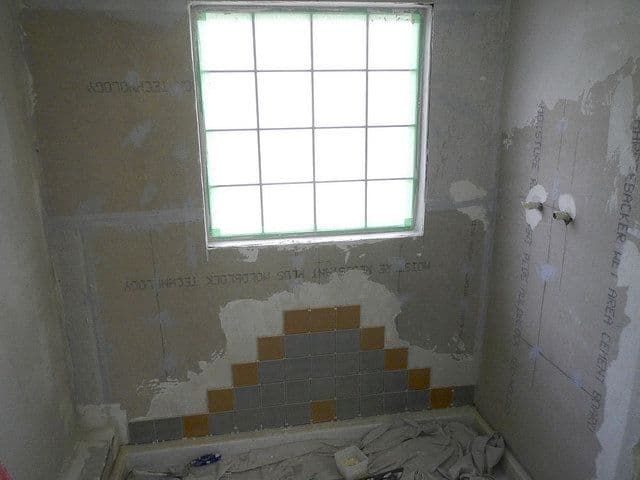
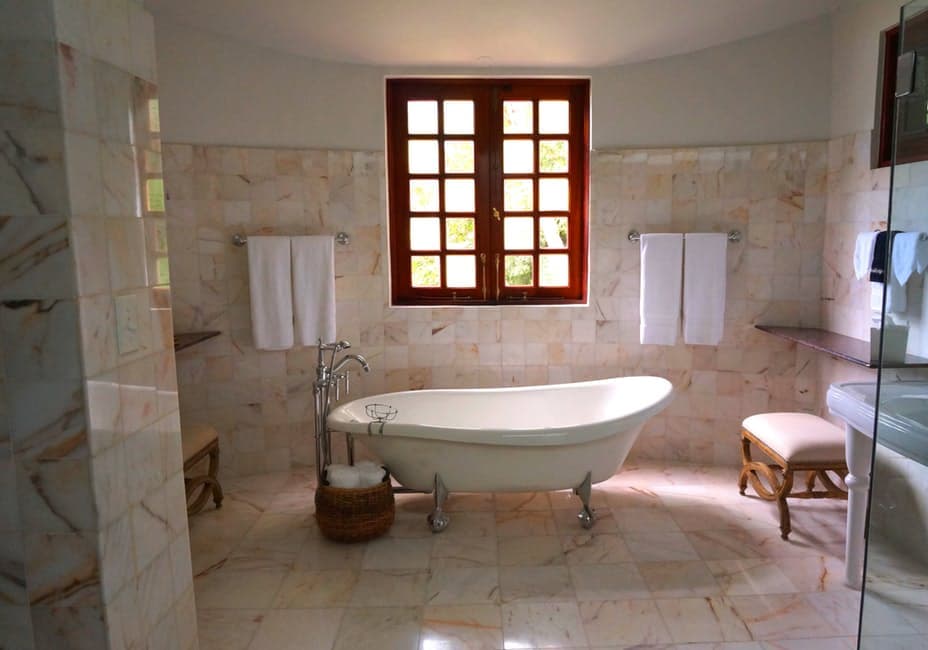
Photo: PunkToad
Acrylic shower bases that are correctly installed won’t cause any waterproofing issues. If it does leak, that means that the base is cracked, that the silicone caulking or the tile joints are defective, that the drain system (pipe, P-trap, drain) is defective and leaking, or that the drainage system is clogged.
To find the source of the problem, check the base, tile joints, and silicone caulking. If the base is cracked, best replace it. If it’s the drainage system that’s leaking, call in a plumber to switch out the plumbing. Make sure it isn’t just clogged.
Once you notice that your bathroom walls are swelling or that the drywall is deteriorating, you can either partially or completely replace the wall covering. If you decide to switch the damaged drywall with new boards, make sure that you’re painting over it with anti-fungal bathroom paint. To install ceramic tiles, you need a solid base. Don’t forget to cover up the shower or bath drain, toilet, and sink while renovating to avoid clogging the pipes with demolition debris.
Installing a Window in the Shower
Whether you want to reminisce about Gilligan’s Island, Woodstock, or simply shower under the sun’s rays, you may want to install a window in your shower. “You’ll need to install a good quality membrane over the entire wall. You’ll also need to anticipate a draining slope on the window ledge, and you’ll also have to install a ceramic finish around the edge of the window.”
However, Claude Béland, a general contractor also revealed in La Presse, that “Spreading an epoxy-based grout around the ceramic tiles will give you peace of mind. However, beware of epoxy-based grout as it must be installed by a professional in the trade.”
List of Materials and Tools Needed to Waterproof a Shower | |
1) A prefabricated polystyrene base (with a ¼ inch slope) | 7) Polystyrene threshold |
2) Polystyrene ramp | 8) Roll of 0.008-inch non-woven polyethylene membrane |
3) Roll of 0.004-inch non-woven polyethylene membrane | 9) Drain |
4) A standard membrane to waterproof the shower | 10) RedZone membrane |
5) Primer | 11) Paintbrush |
6) Gloves | 12) Utility knife |
Author: René-Maxime Parent
Get 3 renovation quotes for your bathroom waterproofing project
RenoQuotes.com will put you in contact with 3 reliable contractors for your bathroom renovation project. Fill in the form on our homepage (it only takes a few minutes), and you will receive quotes from trusted professionals.
Dial 1-844 828-1588 to speak with one of our customer service representatives.
Last modified 2023-11-07
Looking for something else?
Related articles
The latest industry news, interviews, technologies, and resources.
RenoQuotes.com • 07 Nov 2023
When renovating any bathroom, you need to recognize the high levels of moisture and account for it by installing a good ventilation system. With constant showering and bathing, vapour builds up in the bathroom. Over time, this can cause severe damage to the grout and tiles and to the cabinet finishes and wall paint.

Cynthia Pigeon • 07 Nov 2023
Although installing a drop ceiling is the perfect project for any and all DIY enthusiasts, it’s still important to know the proper installation guidelines to follow when proceeding with this project. So here's everything you need to know about installing a drop ceiling.

Cynthia Pigeon • 07 Nov 2023
Since summer is a short-lived experience every year in Quebec, most of us try to squeeze the most out of the season by designing outdoor spaces to fully enjoy sunny days. Building a patio is a good idea should you want to have an outdoor seating area, paired with a table, barbecue, and sunshade.
RenoQuotes.com • 07 Nov 2023
When properly installed, ceramic tiles are a beautiful resurfacing option. The complexity of a tiling project lies not so much in the execution but in the details required to do it right.

Cynthia Pigeon • 07 Nov 2023
It seems like cold weather is always around the corner, so there is literally no need to highlight the importance of avoiding cold drafts wafting through your house. Since it causes both discomfort and significant increases in your heating bill, avoid this issue at all costs! Check out these helpful tips and tricks.